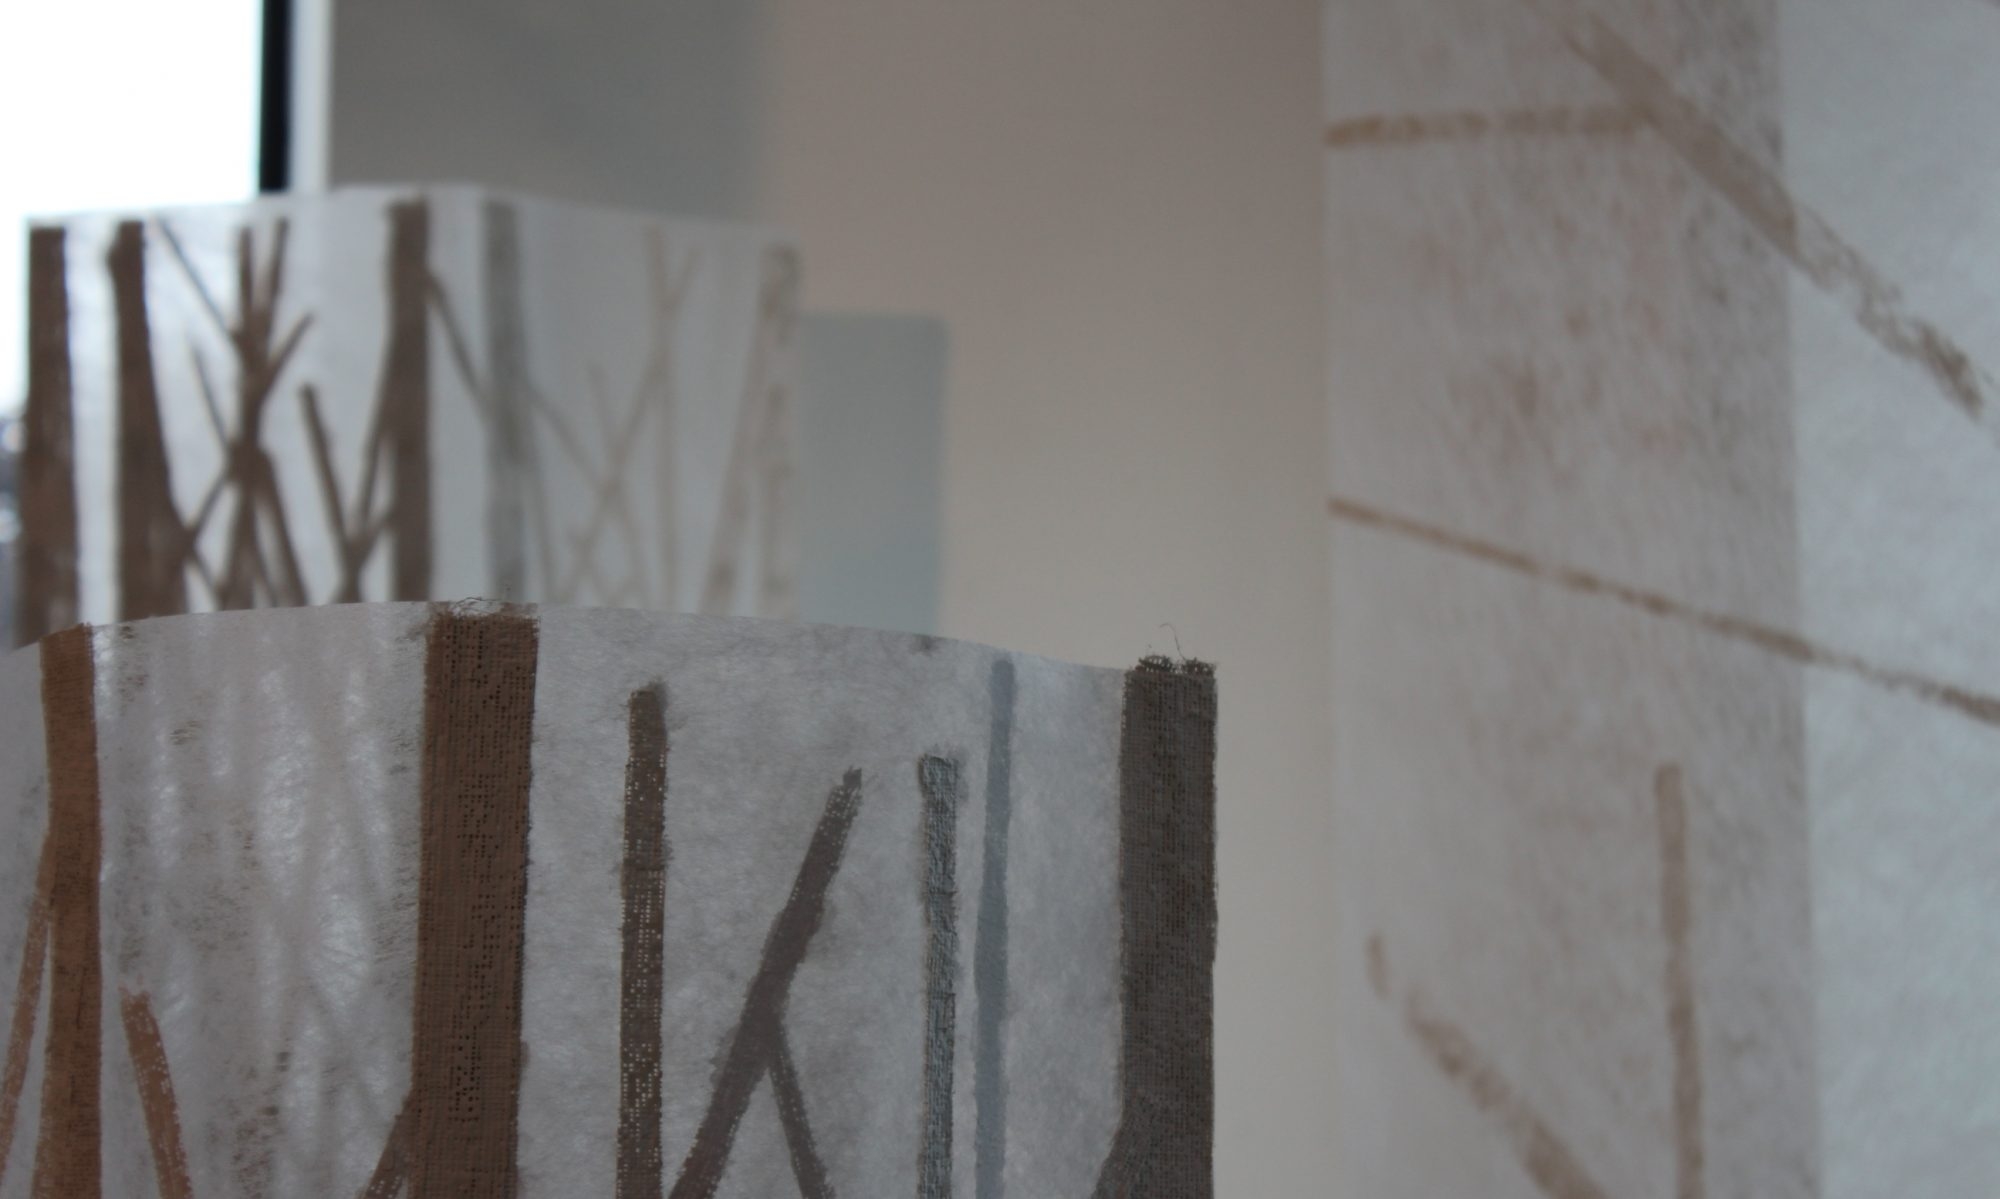
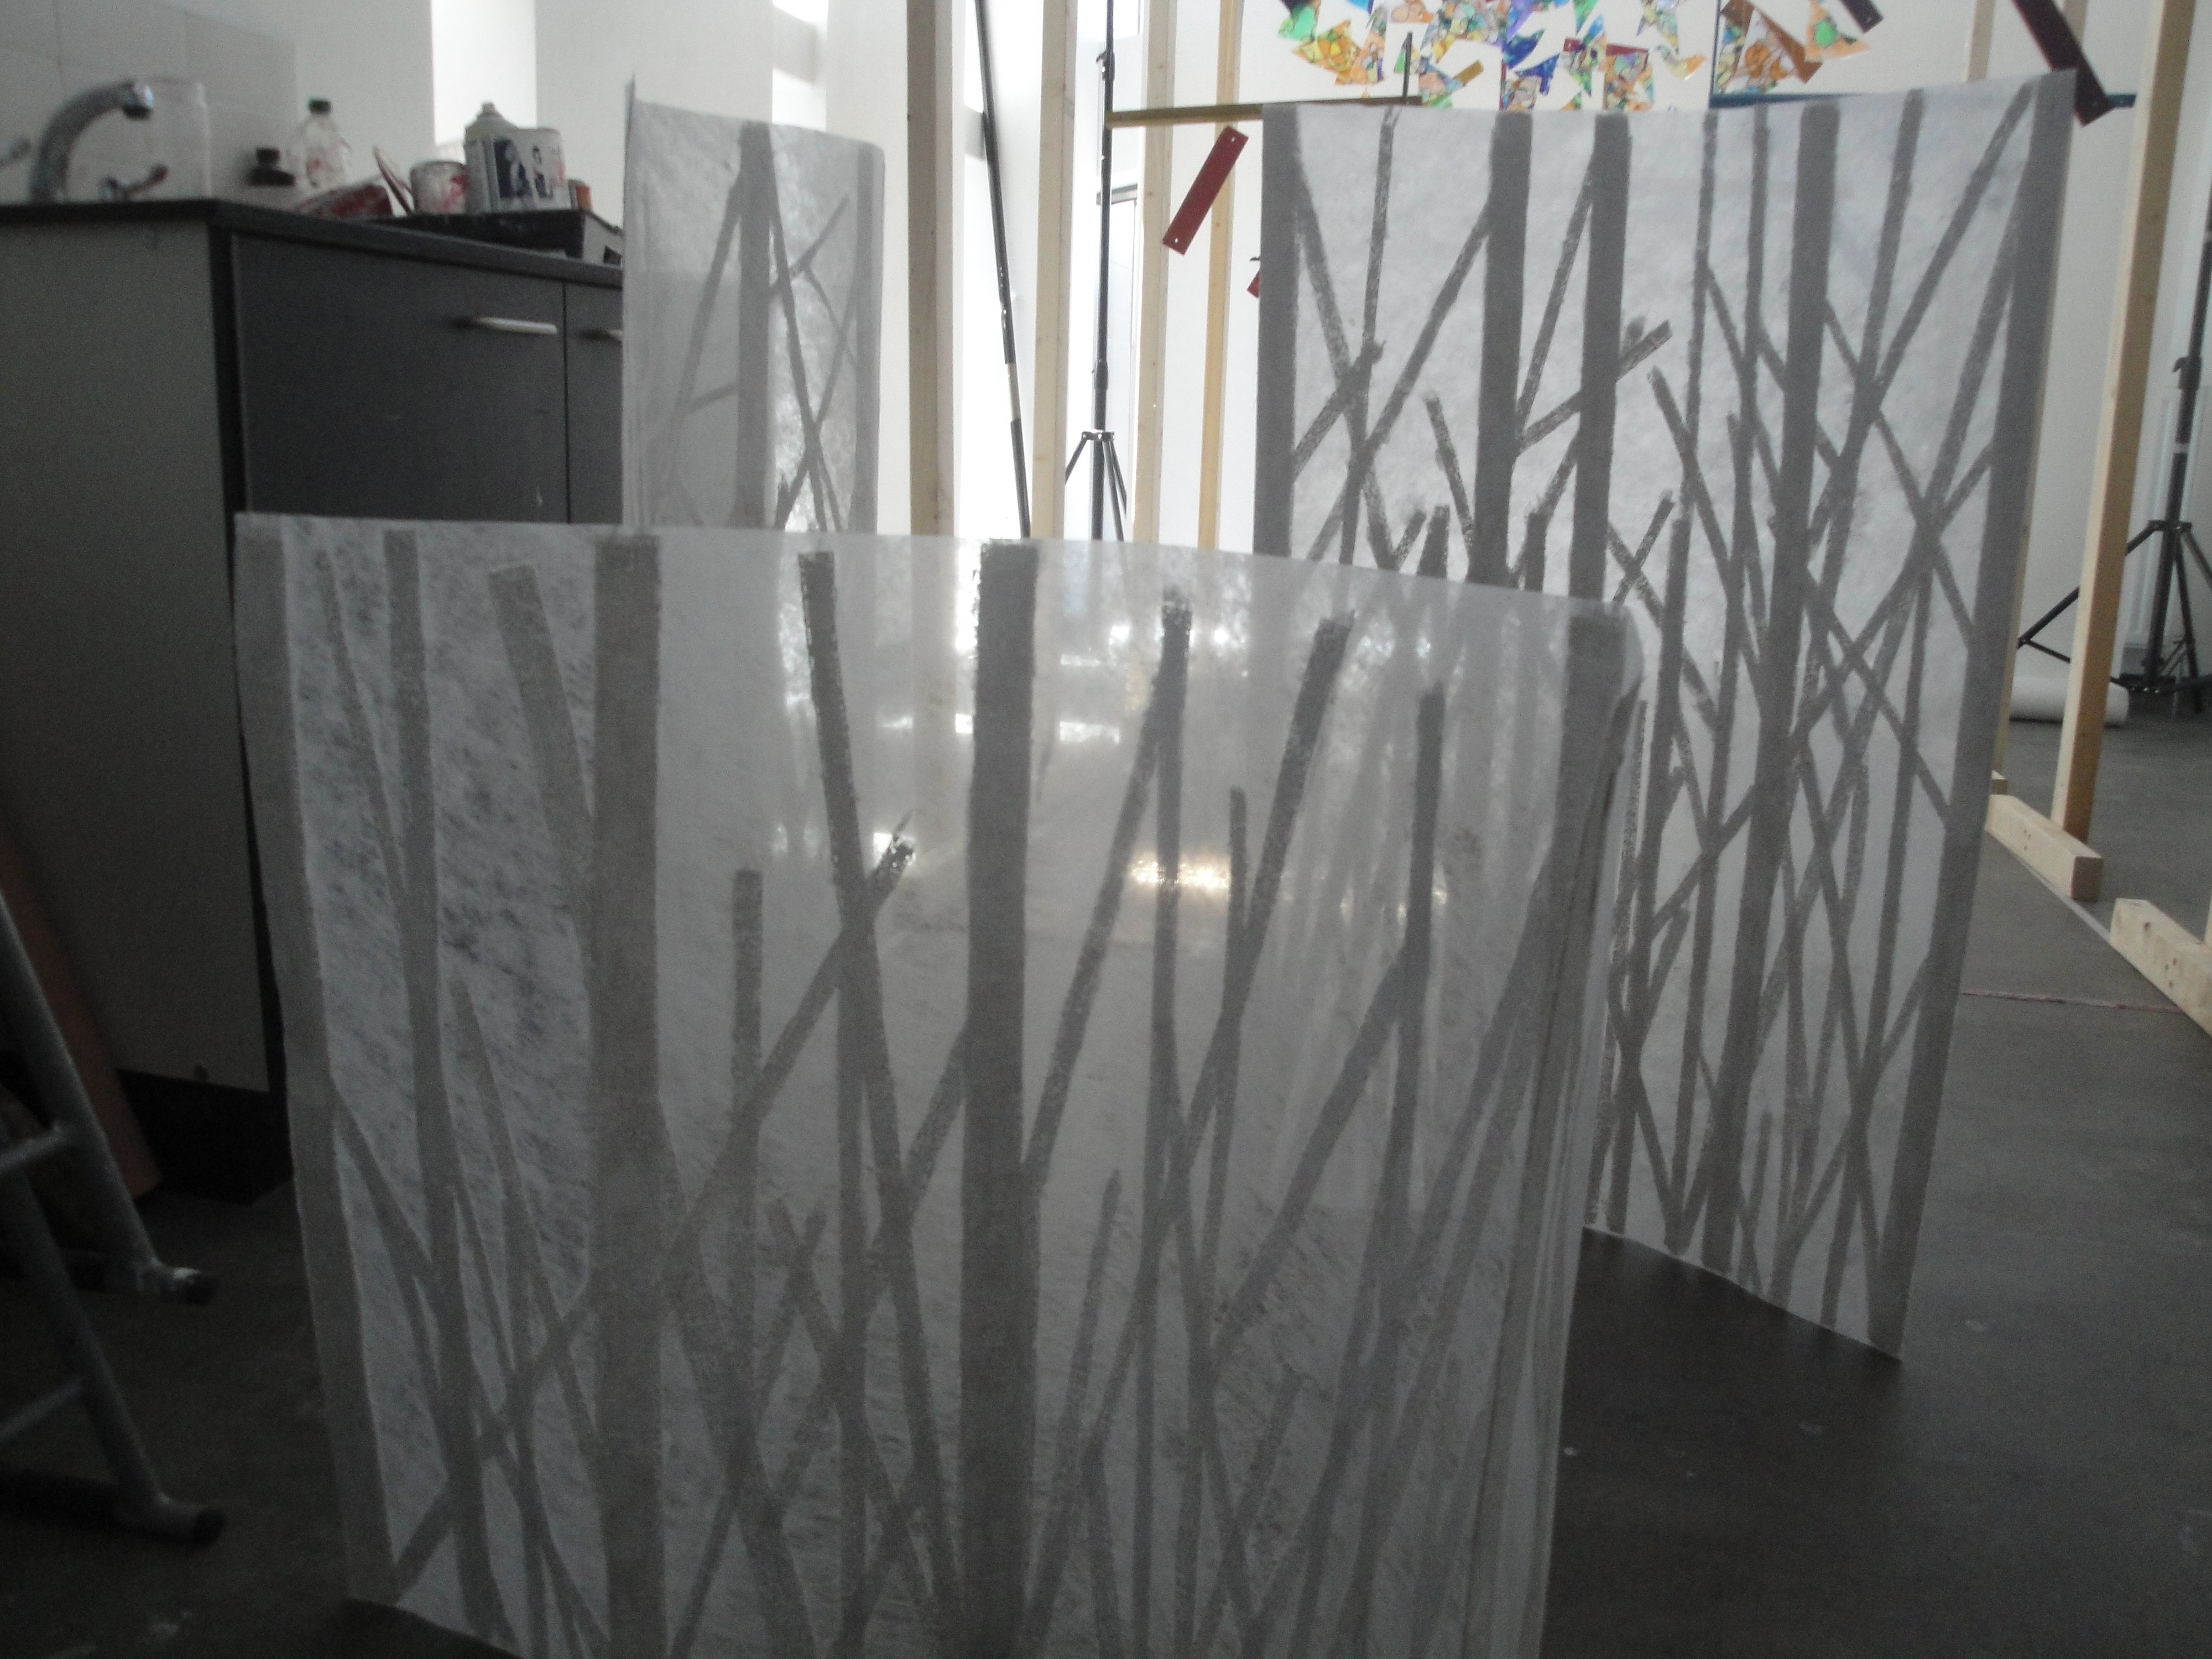
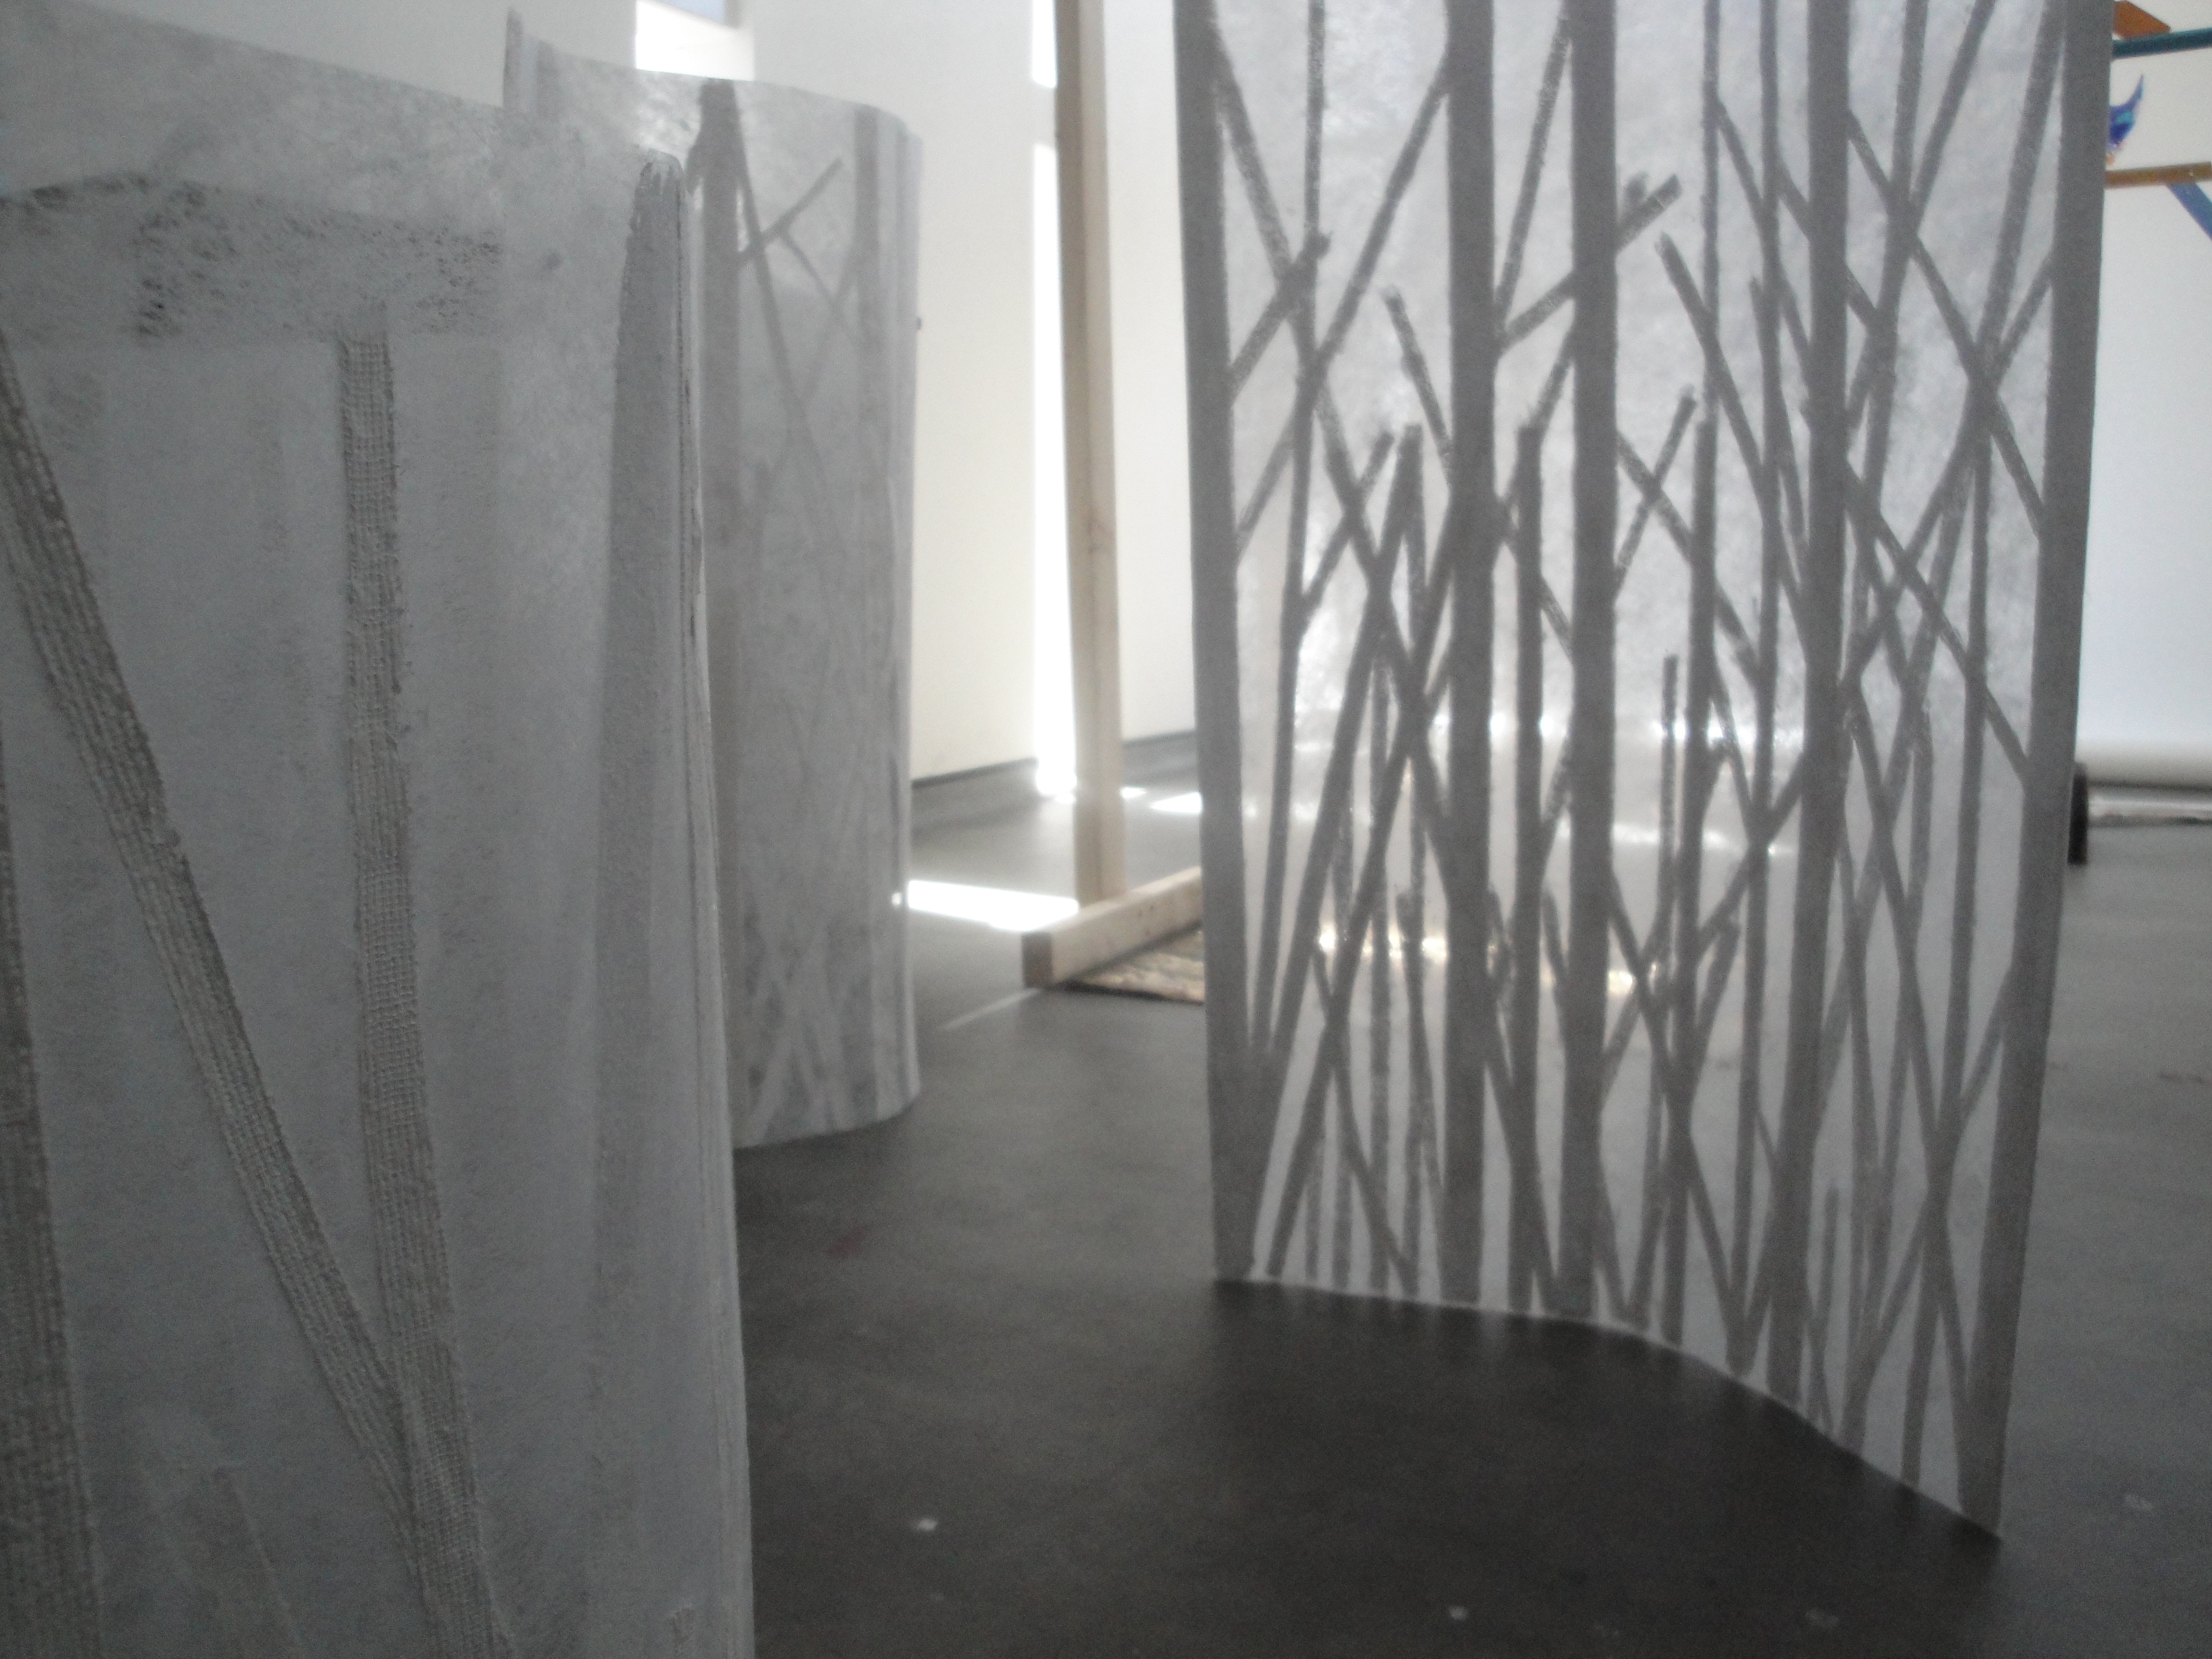
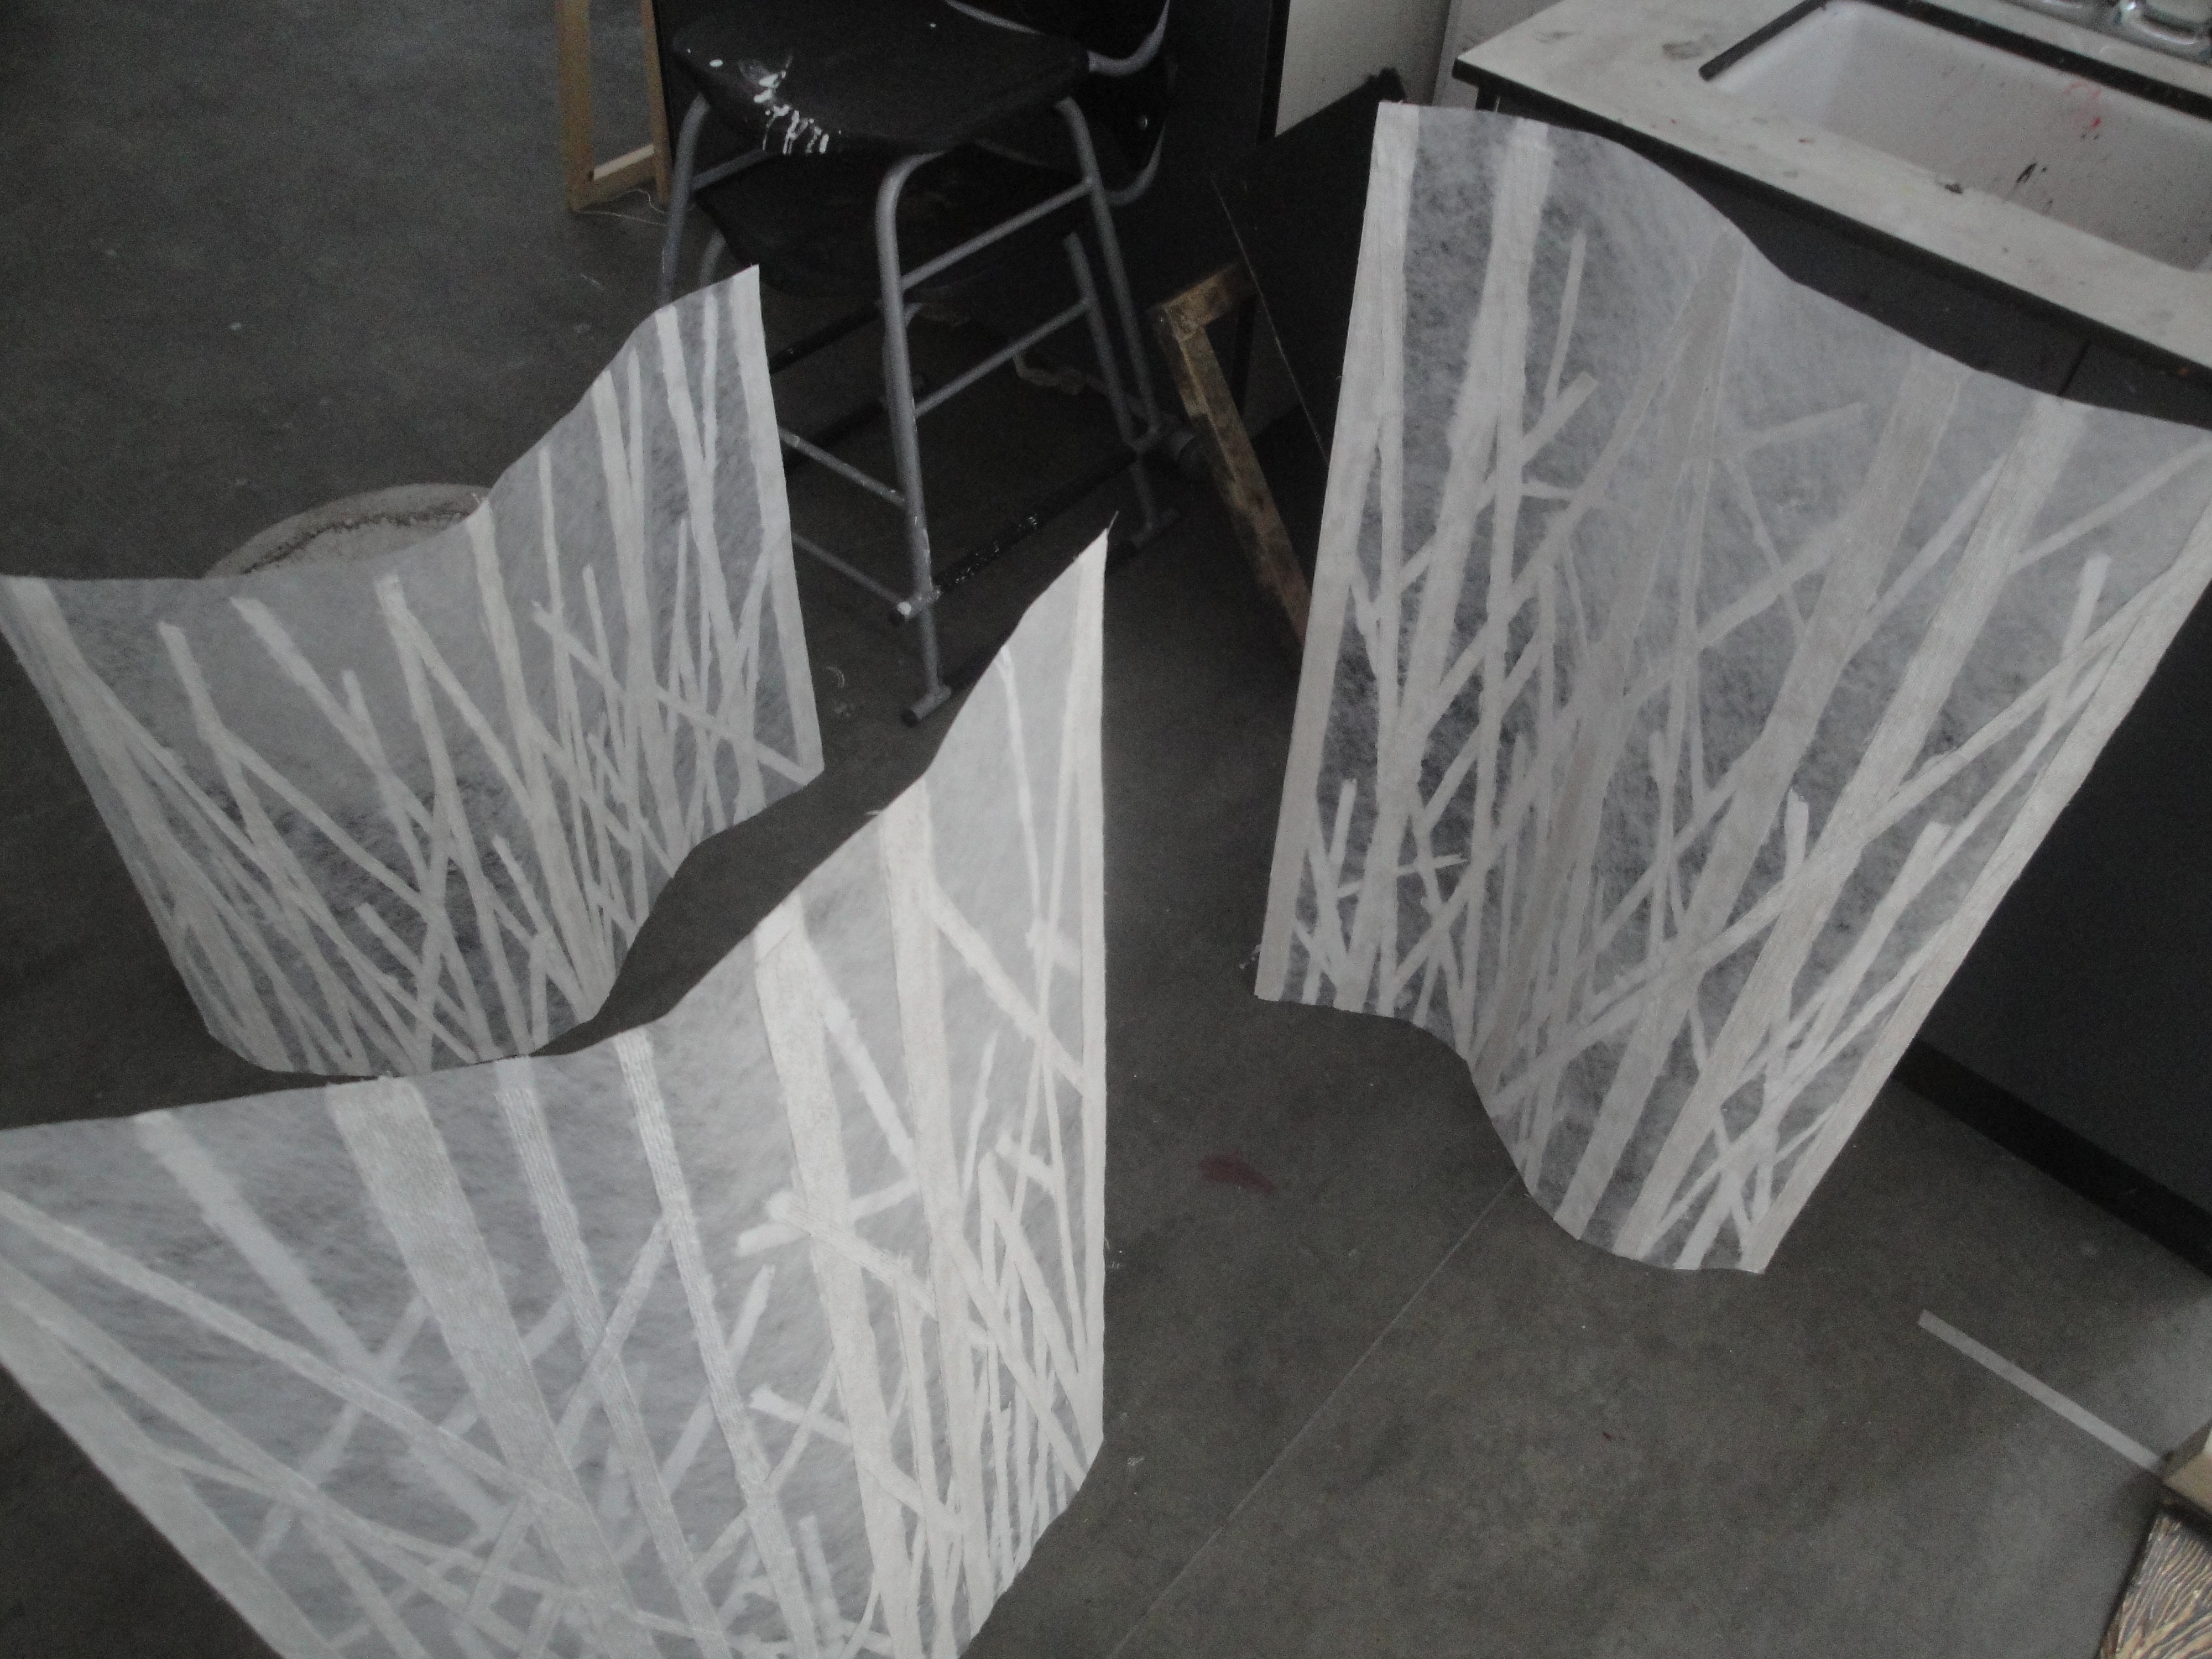
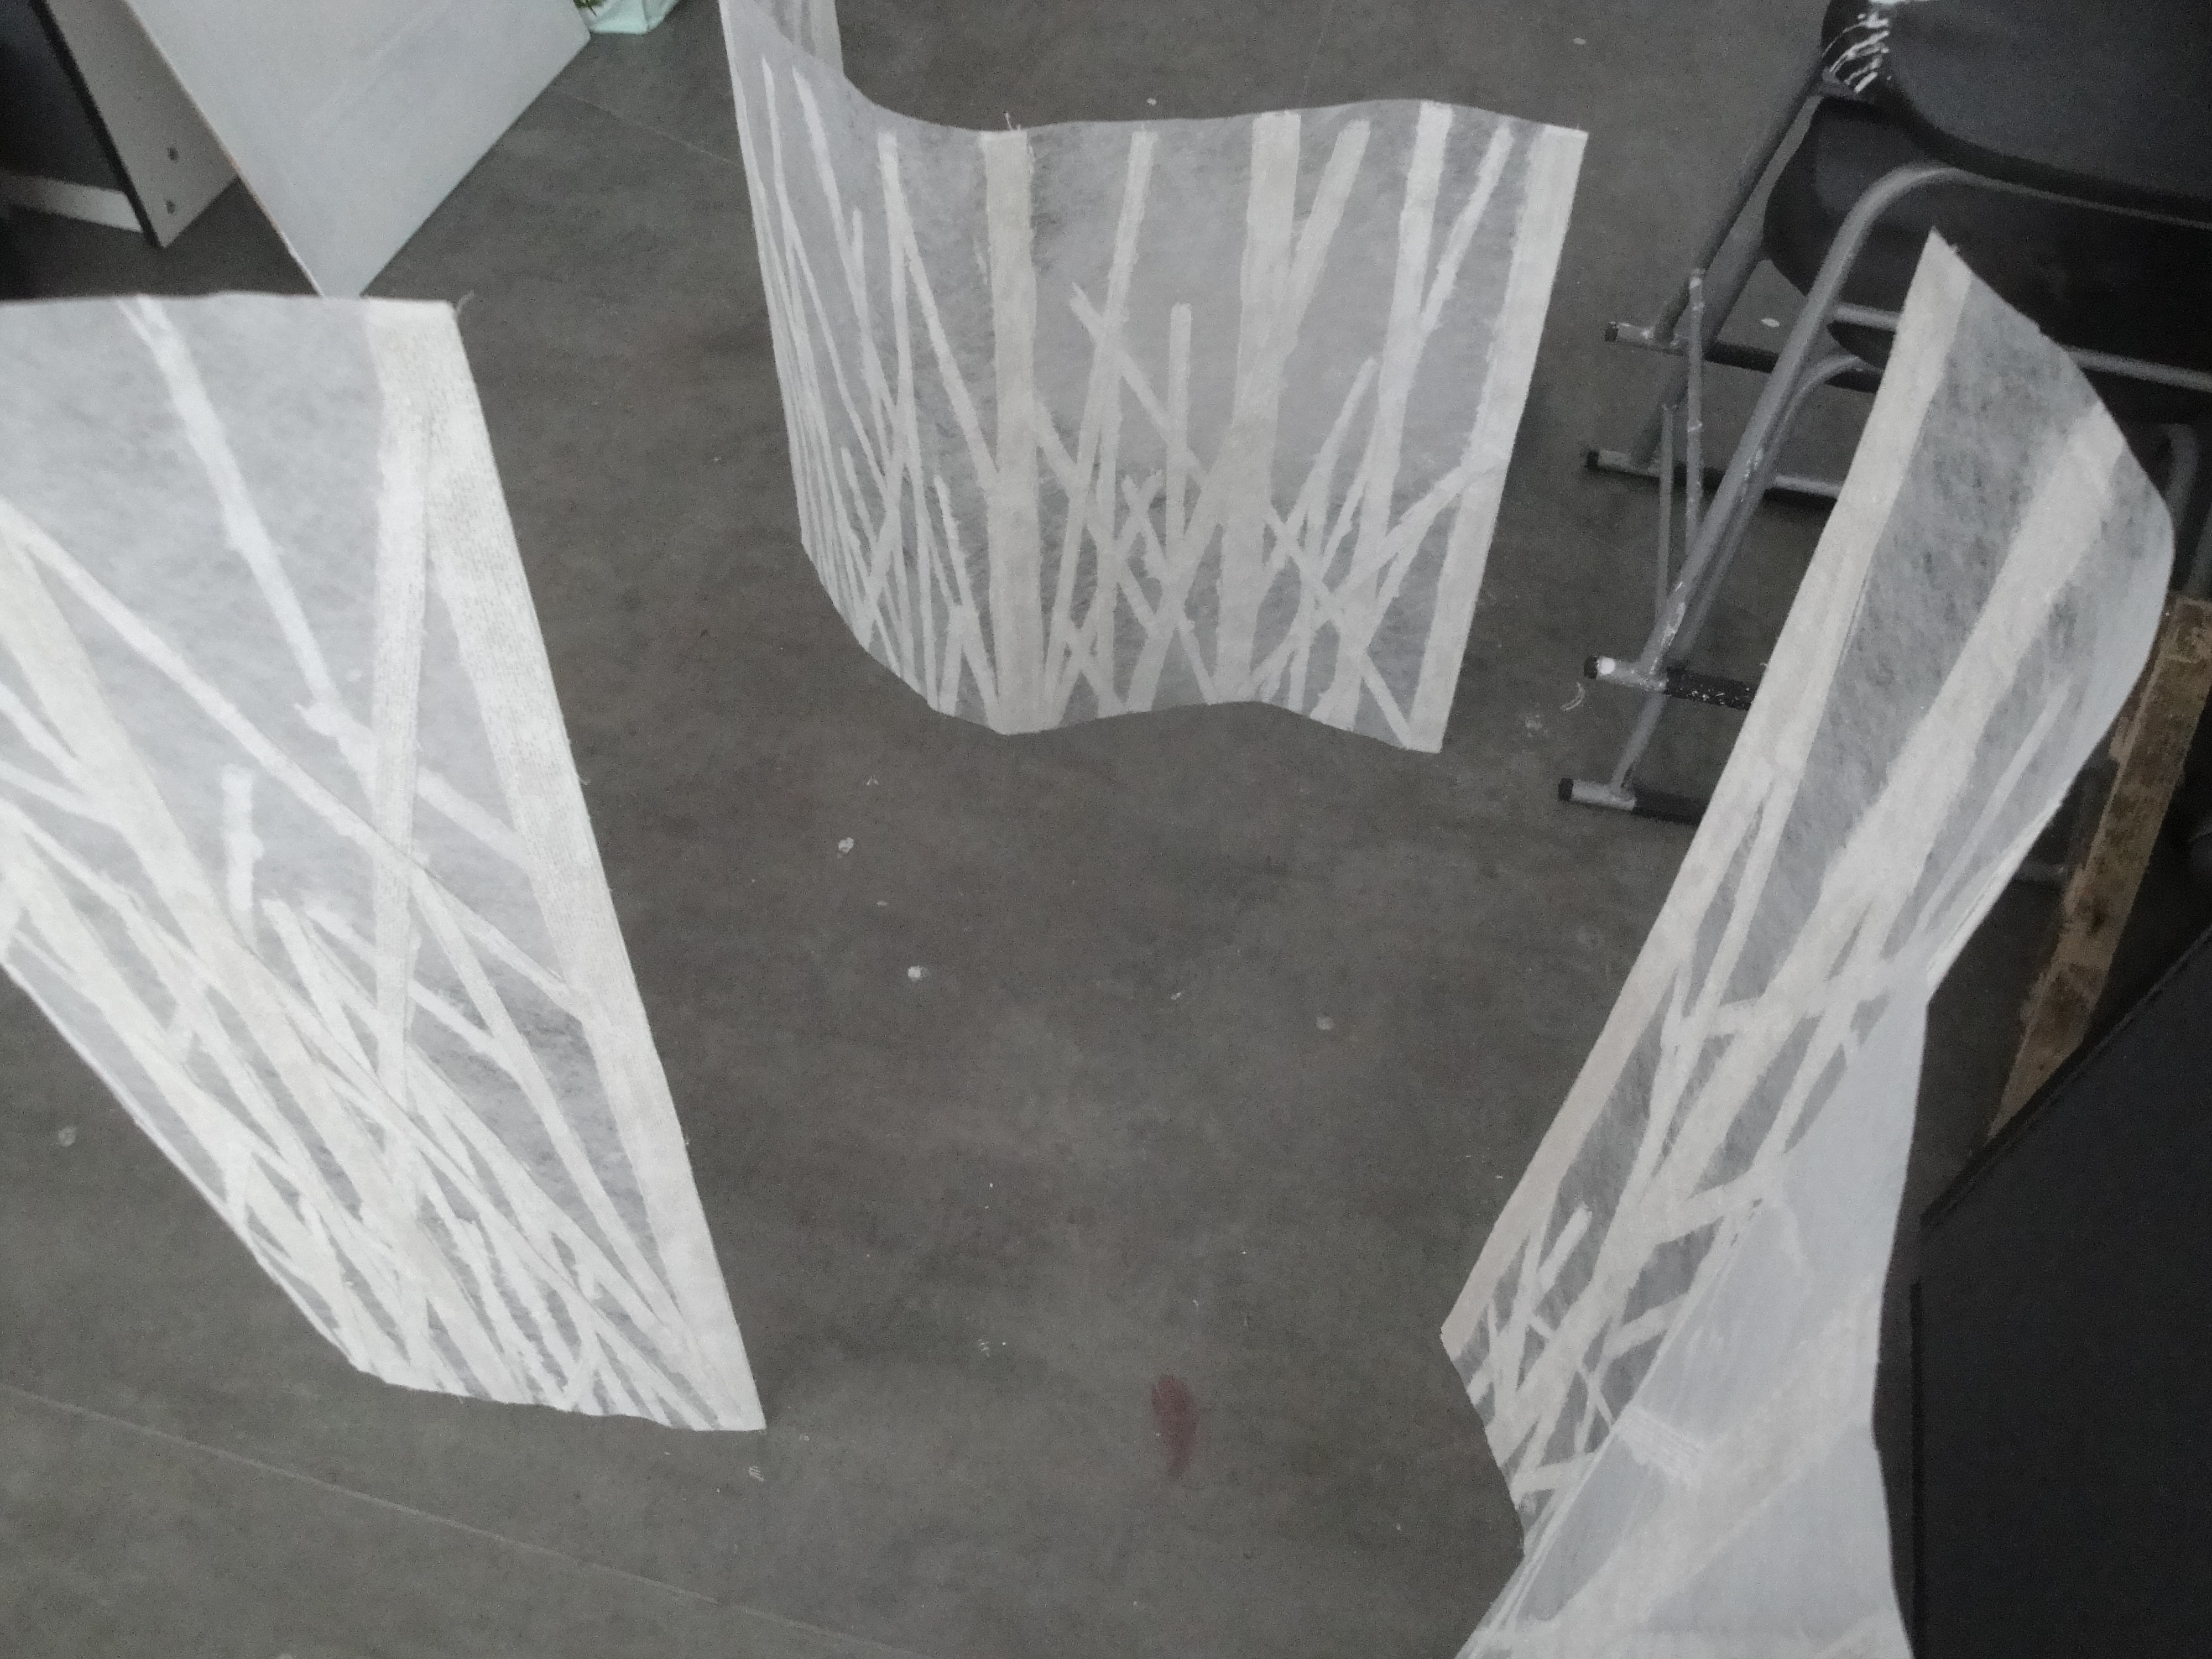
It is a relief to now know where I will exhibit ‘Shinrin’. Happily, it is in the studio. The Atrium in the main college building had been mentioned and although it would be an interesting challenge to ‘go big’ like that, (and indeed, I have made extra elements to allow for that,) I really would prefer to exhibit along with my course colleagues as part of ‘our little Foundation family’ as someone called it on the group chat. It means that I can begin to focus on final details. One such, is that the standing elements are self supporting (as pictured below) (including the 60×120!!!!) without any horizontal plaster work. In the trial pieces I applied plaster at the top and the bottom. To finish these pieces, I will apply it only to the bottom – just to give enough strength to preserve their vertical integrity in order to be confident people could move around them if they want to walk through the installation. The looseness at the top looks more natural and gives a beautiful softness that wasn’t in the test pieces – they looked rather blocky.
It is interesting to note that each piece has its own natural ‘curve’ which allows it to stay upright. This is the shape that I will need to create at the base with the horizontal plaster.
Over the last couple of days my thoughts have turned to the question of how to crate the installation pieces – they are quite fragile and need to be carried in a way that doesn’t break the plaster’s supporting qualities in the vertical plane – also, when the base support is applied to make them curved, this needs to be protected across the horizontal. As a further refinement from the trial pieces in which I applied the horizontal plaster around polystyrene formers; I will use ‘the crates’ I’m going to make, to double up as formers for the horizontal plaster work to go on next week. I have drawn the natural ‘standing’ curve for each element and will develop the crate/formers along these lines. I hope that using the ‘natural’ line each piece ‘wants to take’ will add to their strength, rather than ‘force’ a curve as in the test pieces where I cut the polystyrene before the pieces were made.
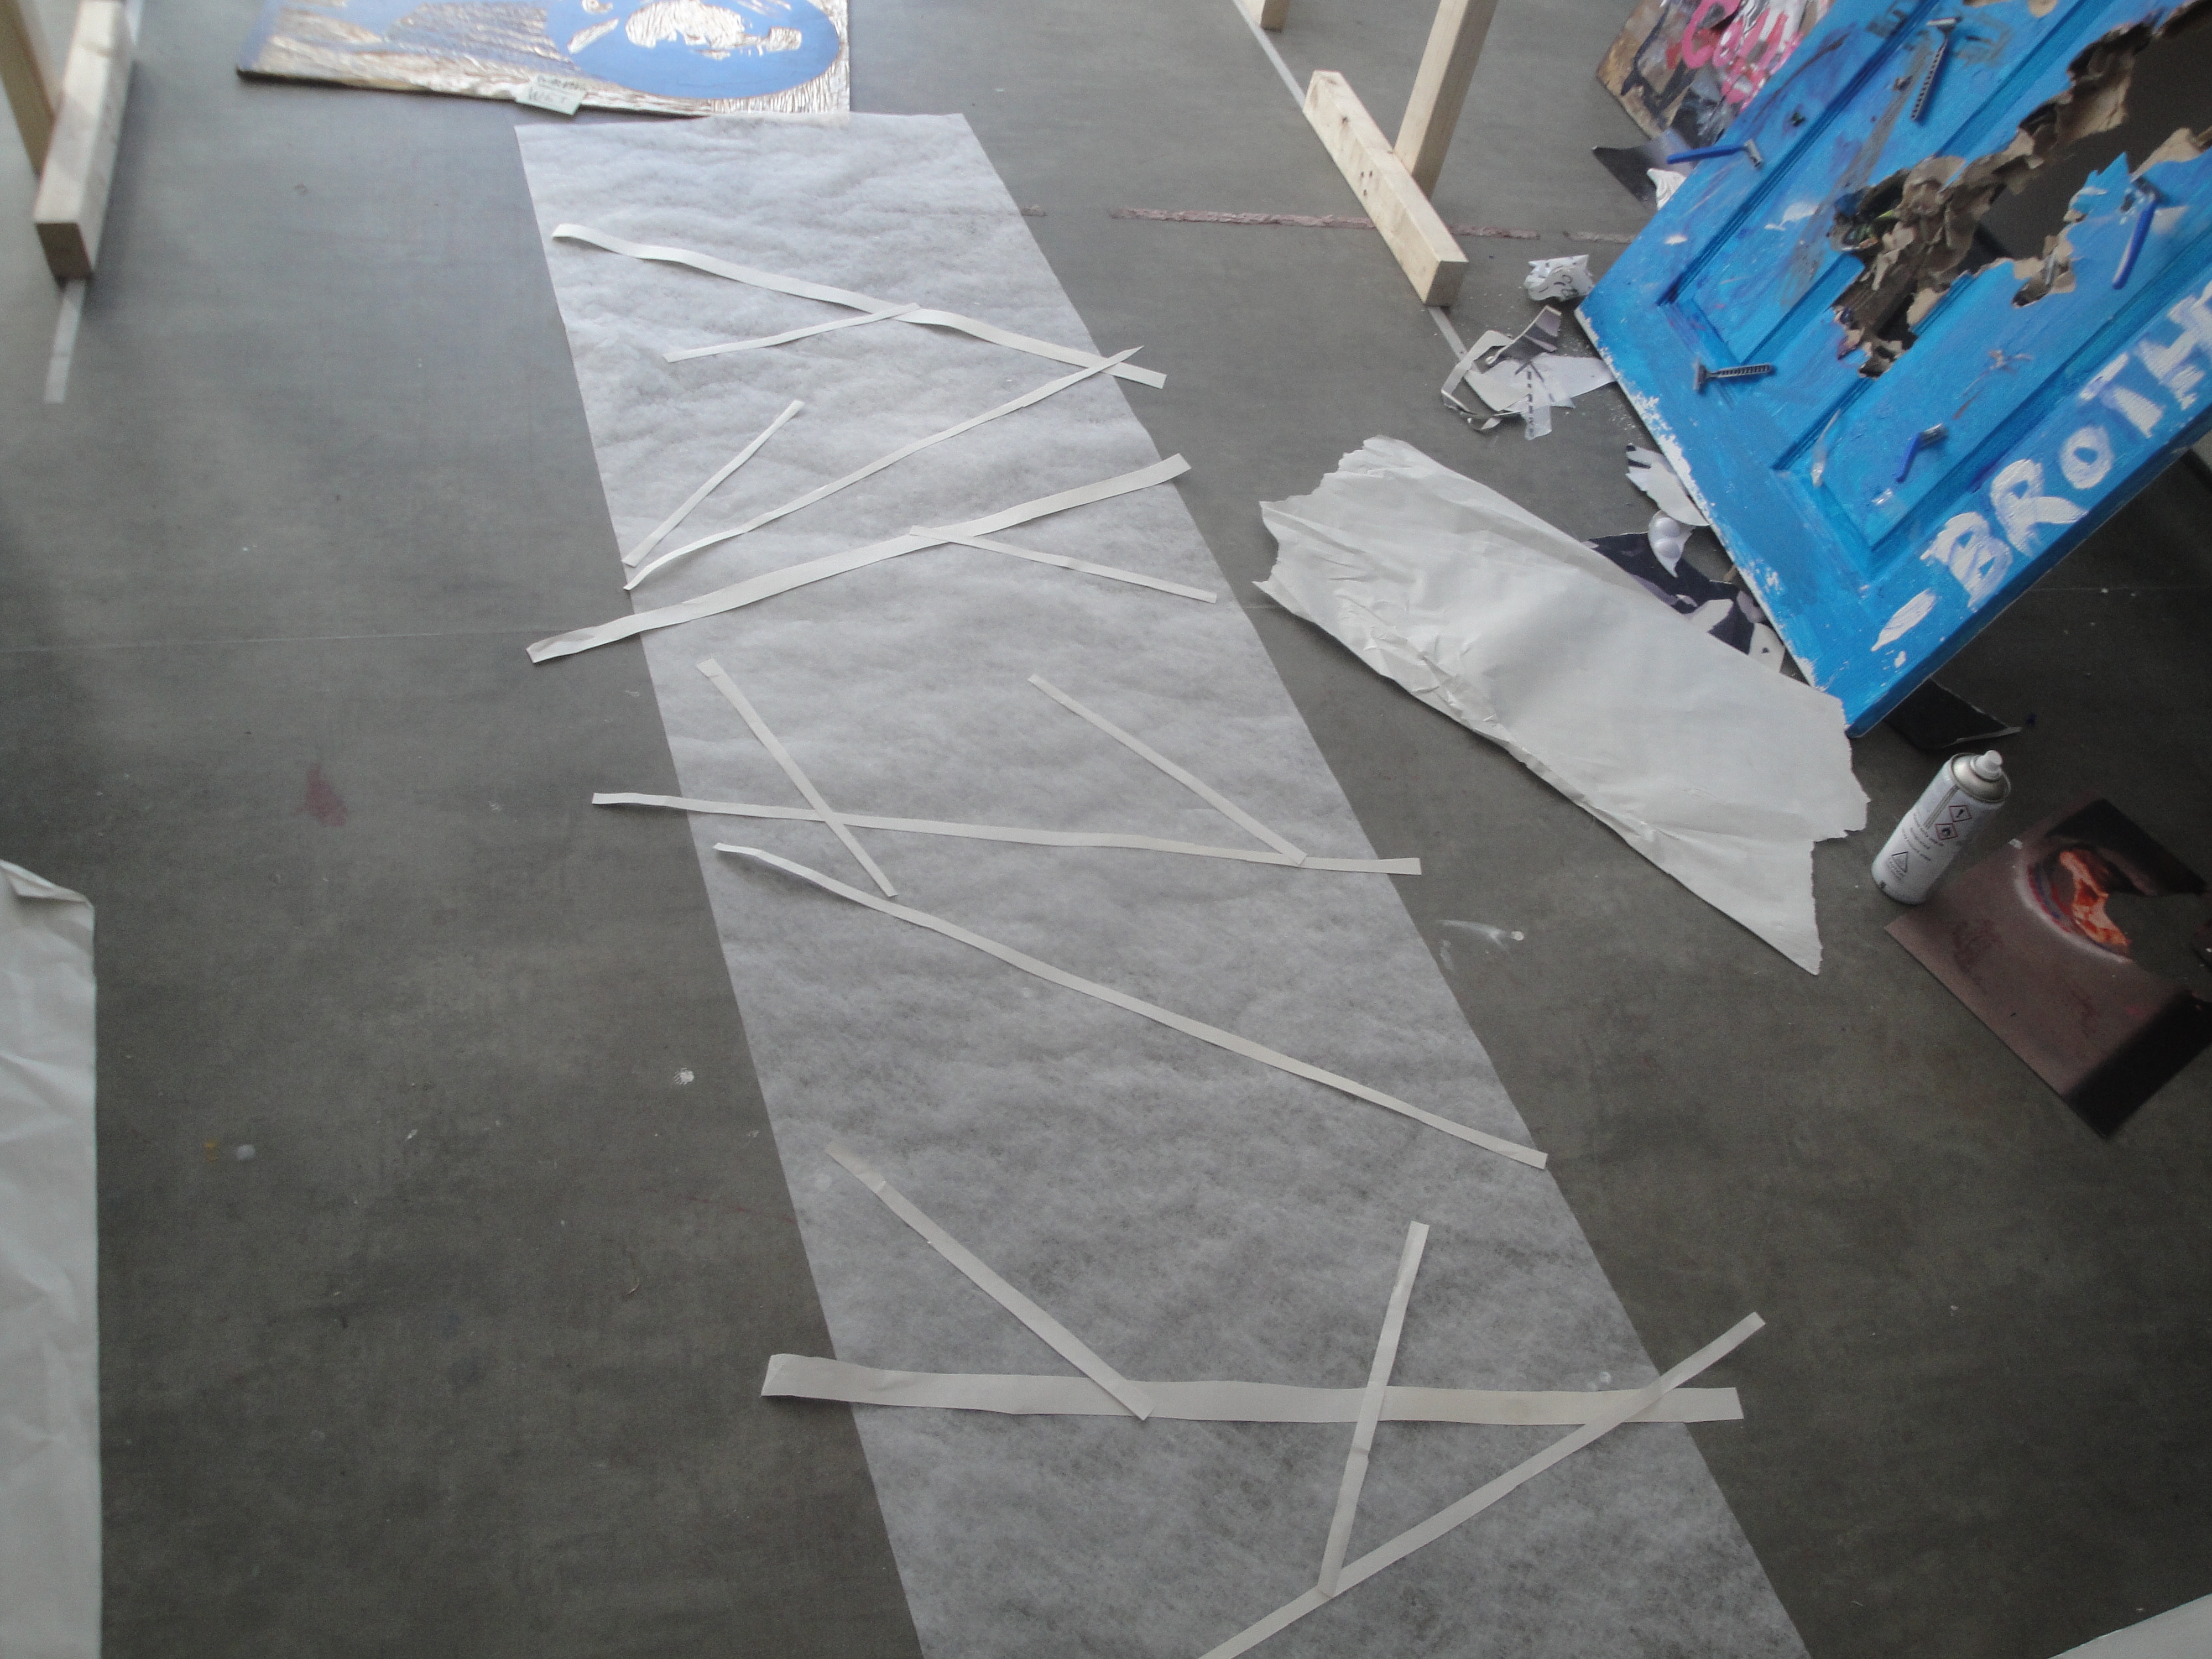
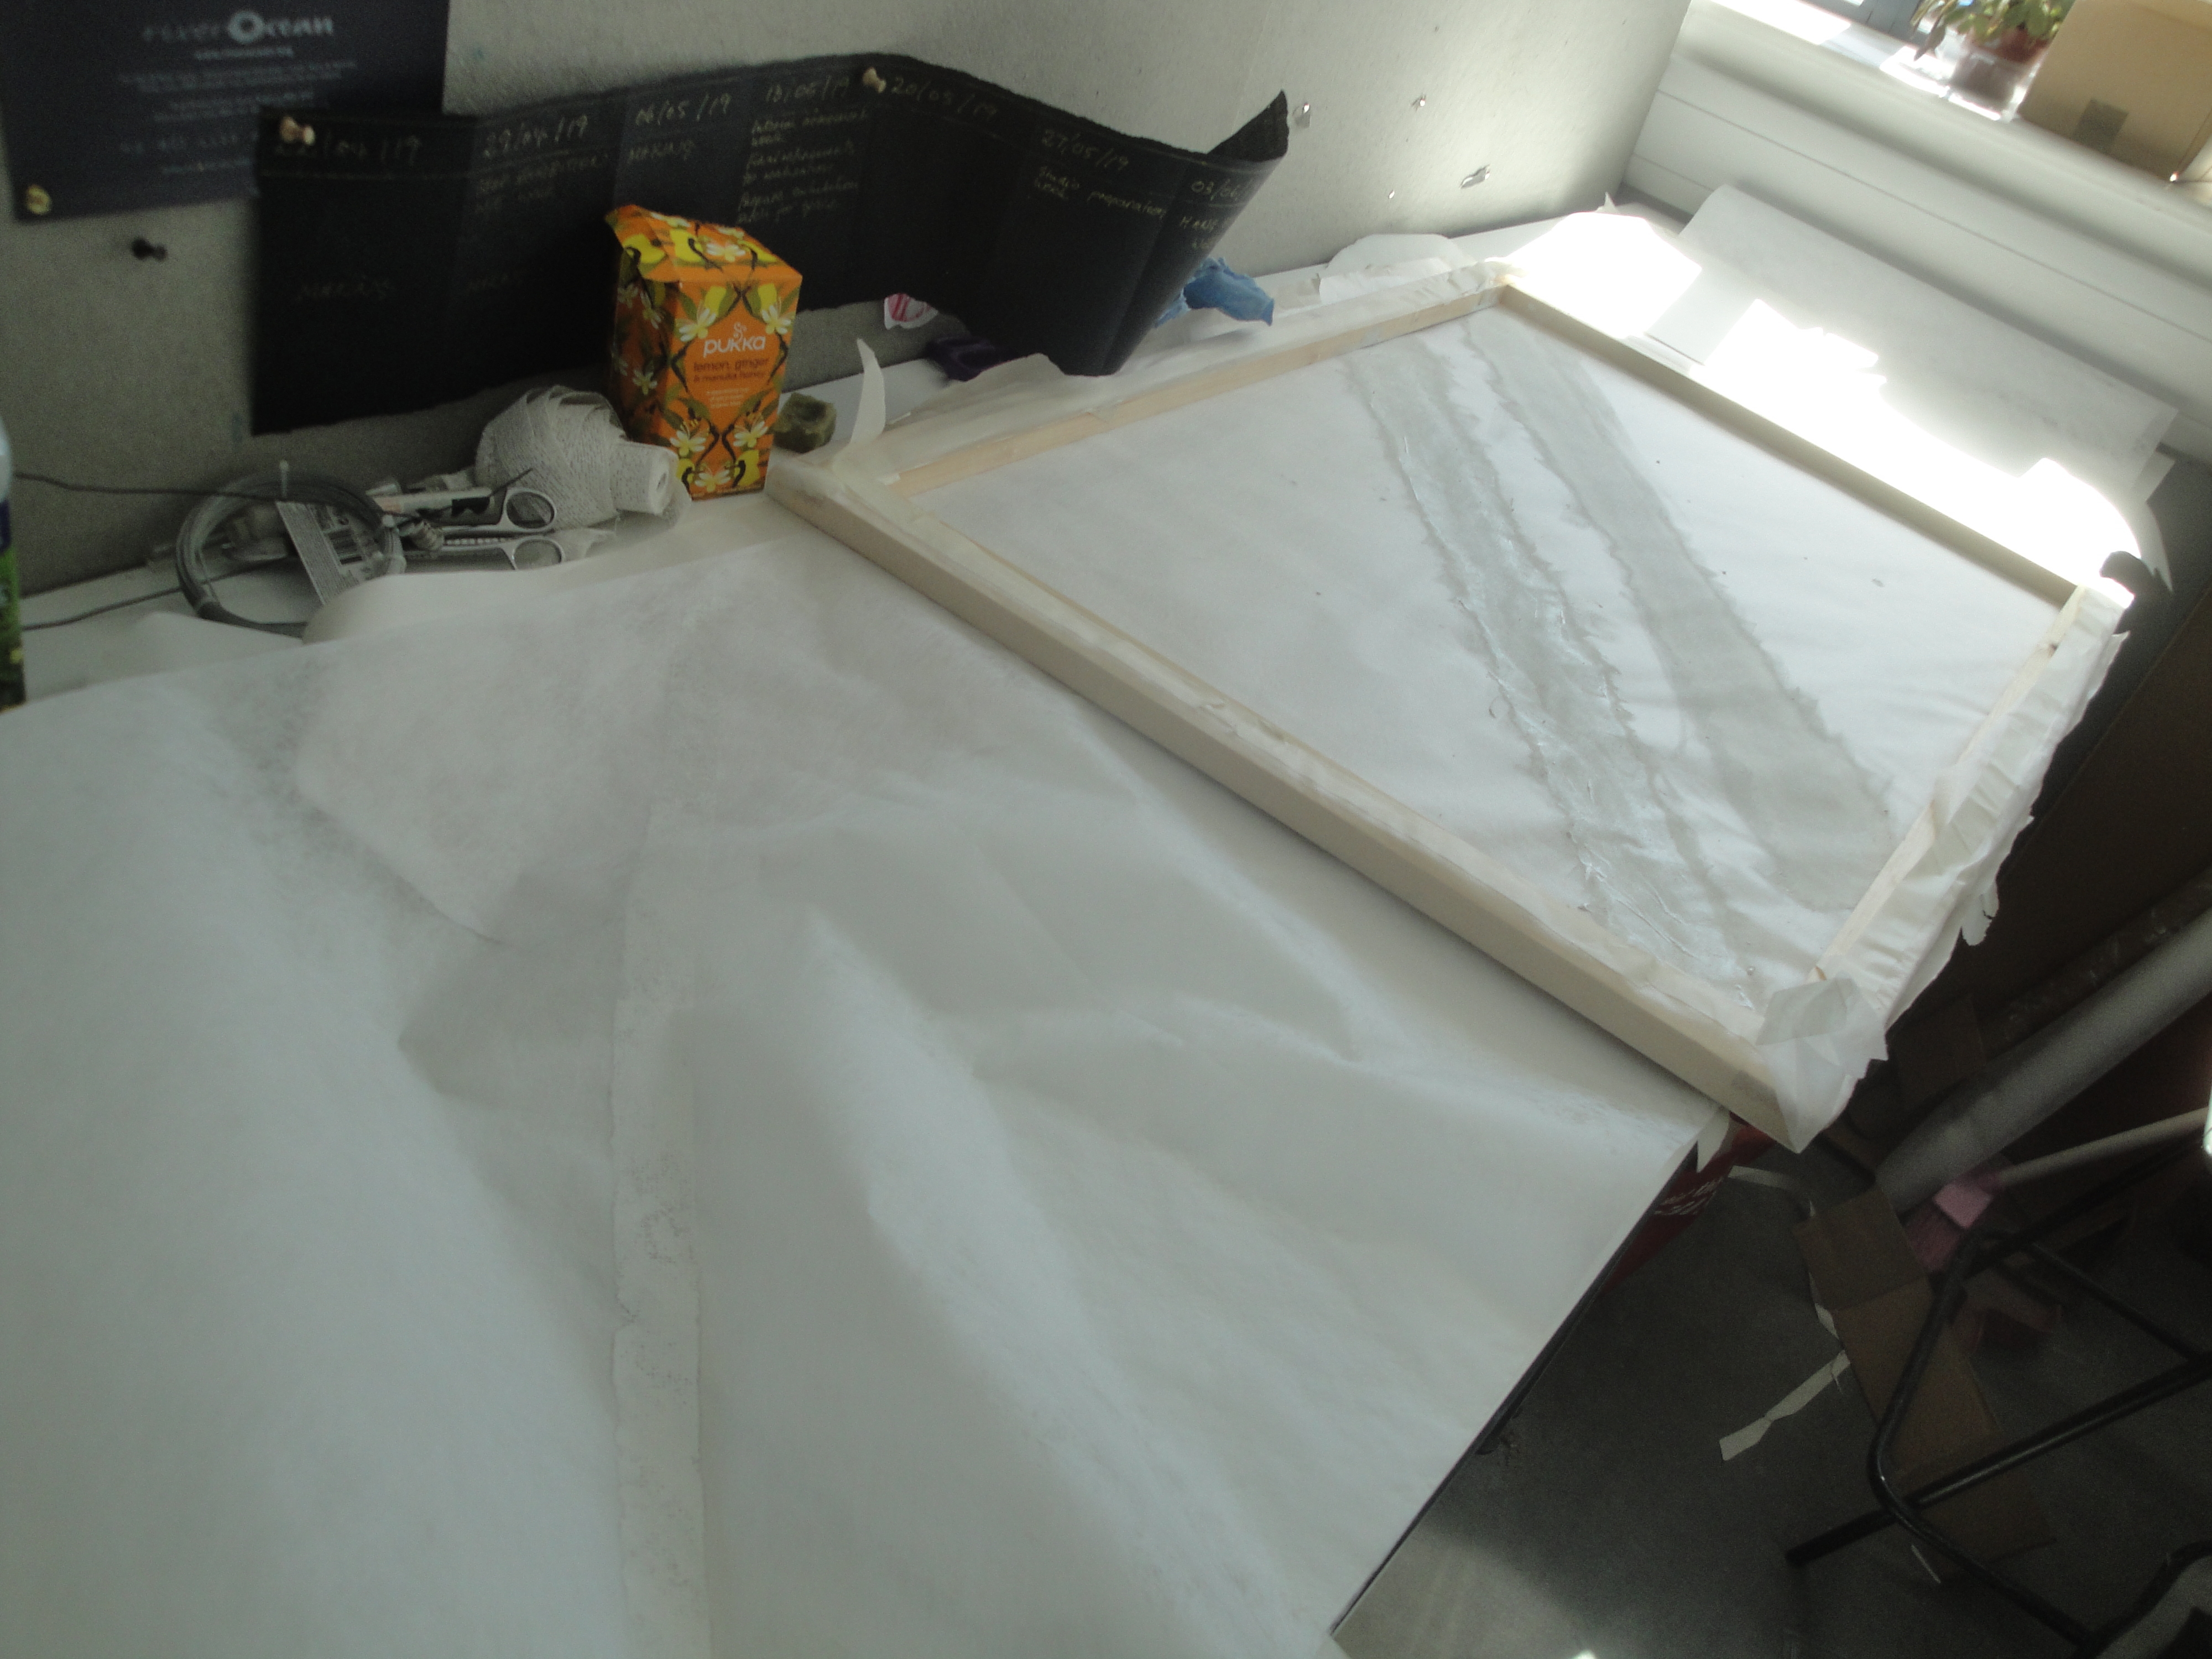
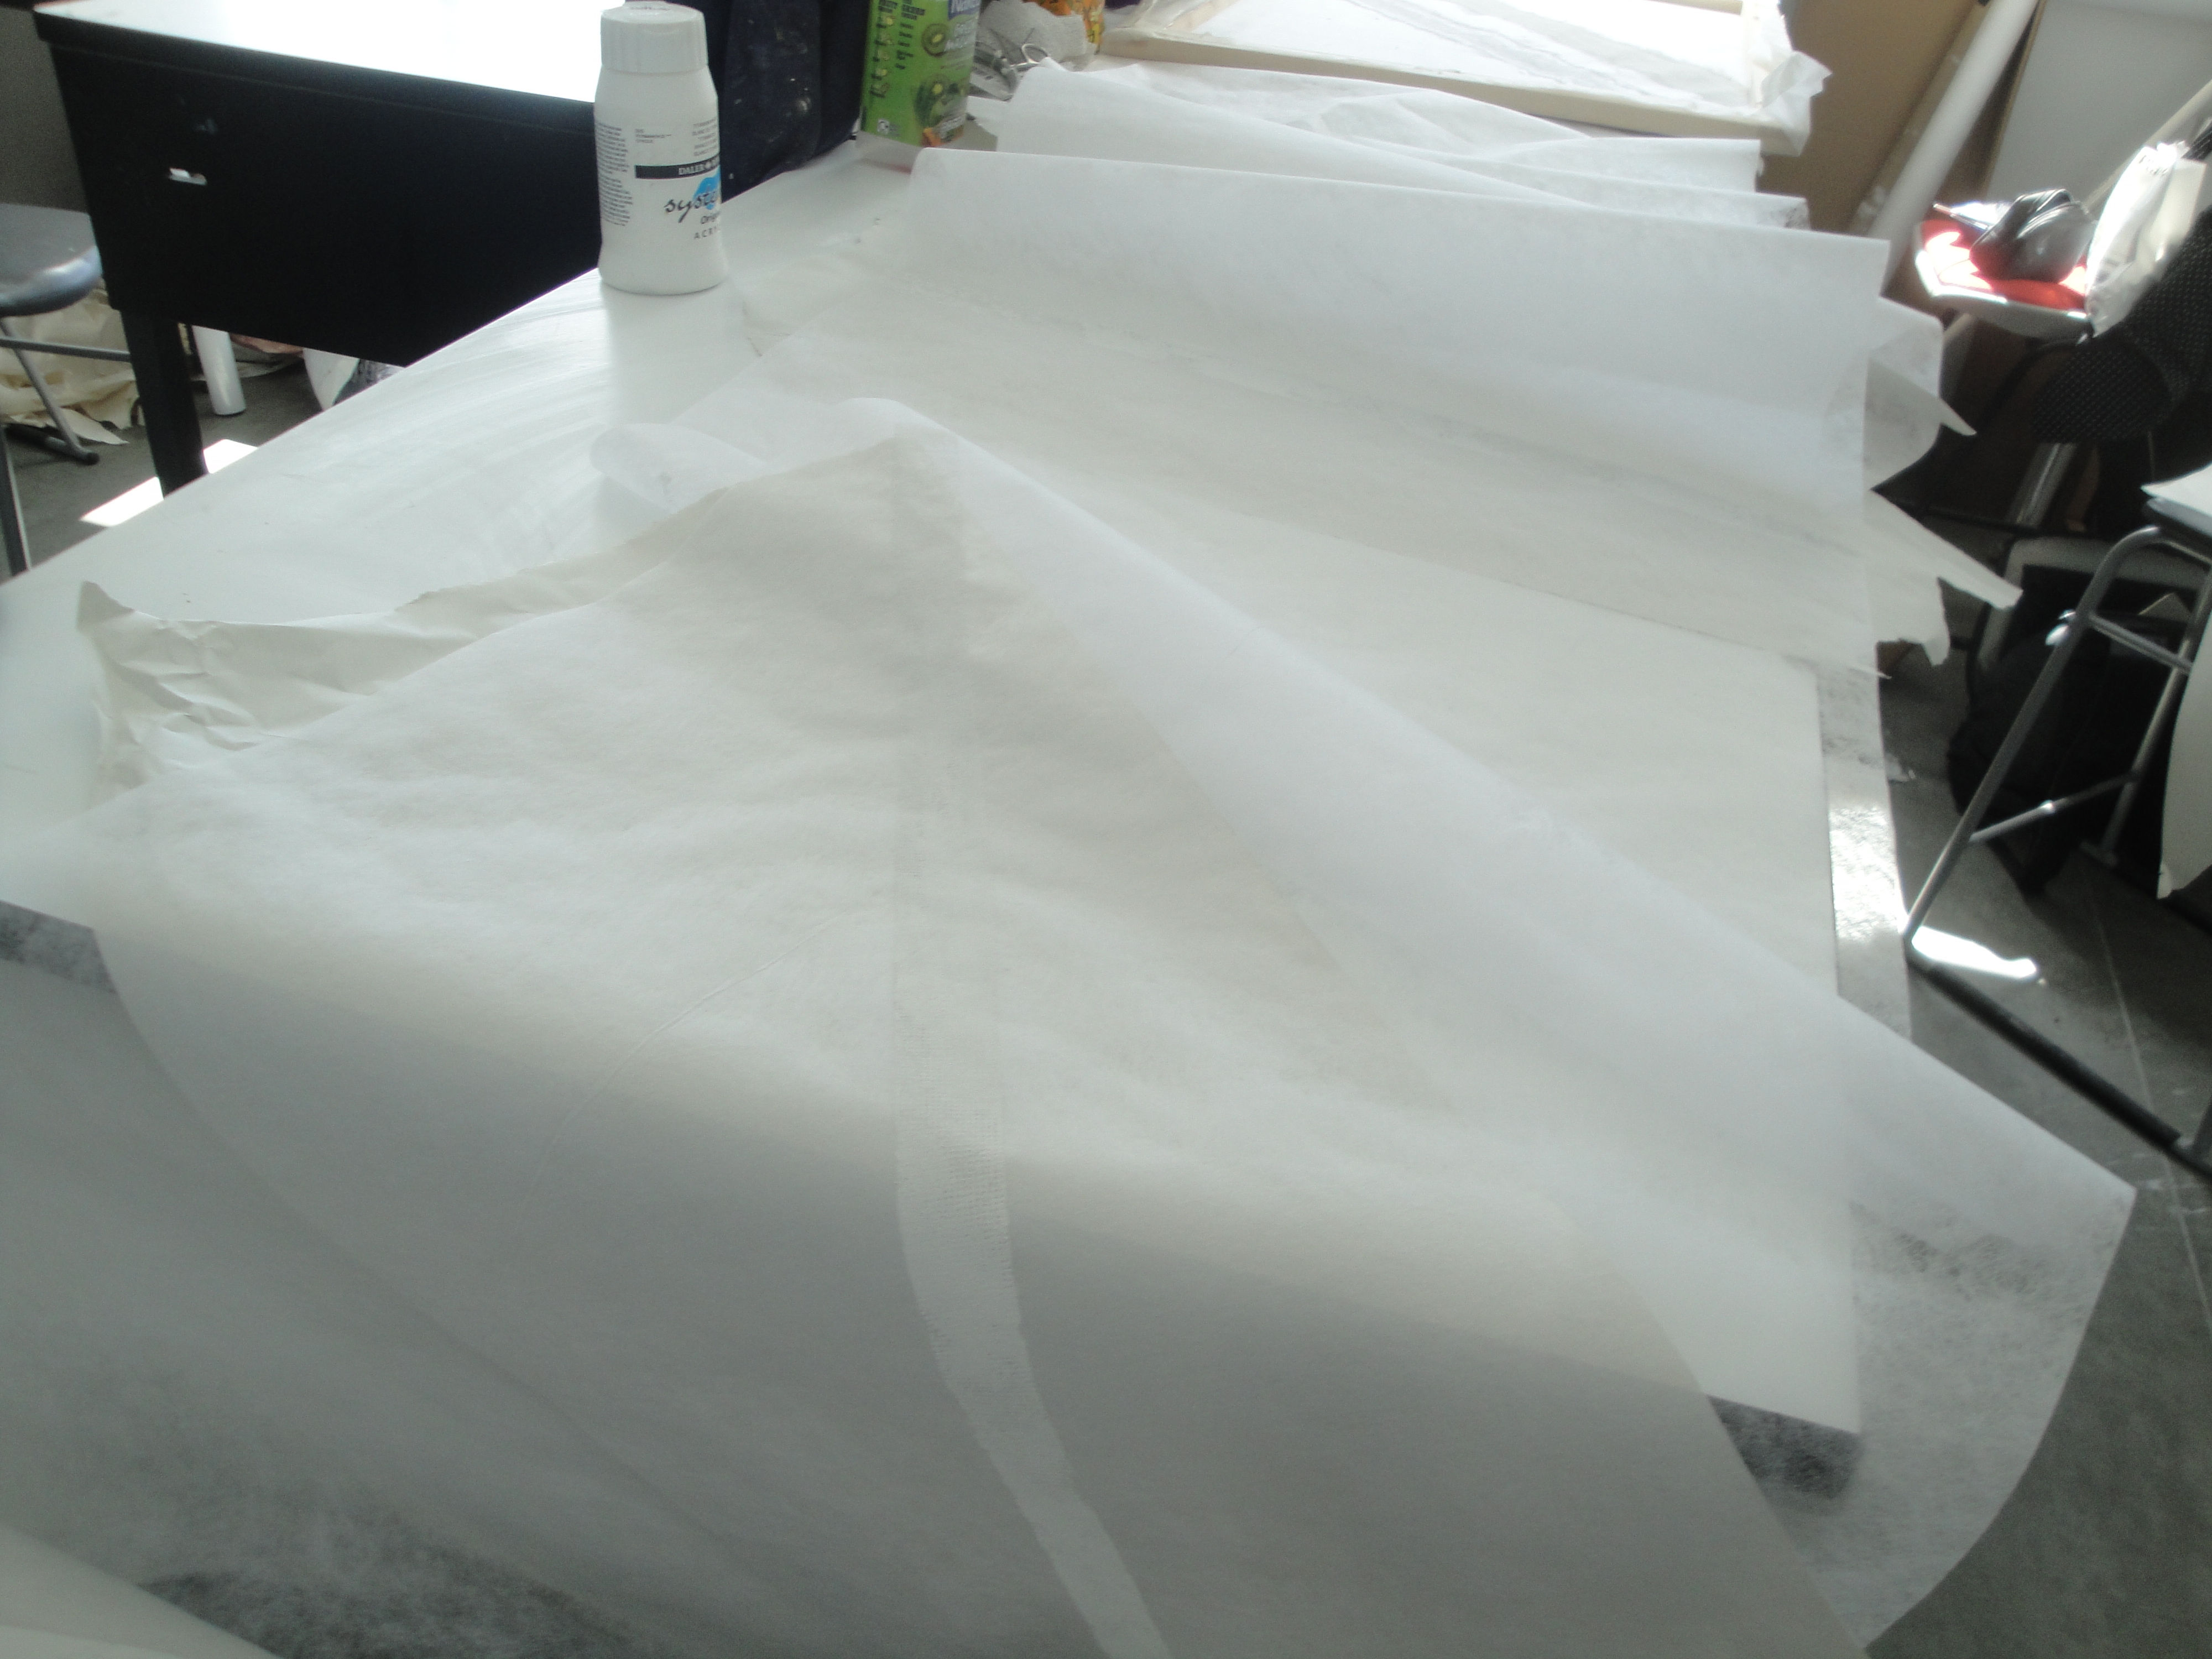
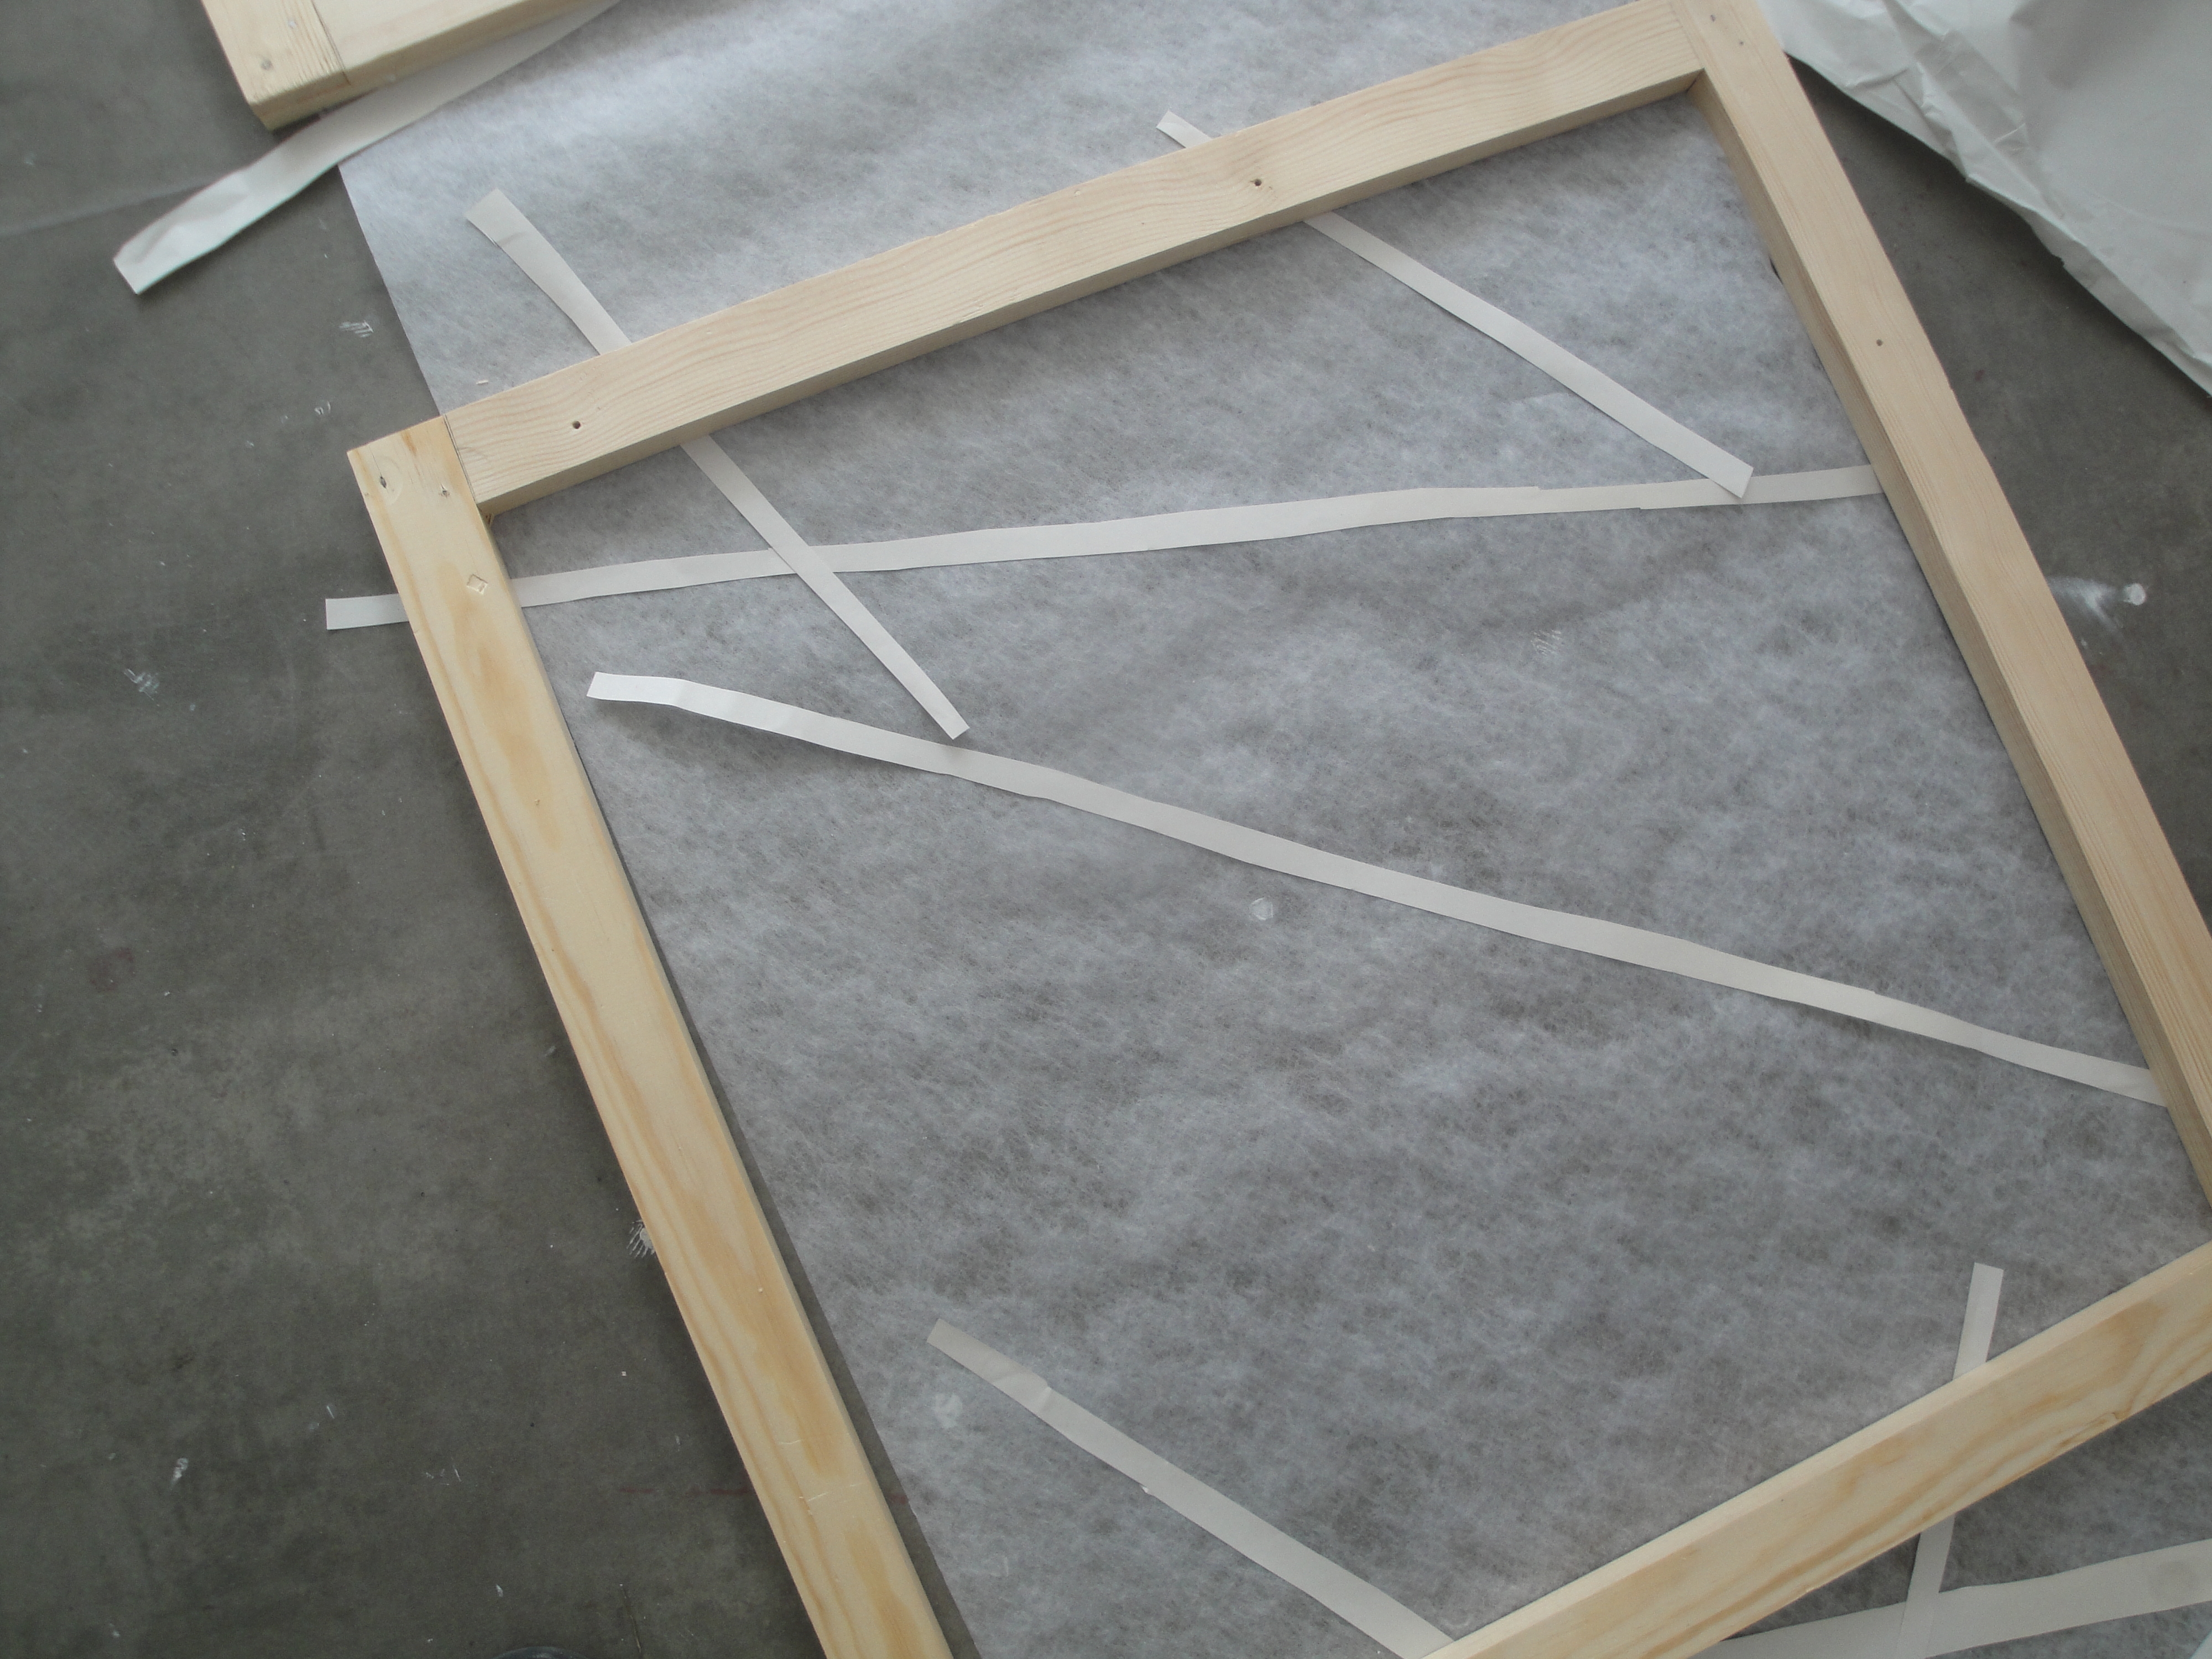
Most of today has been about beginning to print the hanging elements. In order that they balance with the standing elements I began by cutting paper strips (in same proportions as the plaster bandage strips) and laying them out along a 3 metre sample drape. With this as a visual reference, I have been able to begin the printing through crop protection fleece and newsprint screen. A mix of plaster and acrylic paint works well, taking the sheen of the acrylic while matching the plaster of the standing elements. The crop protection fleece gives a ‘meshy’ print matrix rather akin to the plaster bandage mesh which is a rather fortuitous result! Printing one line at a time is quite tedious but worth being patient with because the results are pleasing. Unfortunately, I didn’t reach my target of finishing this printing today however, and will have to find a means to complete it at home – arrgh – space????
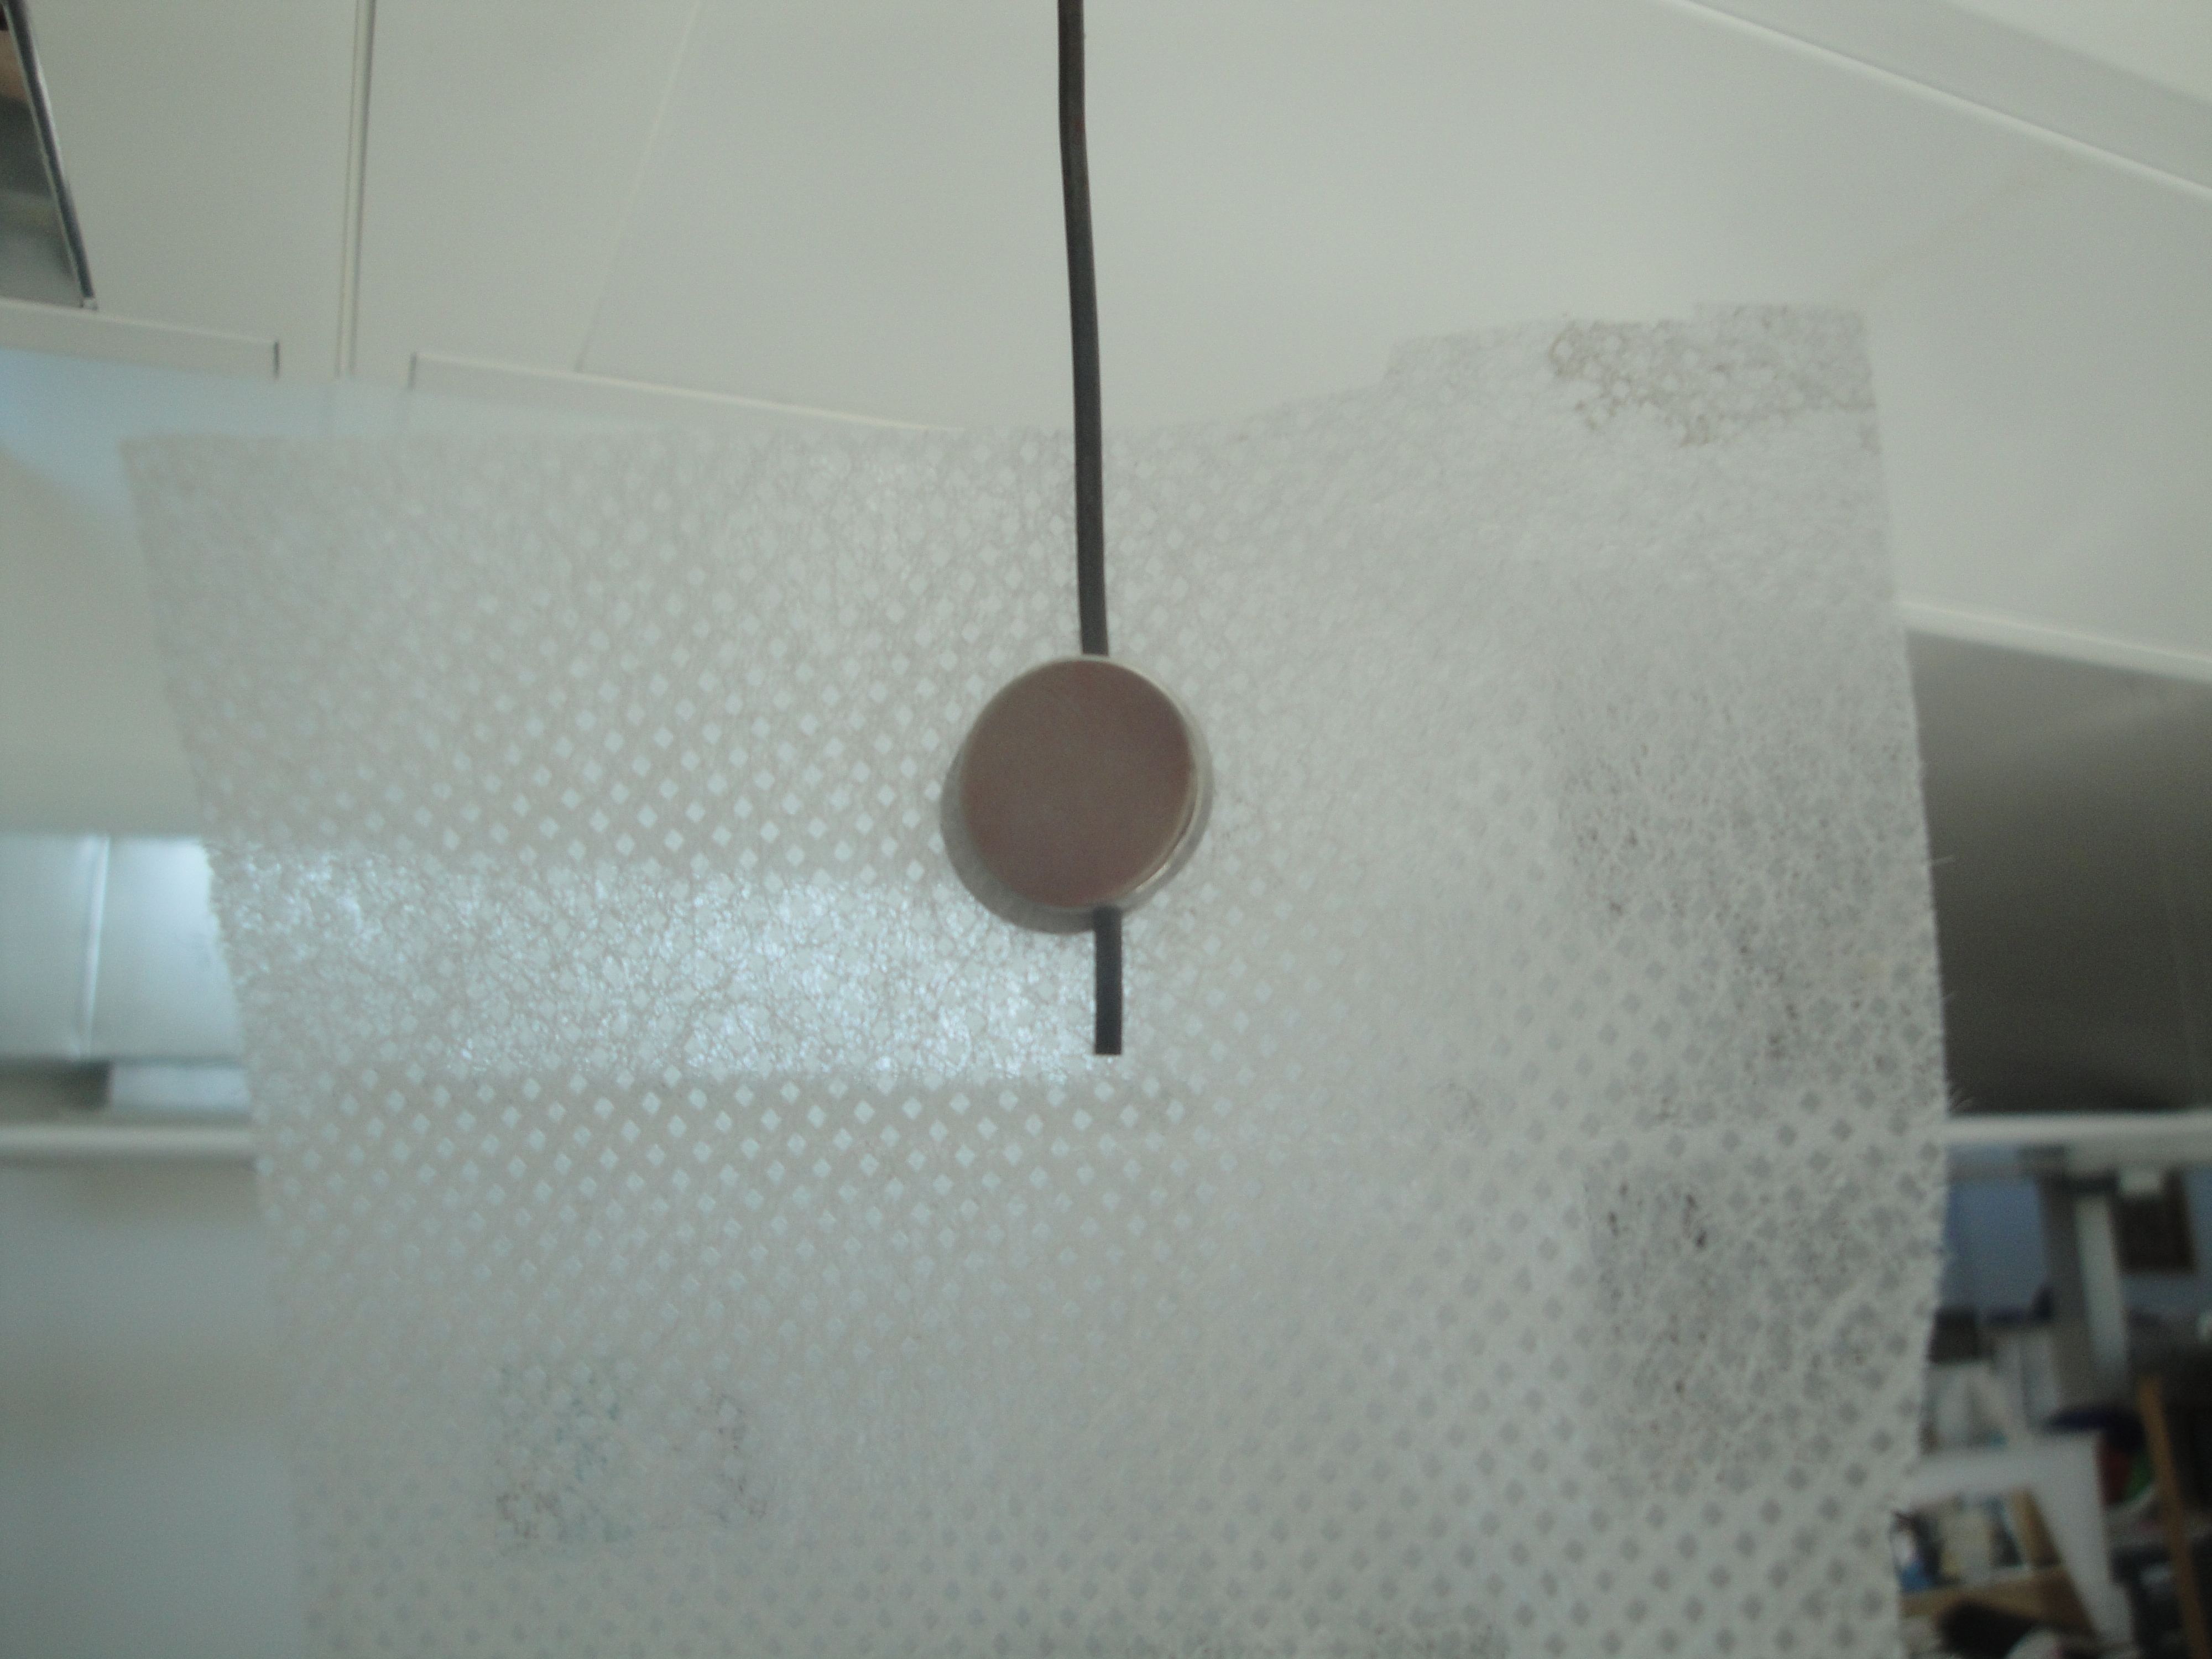
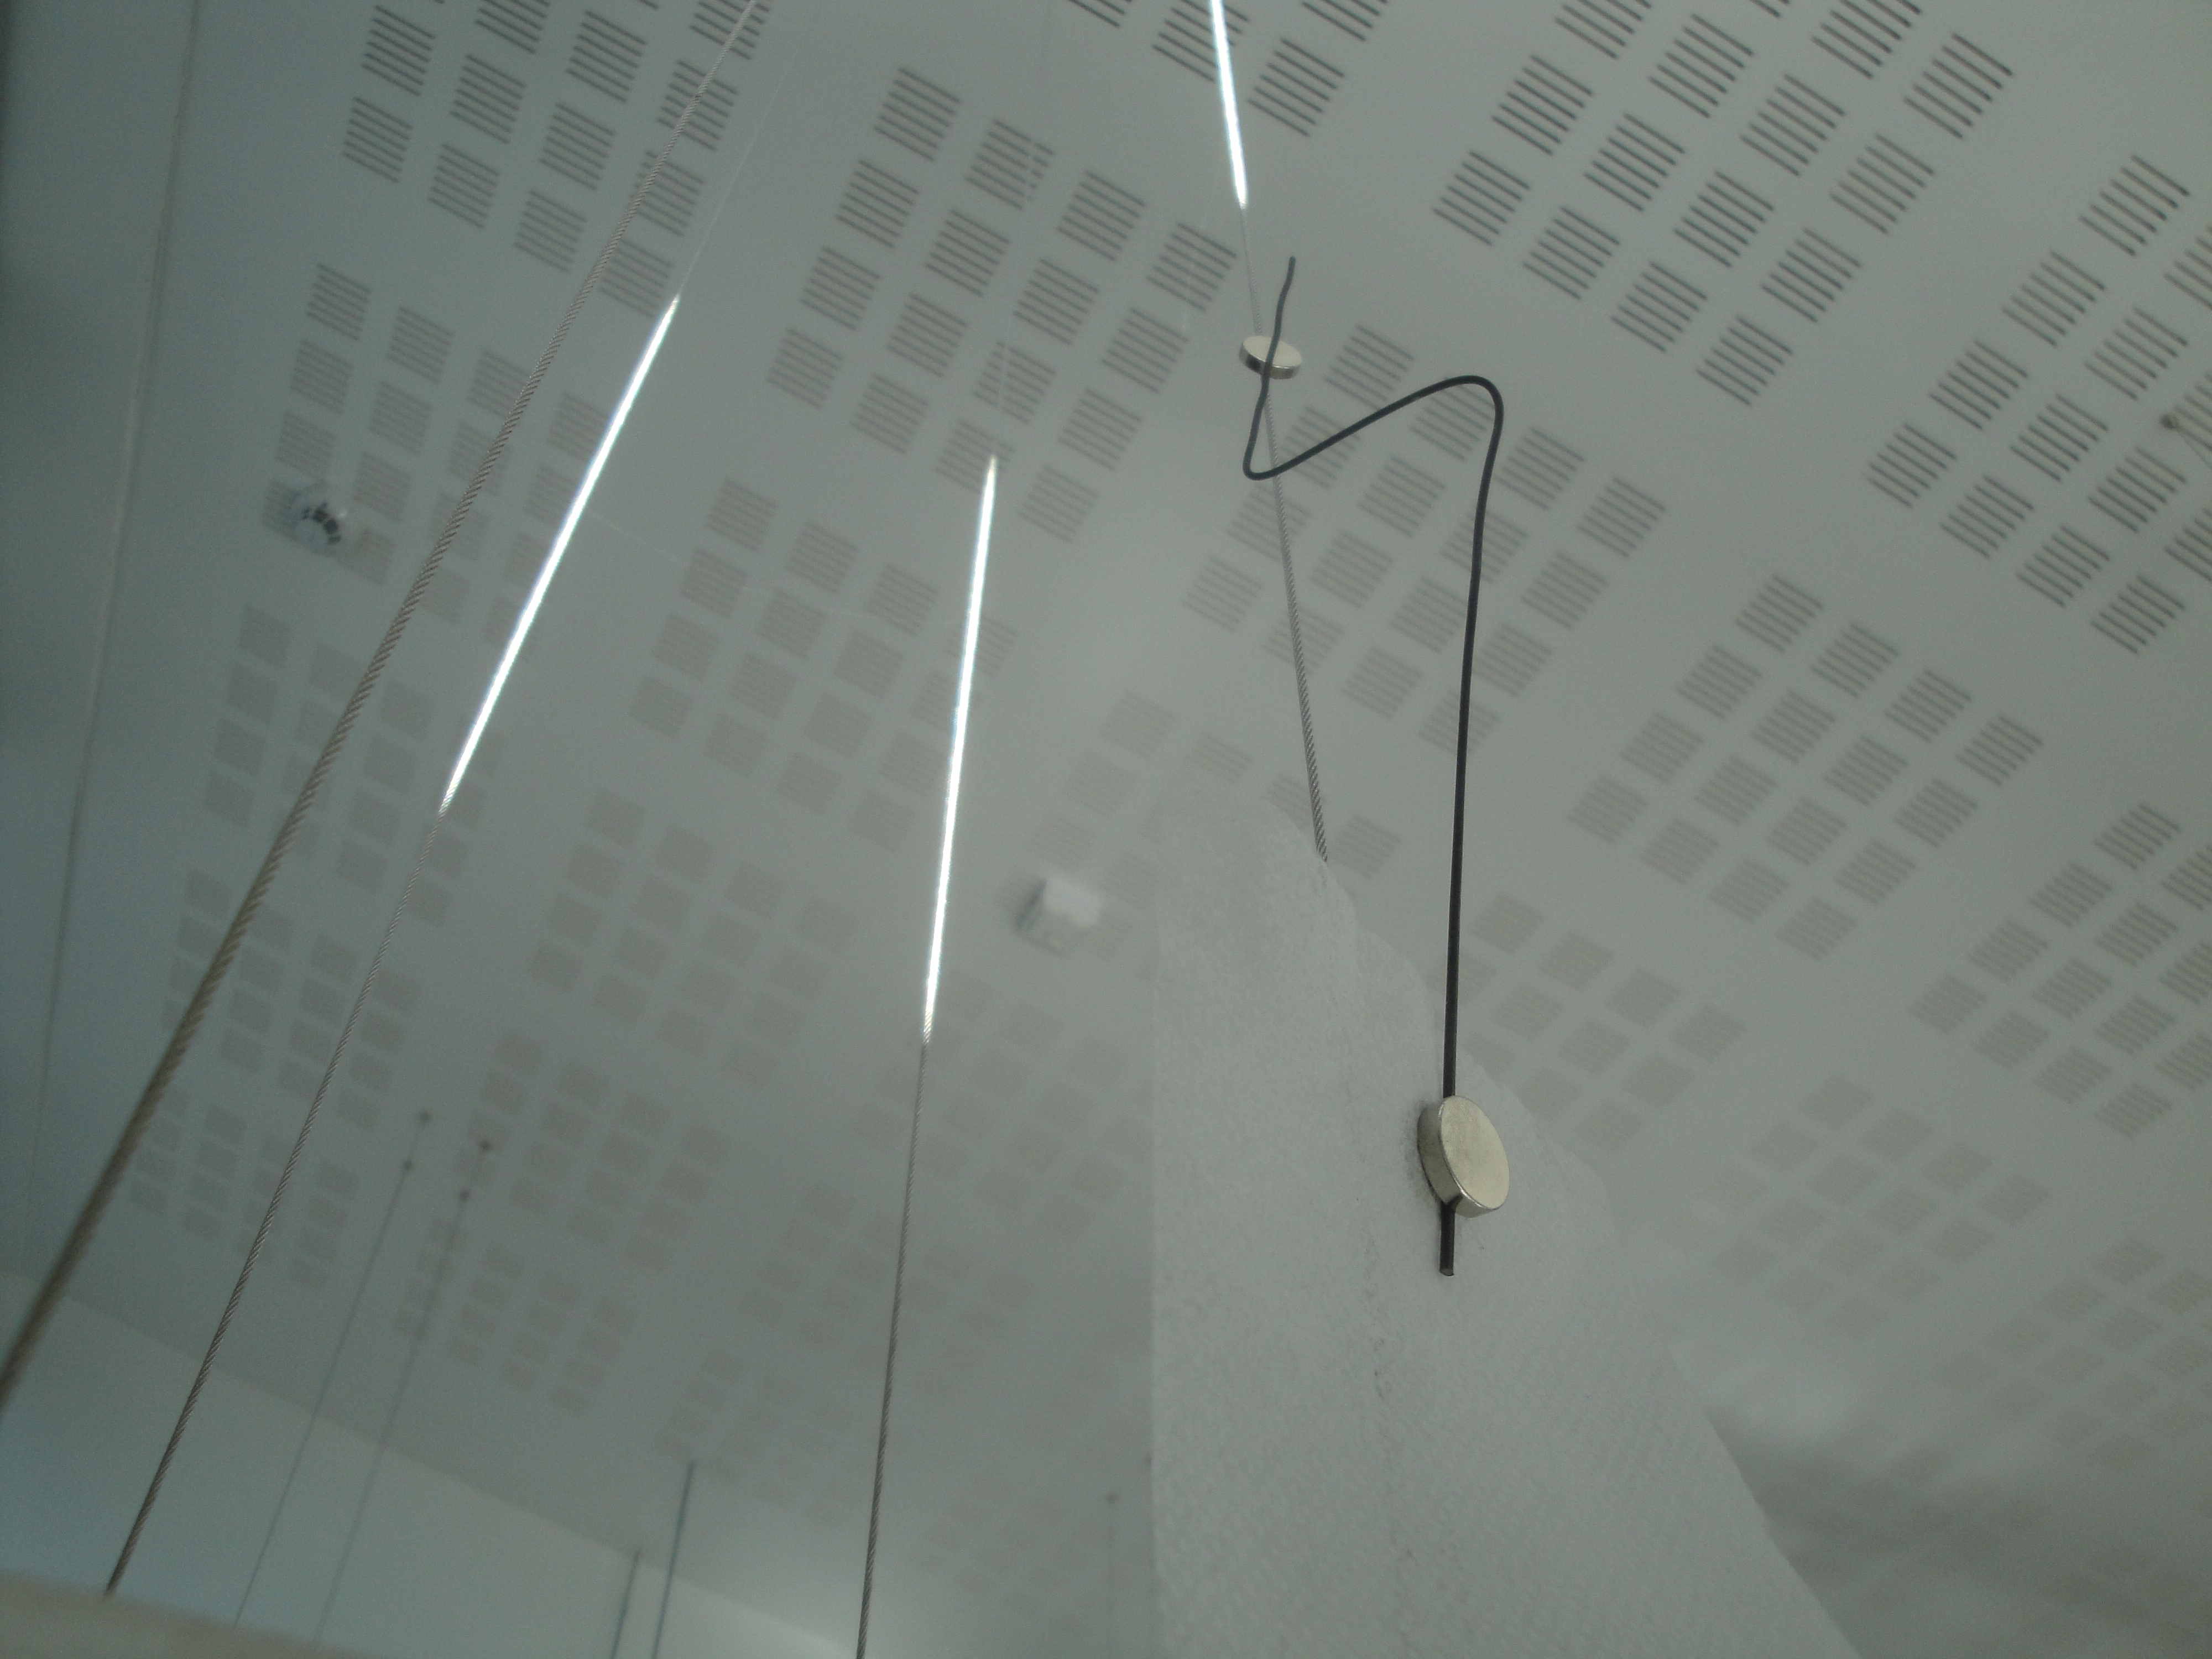
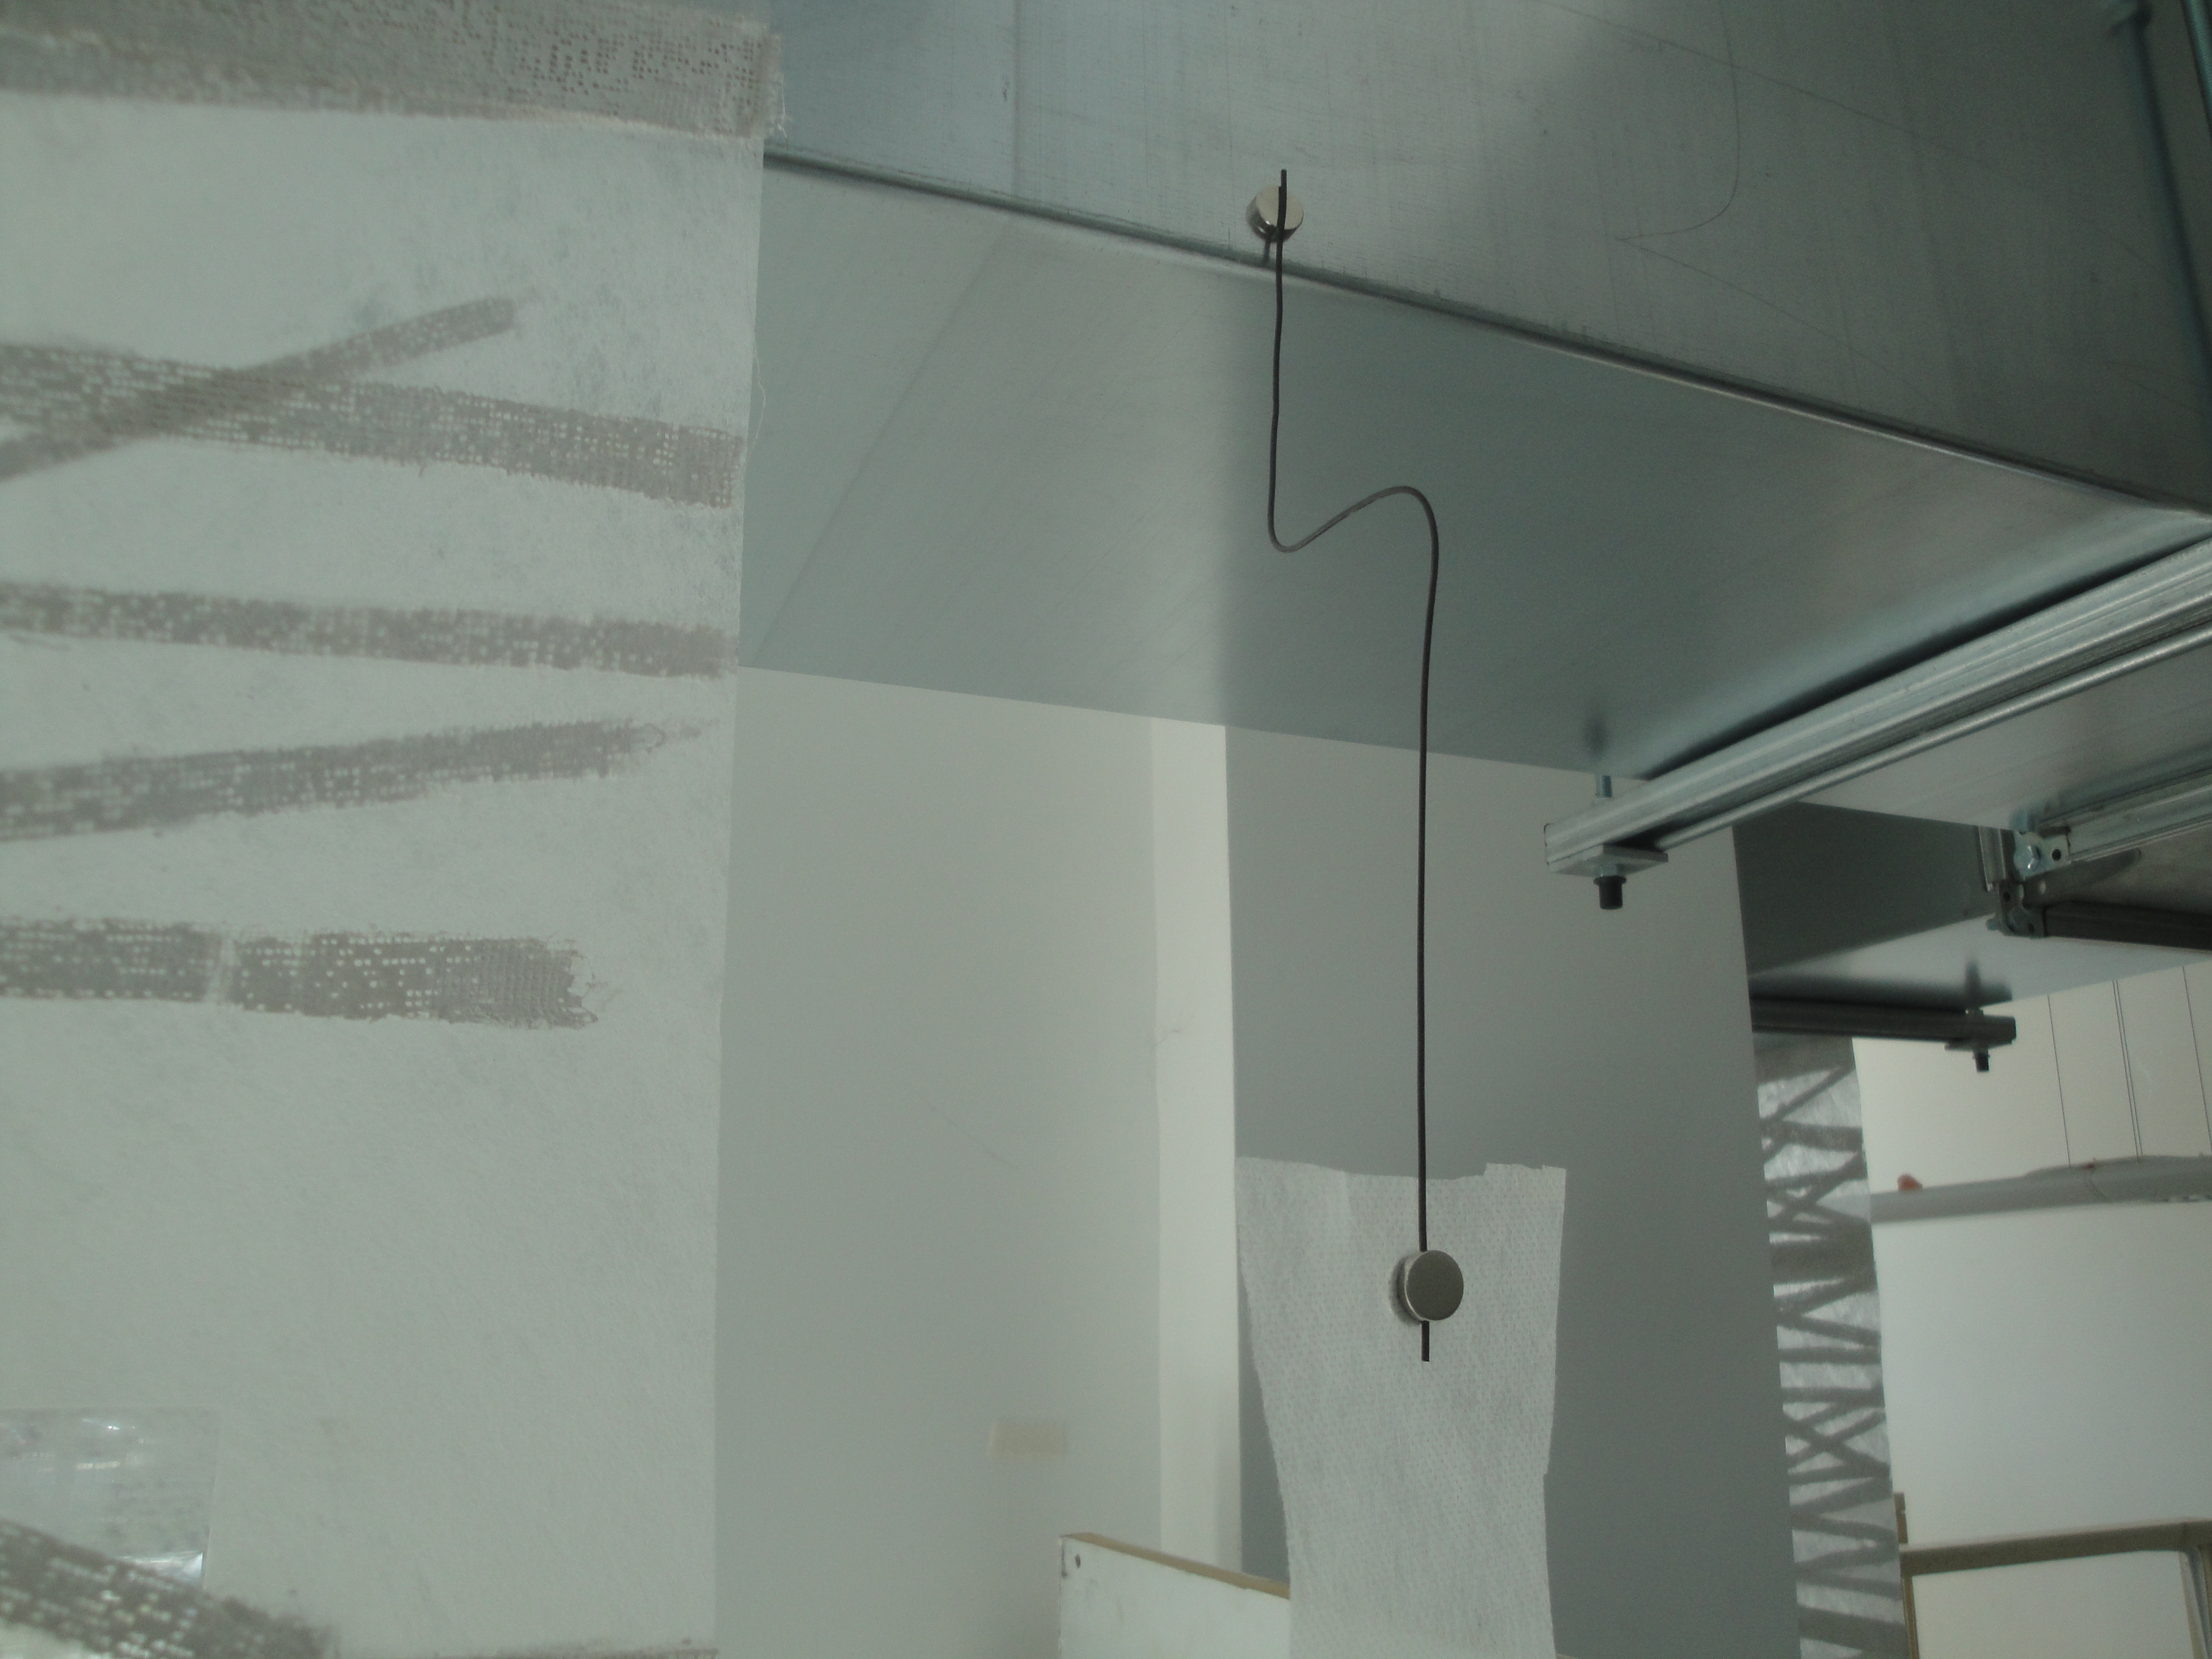
To fix the hanging elements, I have experimented with using corsage magnets. With wire to match the studio light fittings, they will create a contemporary, minimal, tidy fixing sympathetic to the exhibition space, which, I hope, will enhance the ambience of the installation.
