Final Details & Exhibition Plans

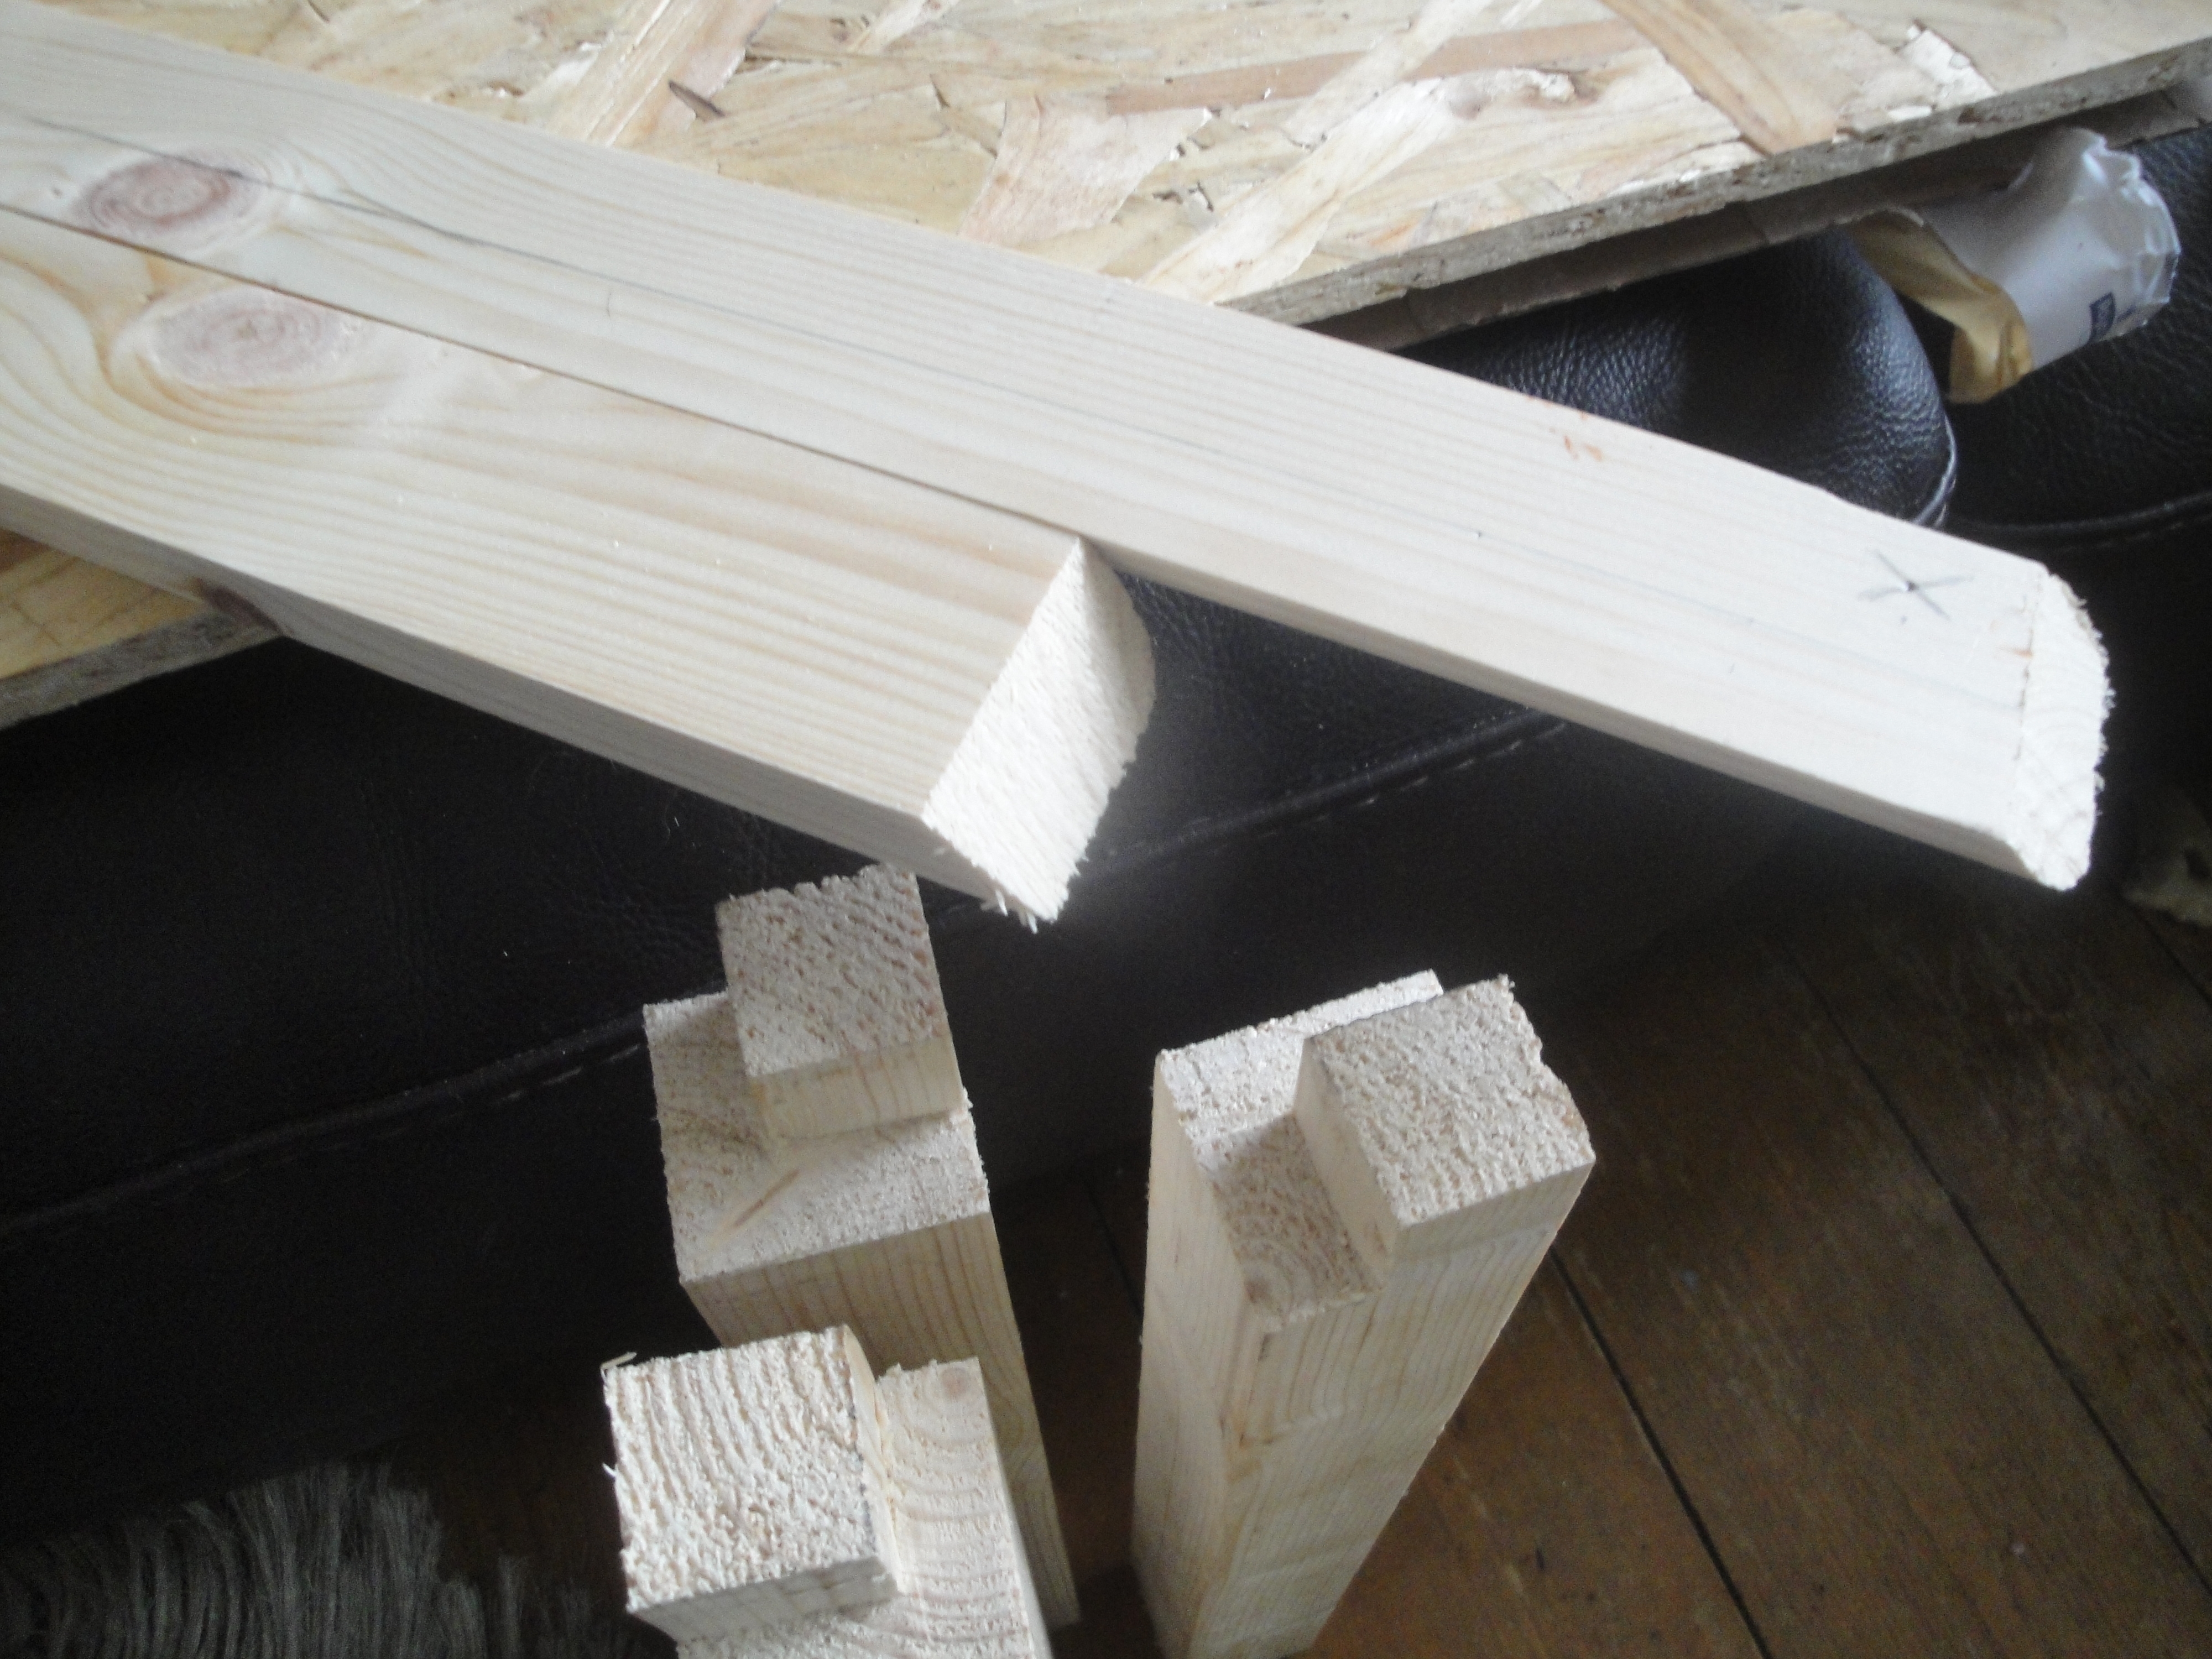
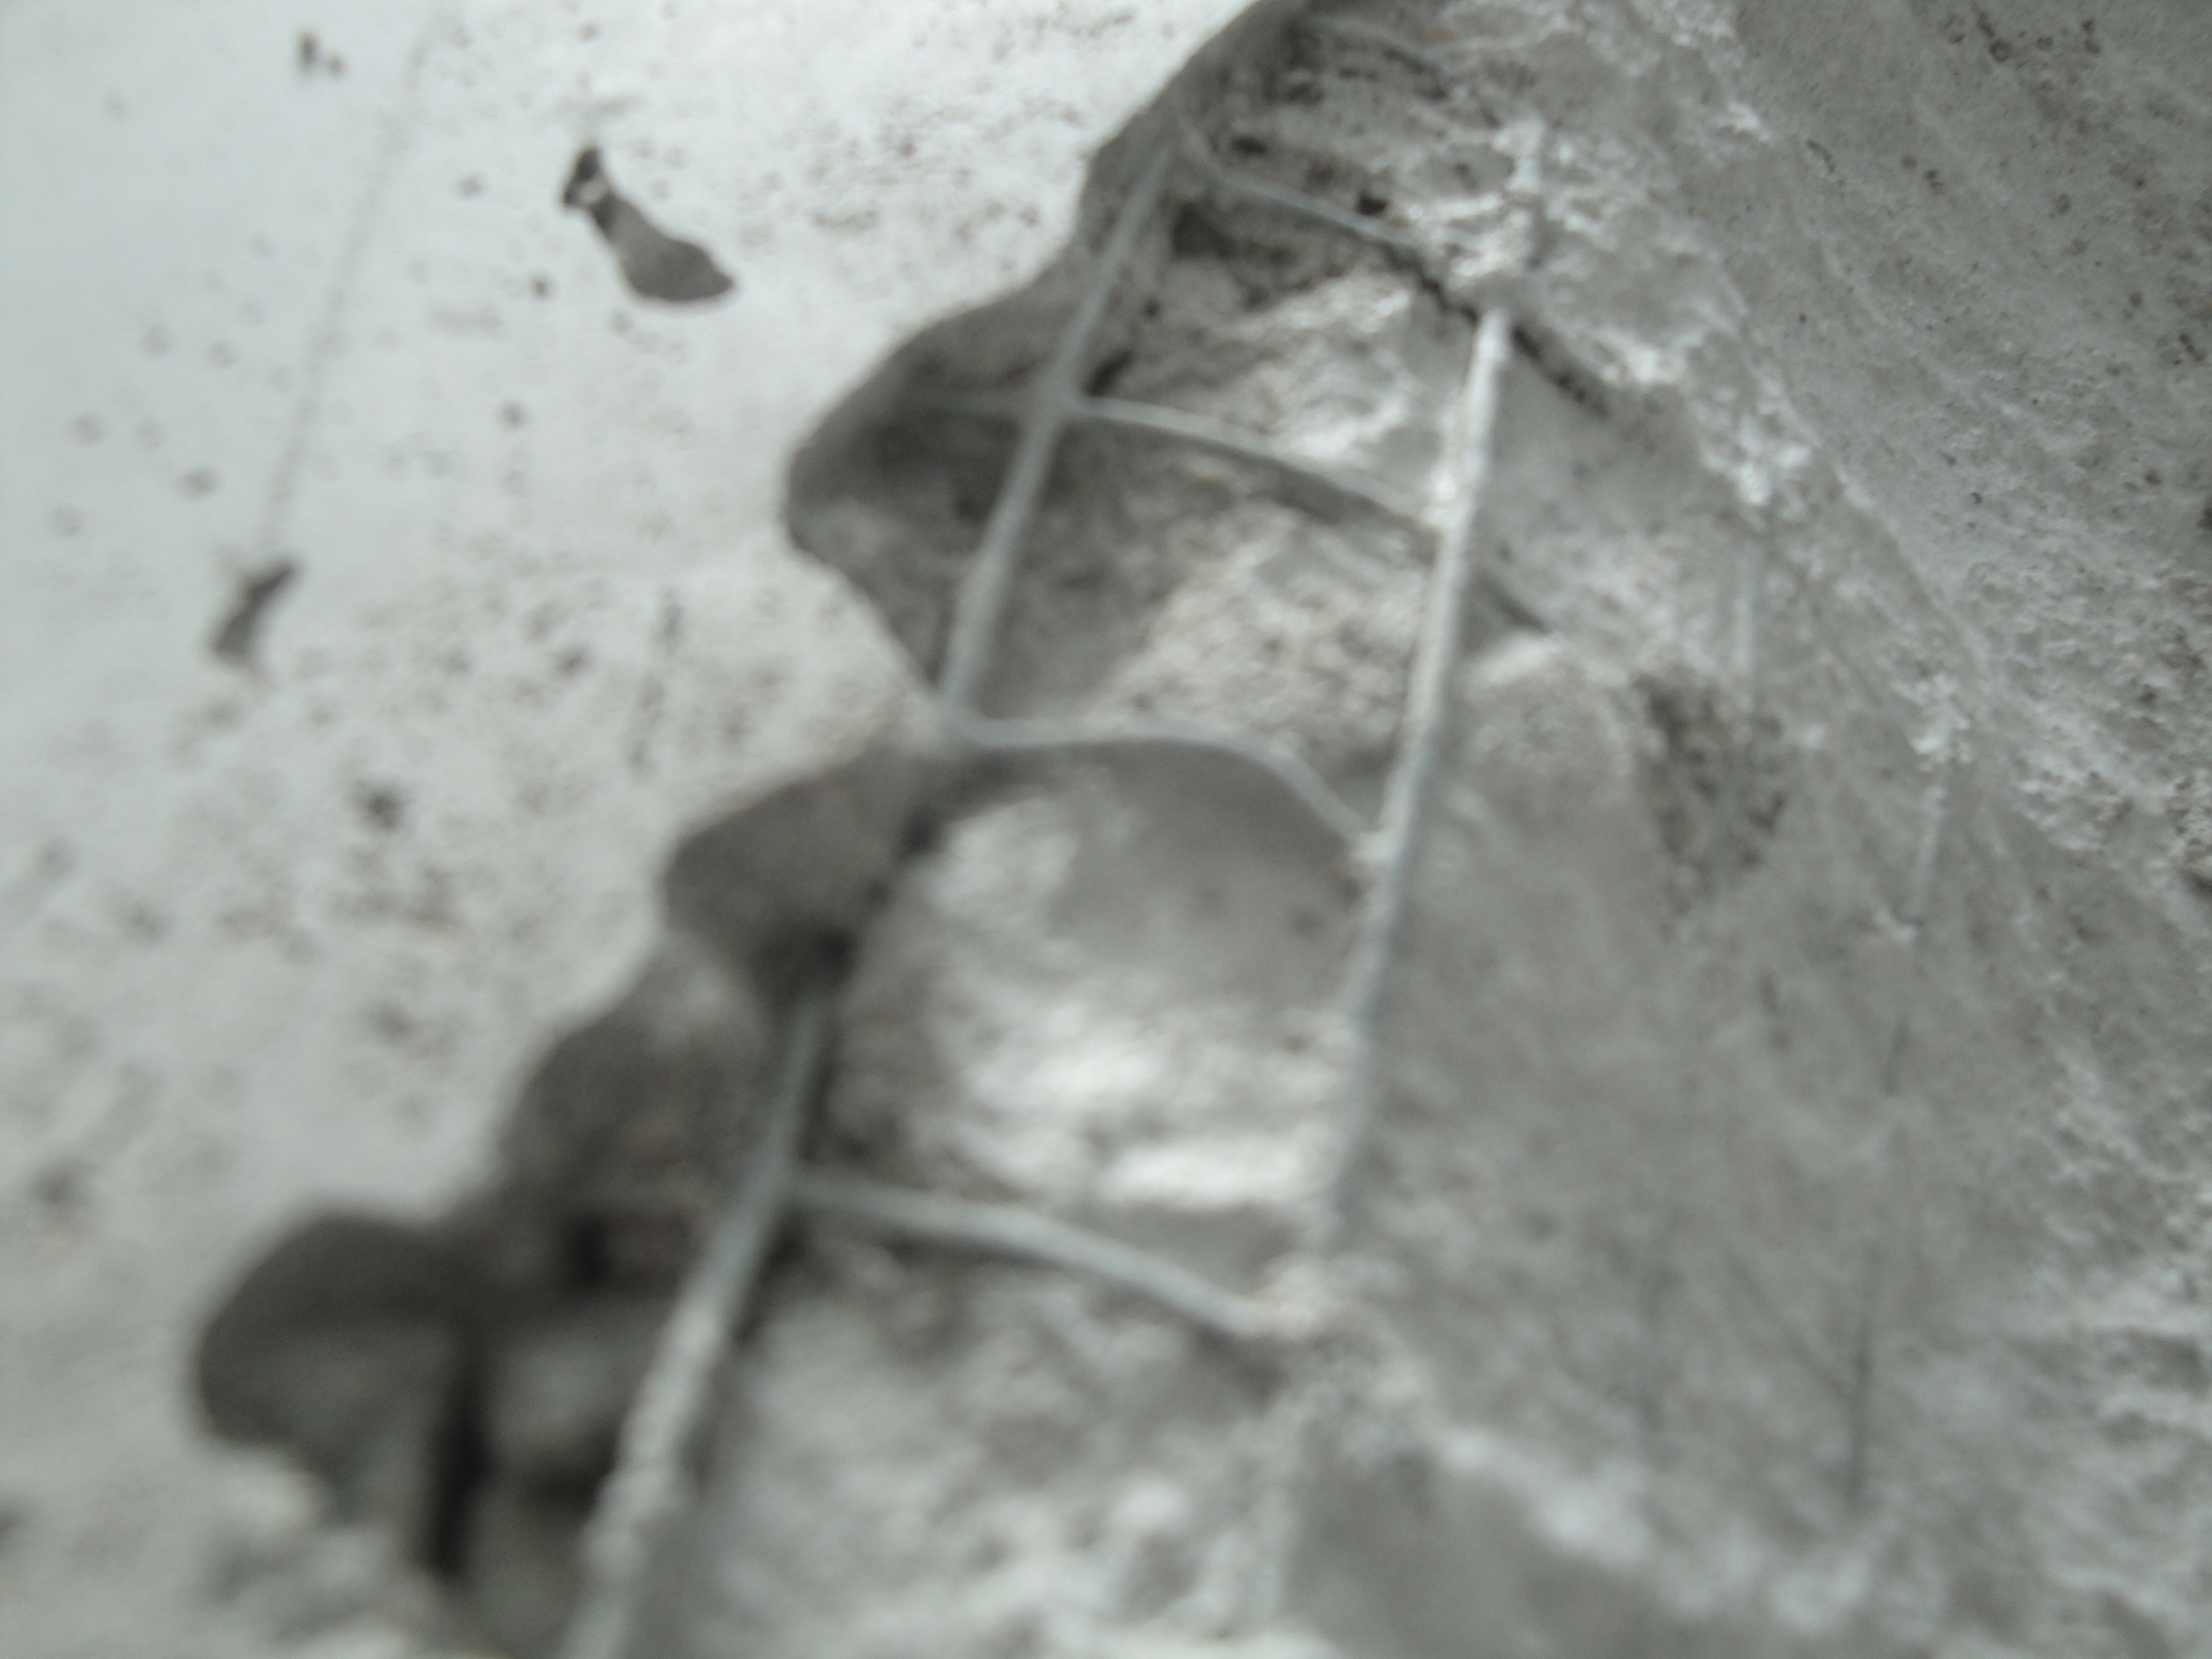
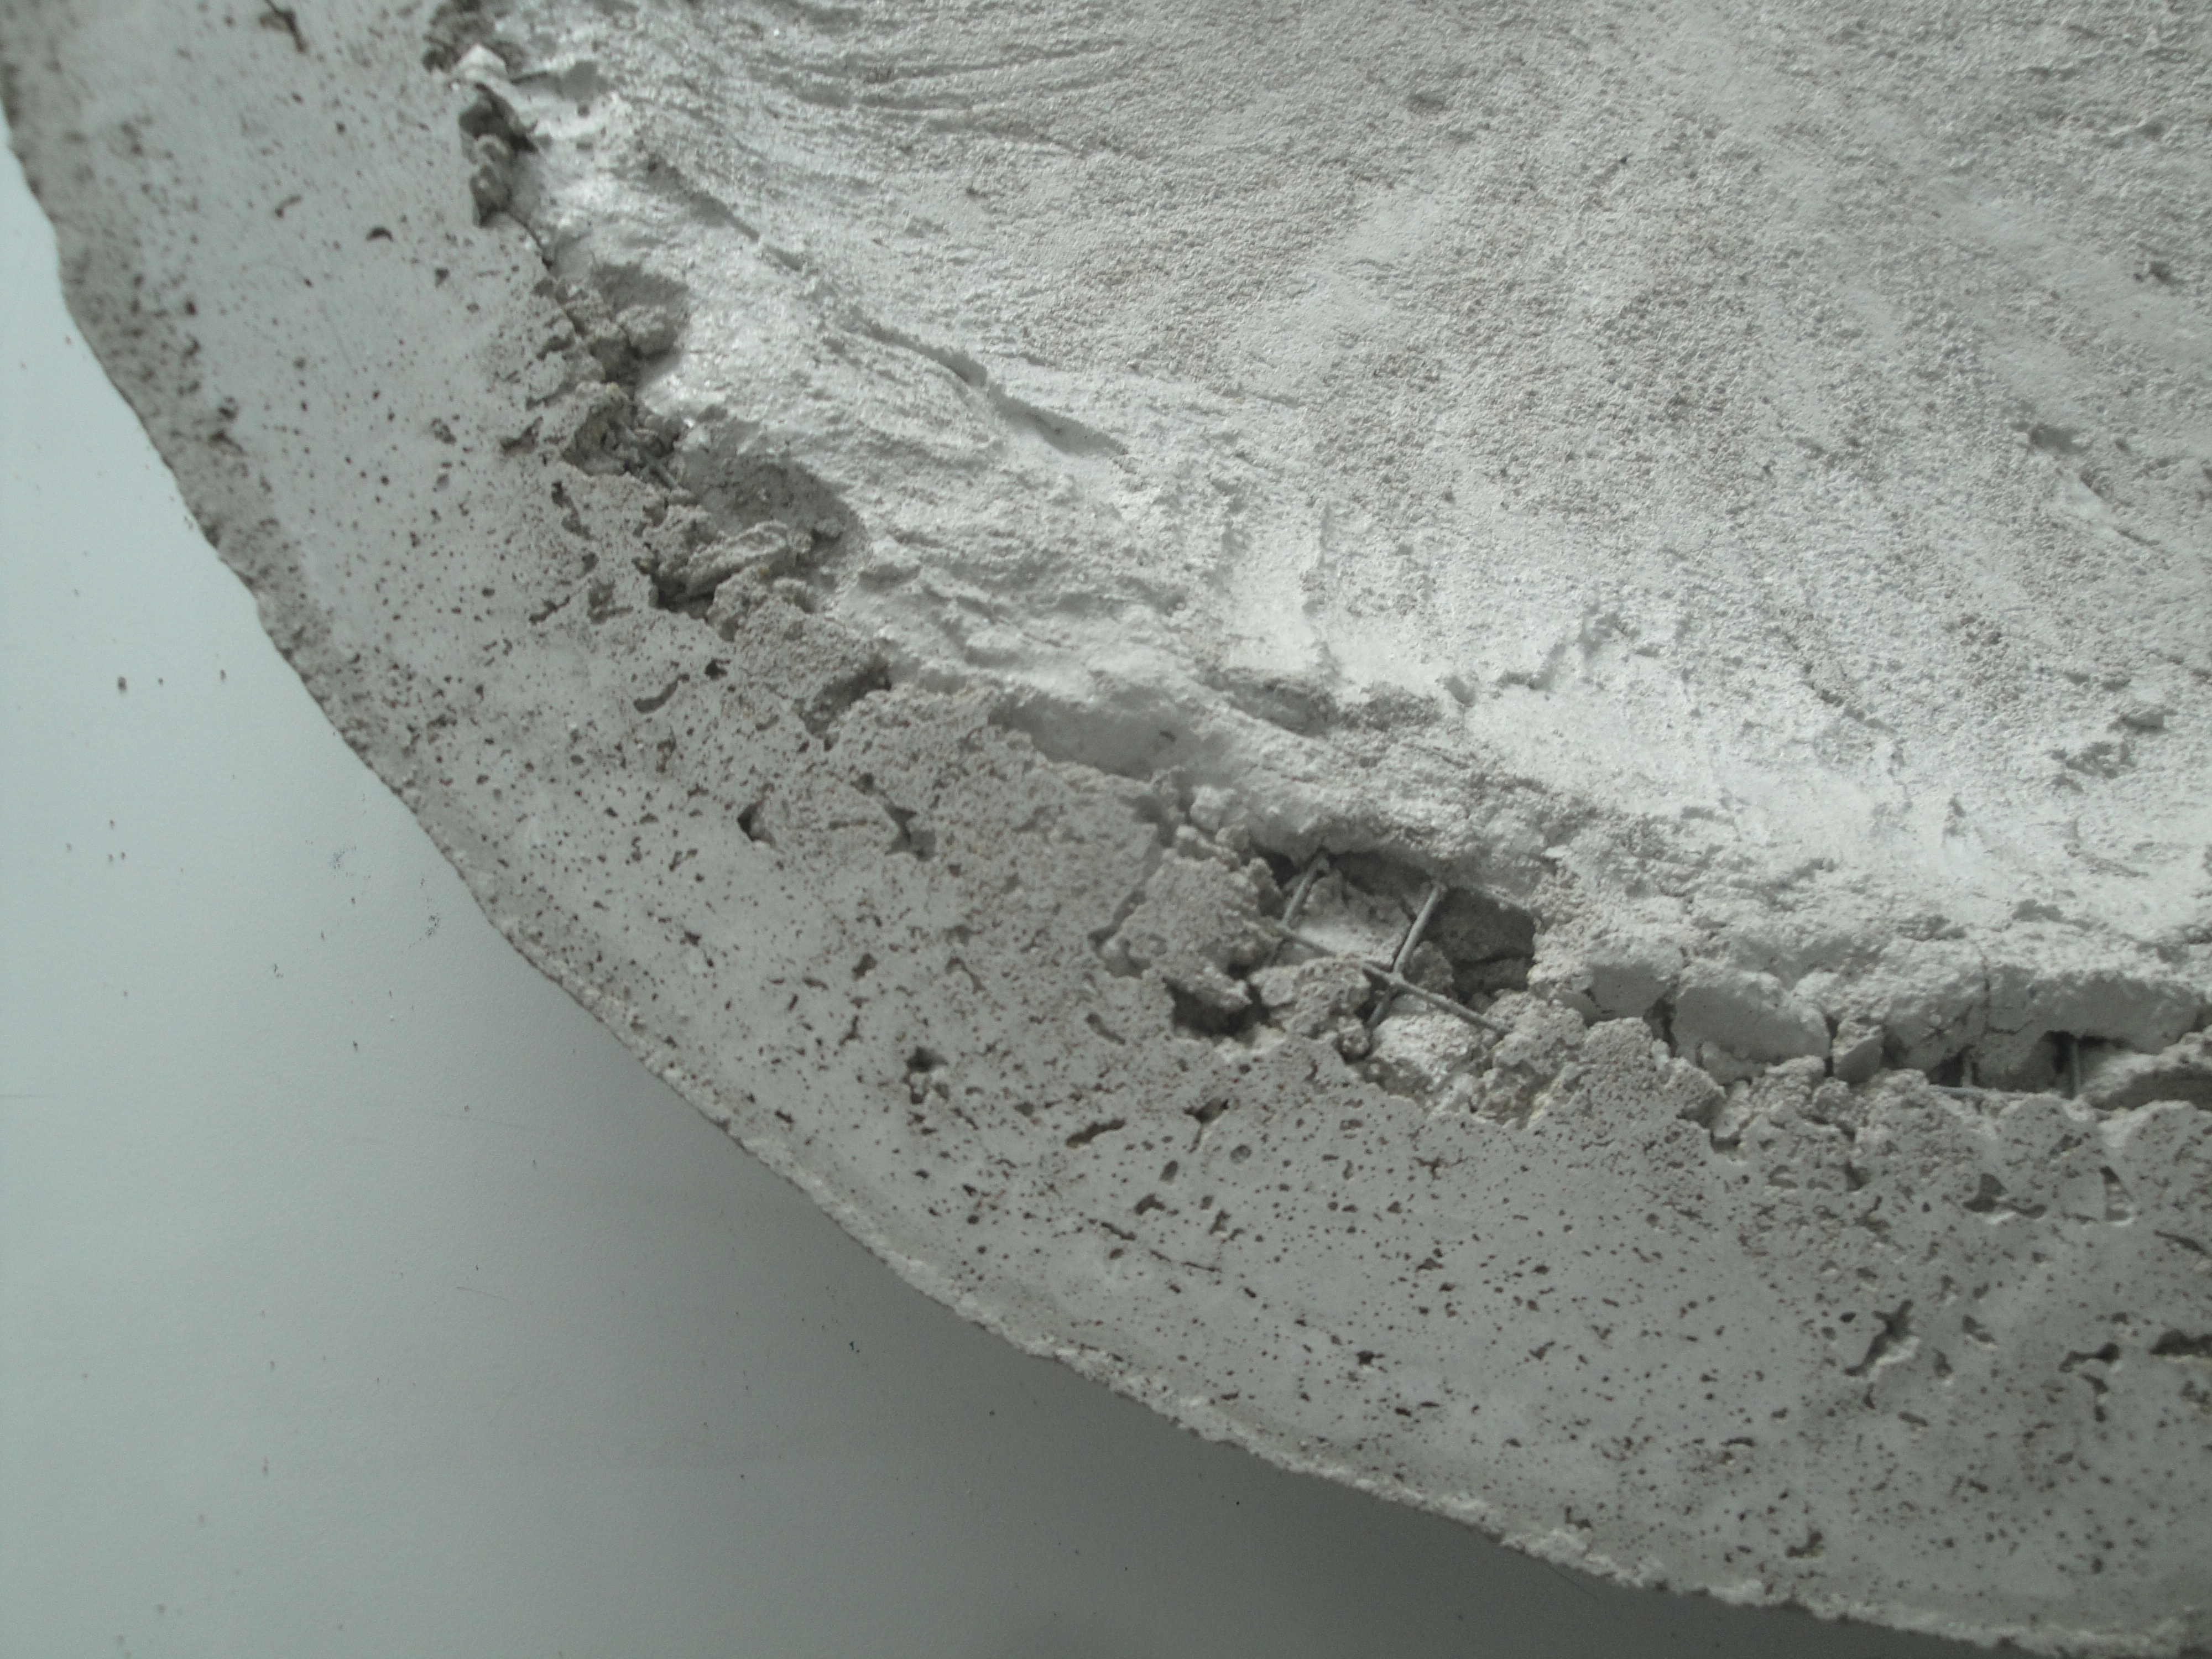
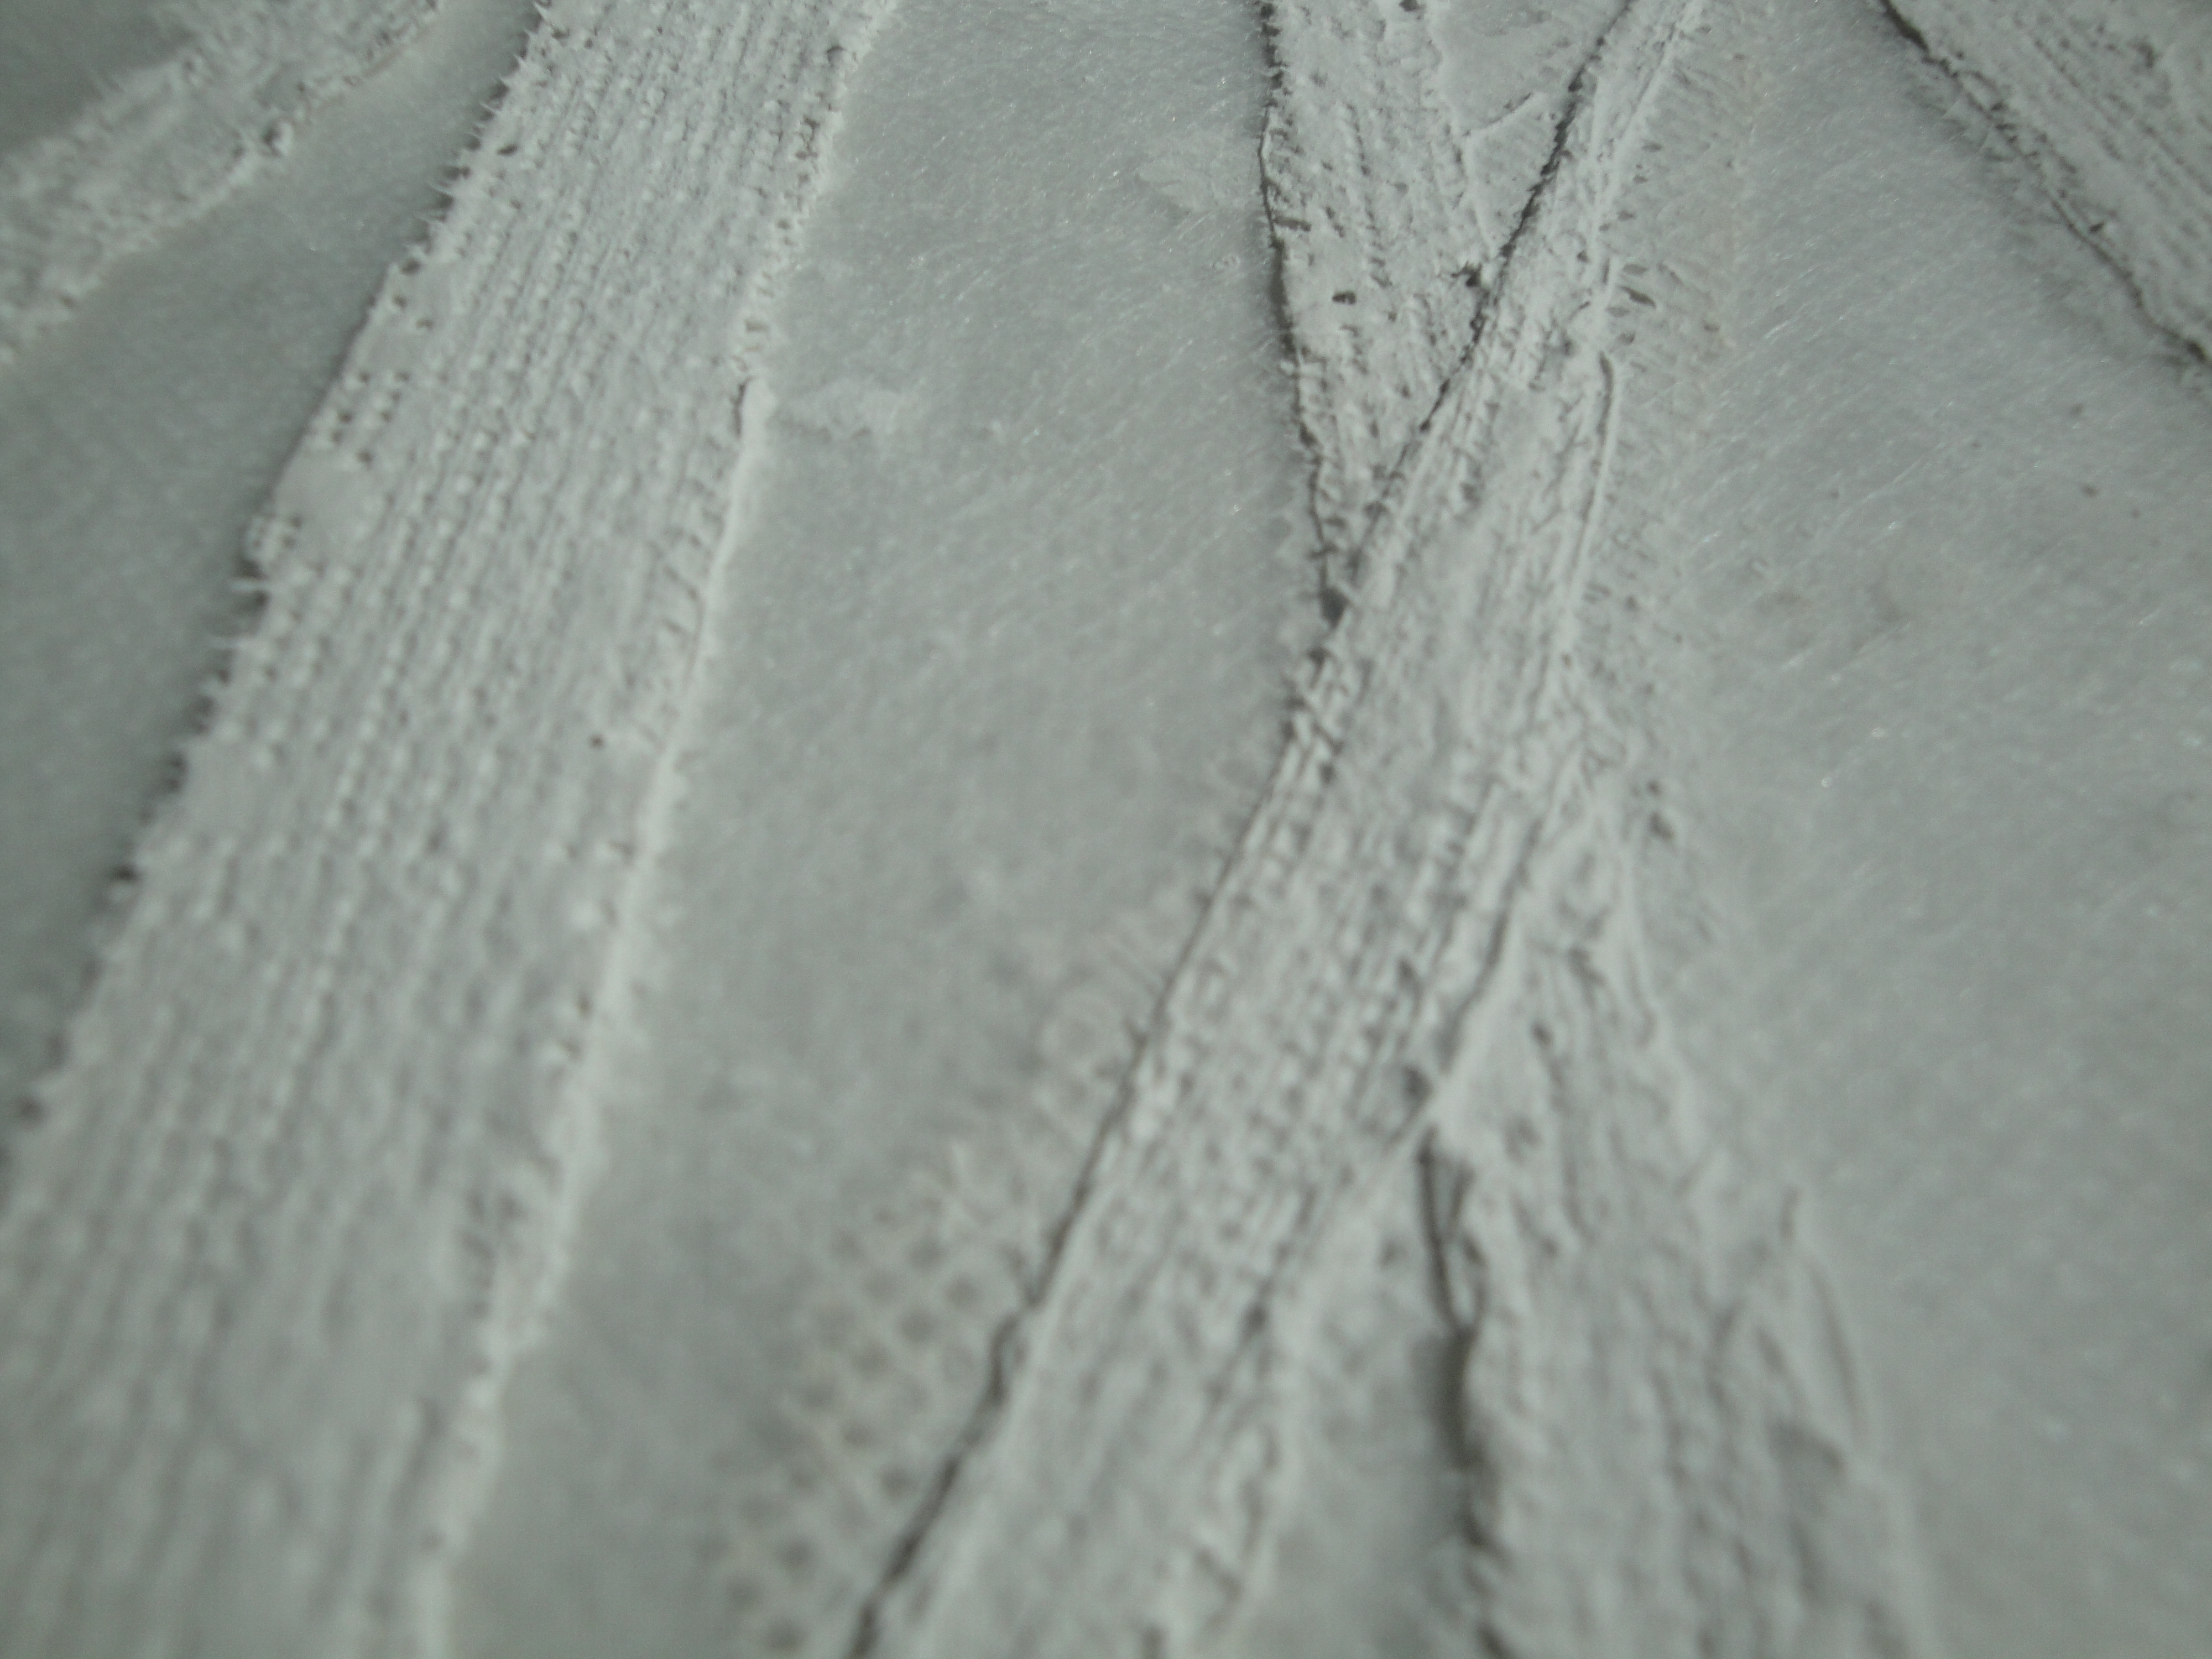
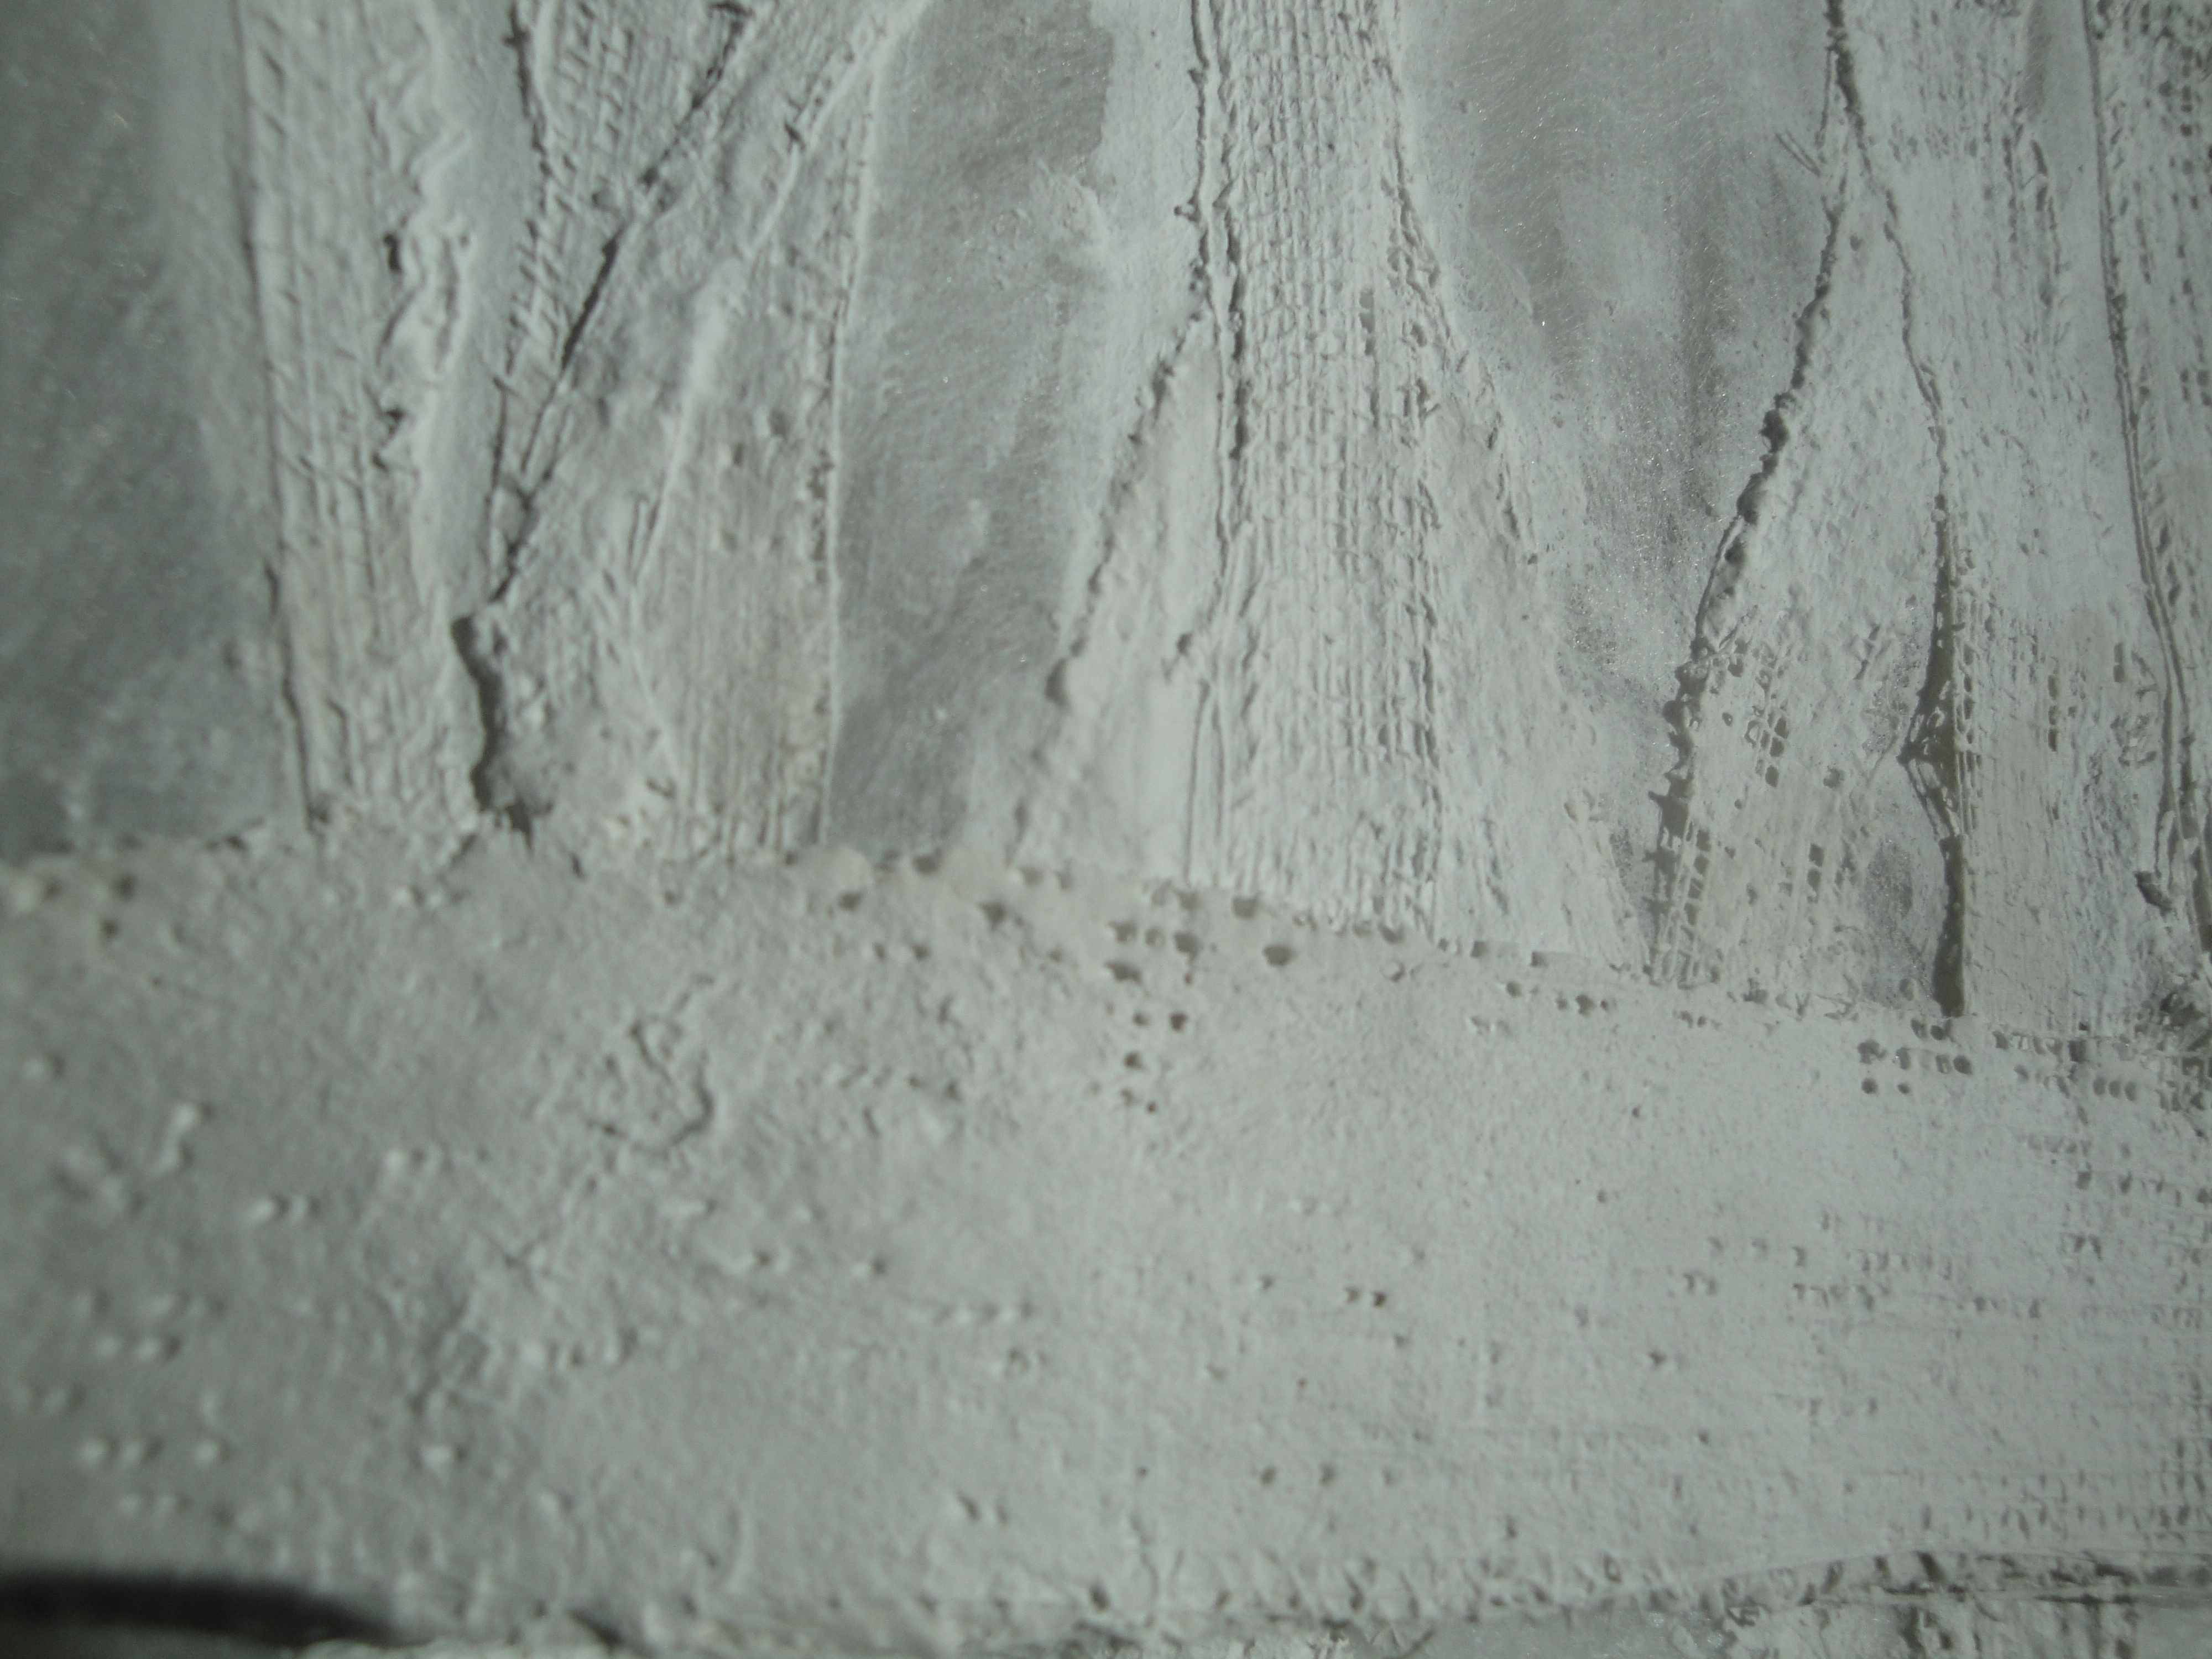
It is a relief to now know where I will exhibit ‘Shinrin’. Happily, it is in the studio. The Atrium in the main college building had been mentioned and although it would be an interesting challenge to ‘go big’ like that, (and indeed, I have made extra elements to allow for that,) I really would prefer to exhibit along with my course colleagues as part of ‘our little Foundation family’ as someone called it on the group chat. It means that I can begin to focus on final details. One such, is that the standing elements are self supporting (as pictured below) (including the 60×120!!!!) without any horizontal plaster work. In the trial pieces I applied plaster at the top and the bottom. To finish these pieces, I will apply it only to the bottom – just to give enough strength to preserve their vertical integrity in order to be confident people could move around them if they want to walk through the installation. The looseness at the top looks more natural and gives a beautiful softness that wasn’t in the test pieces – they looked rather blocky.

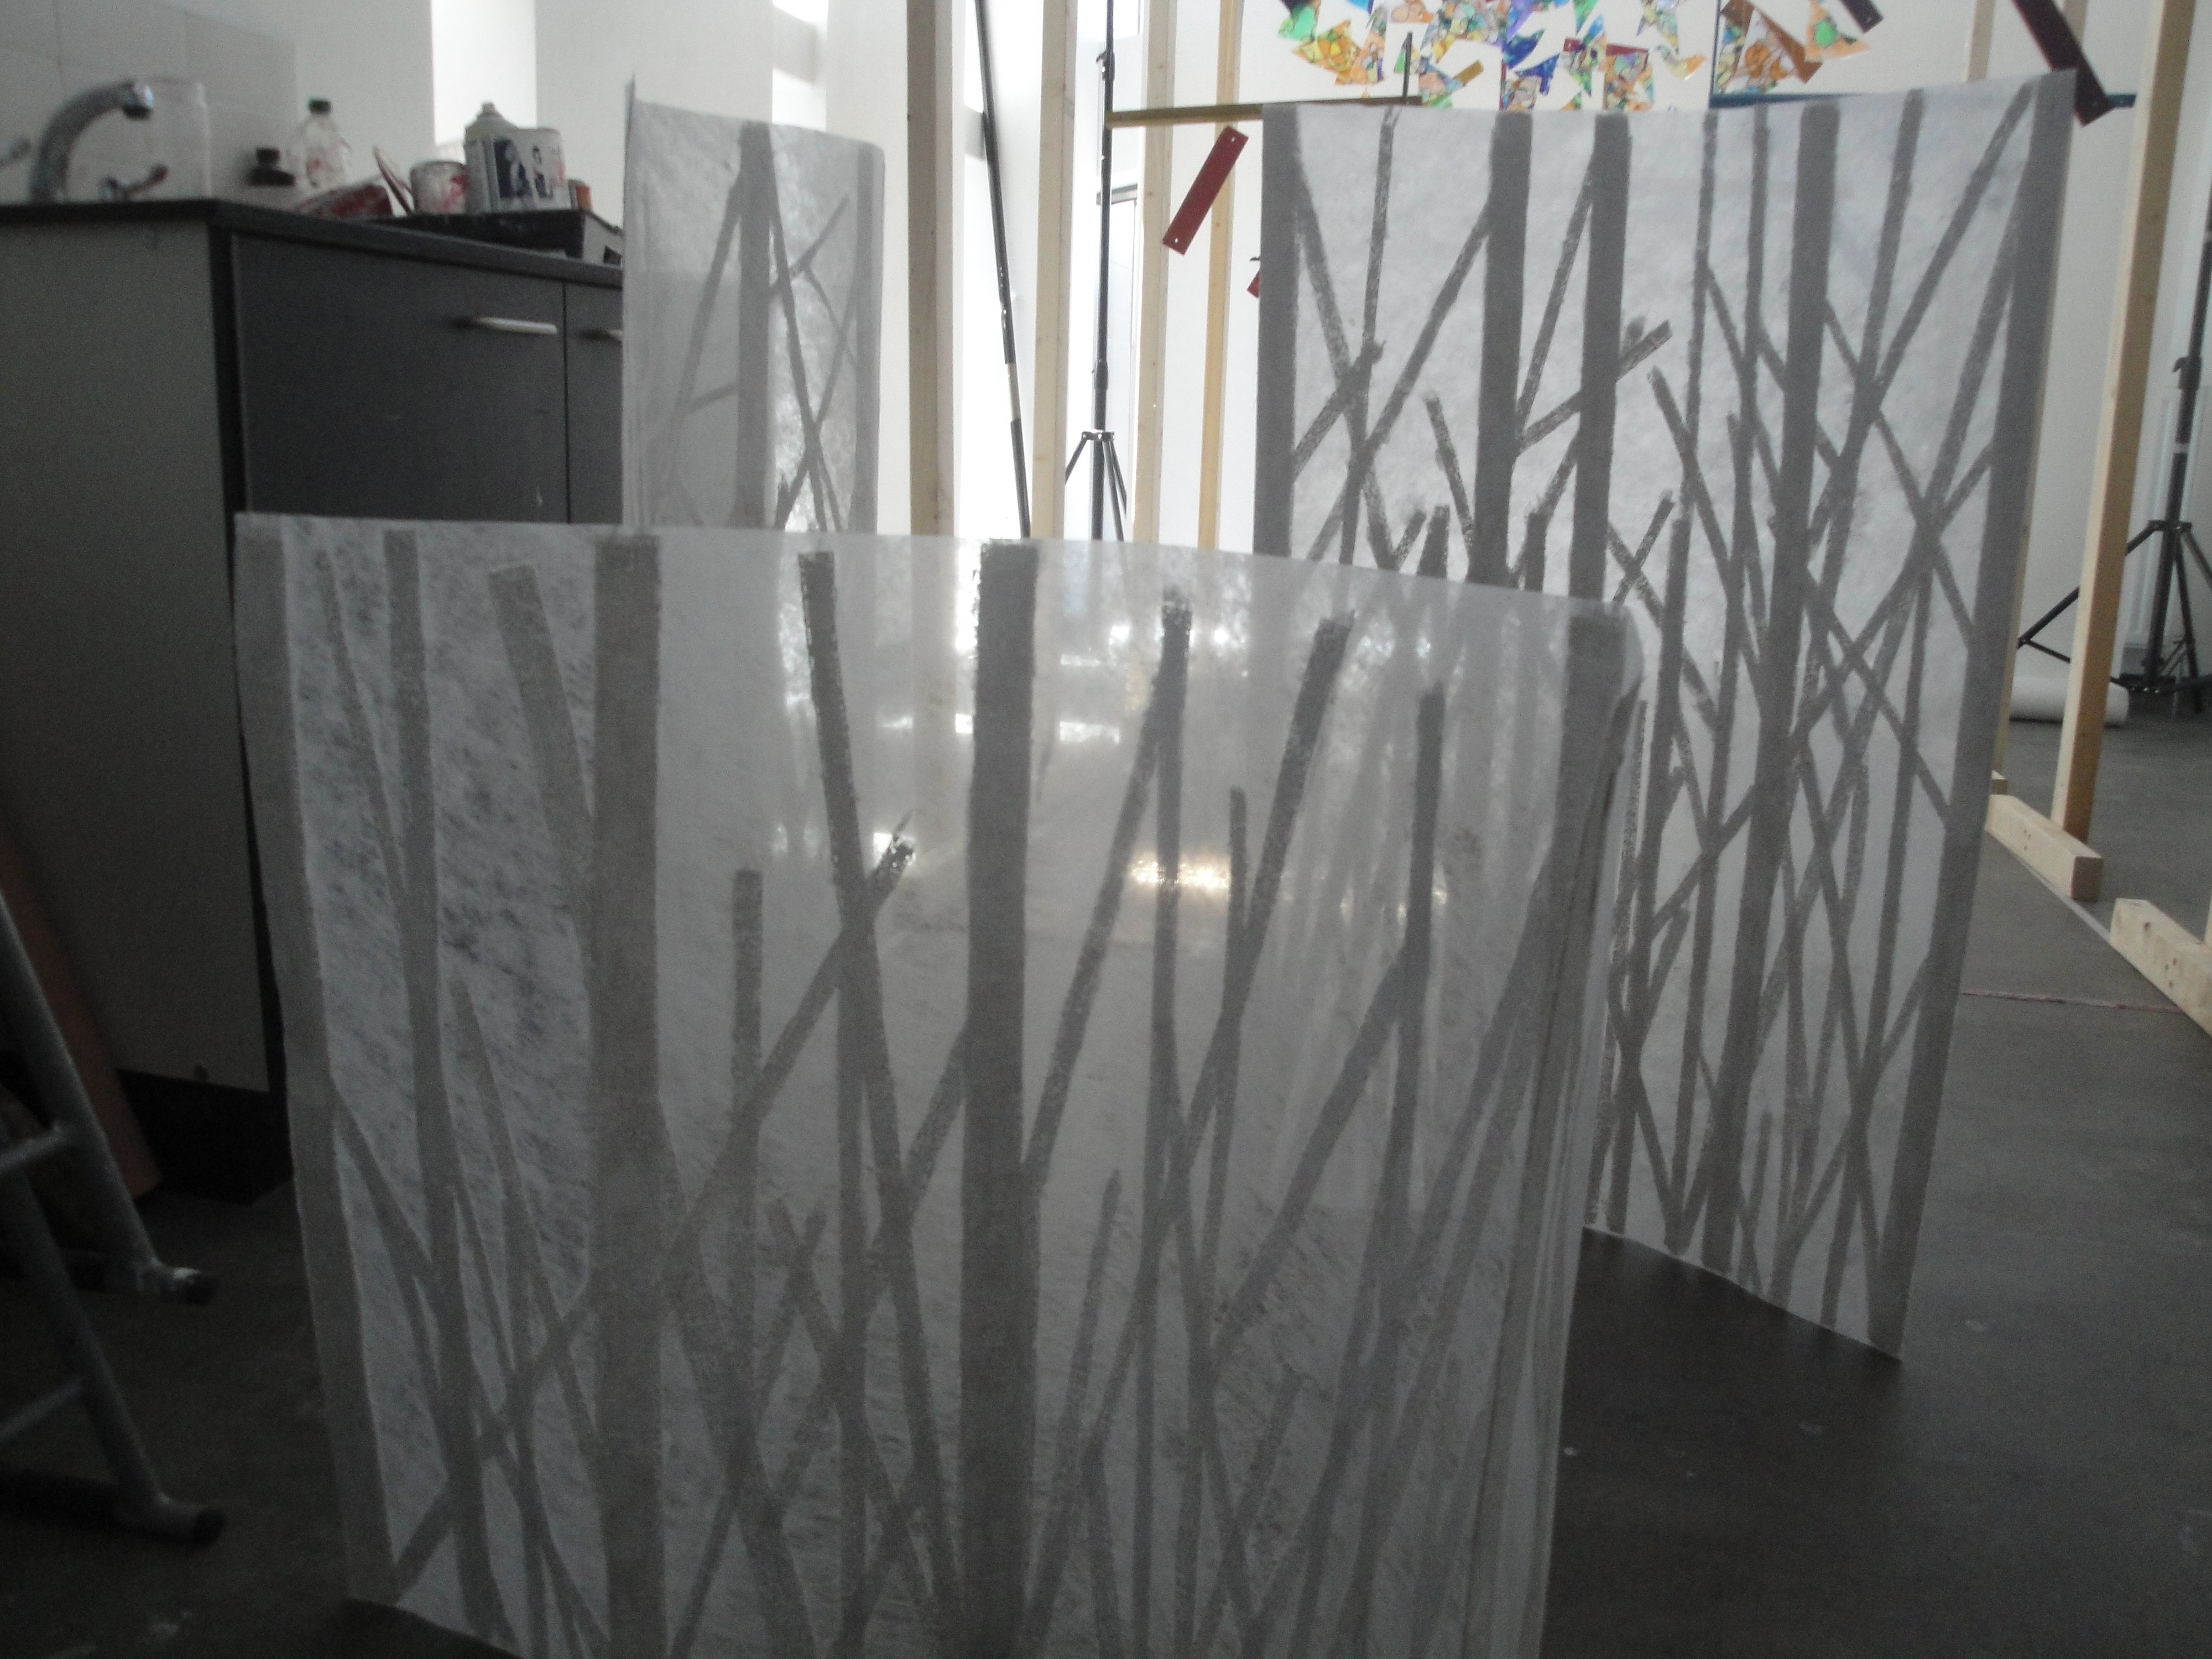
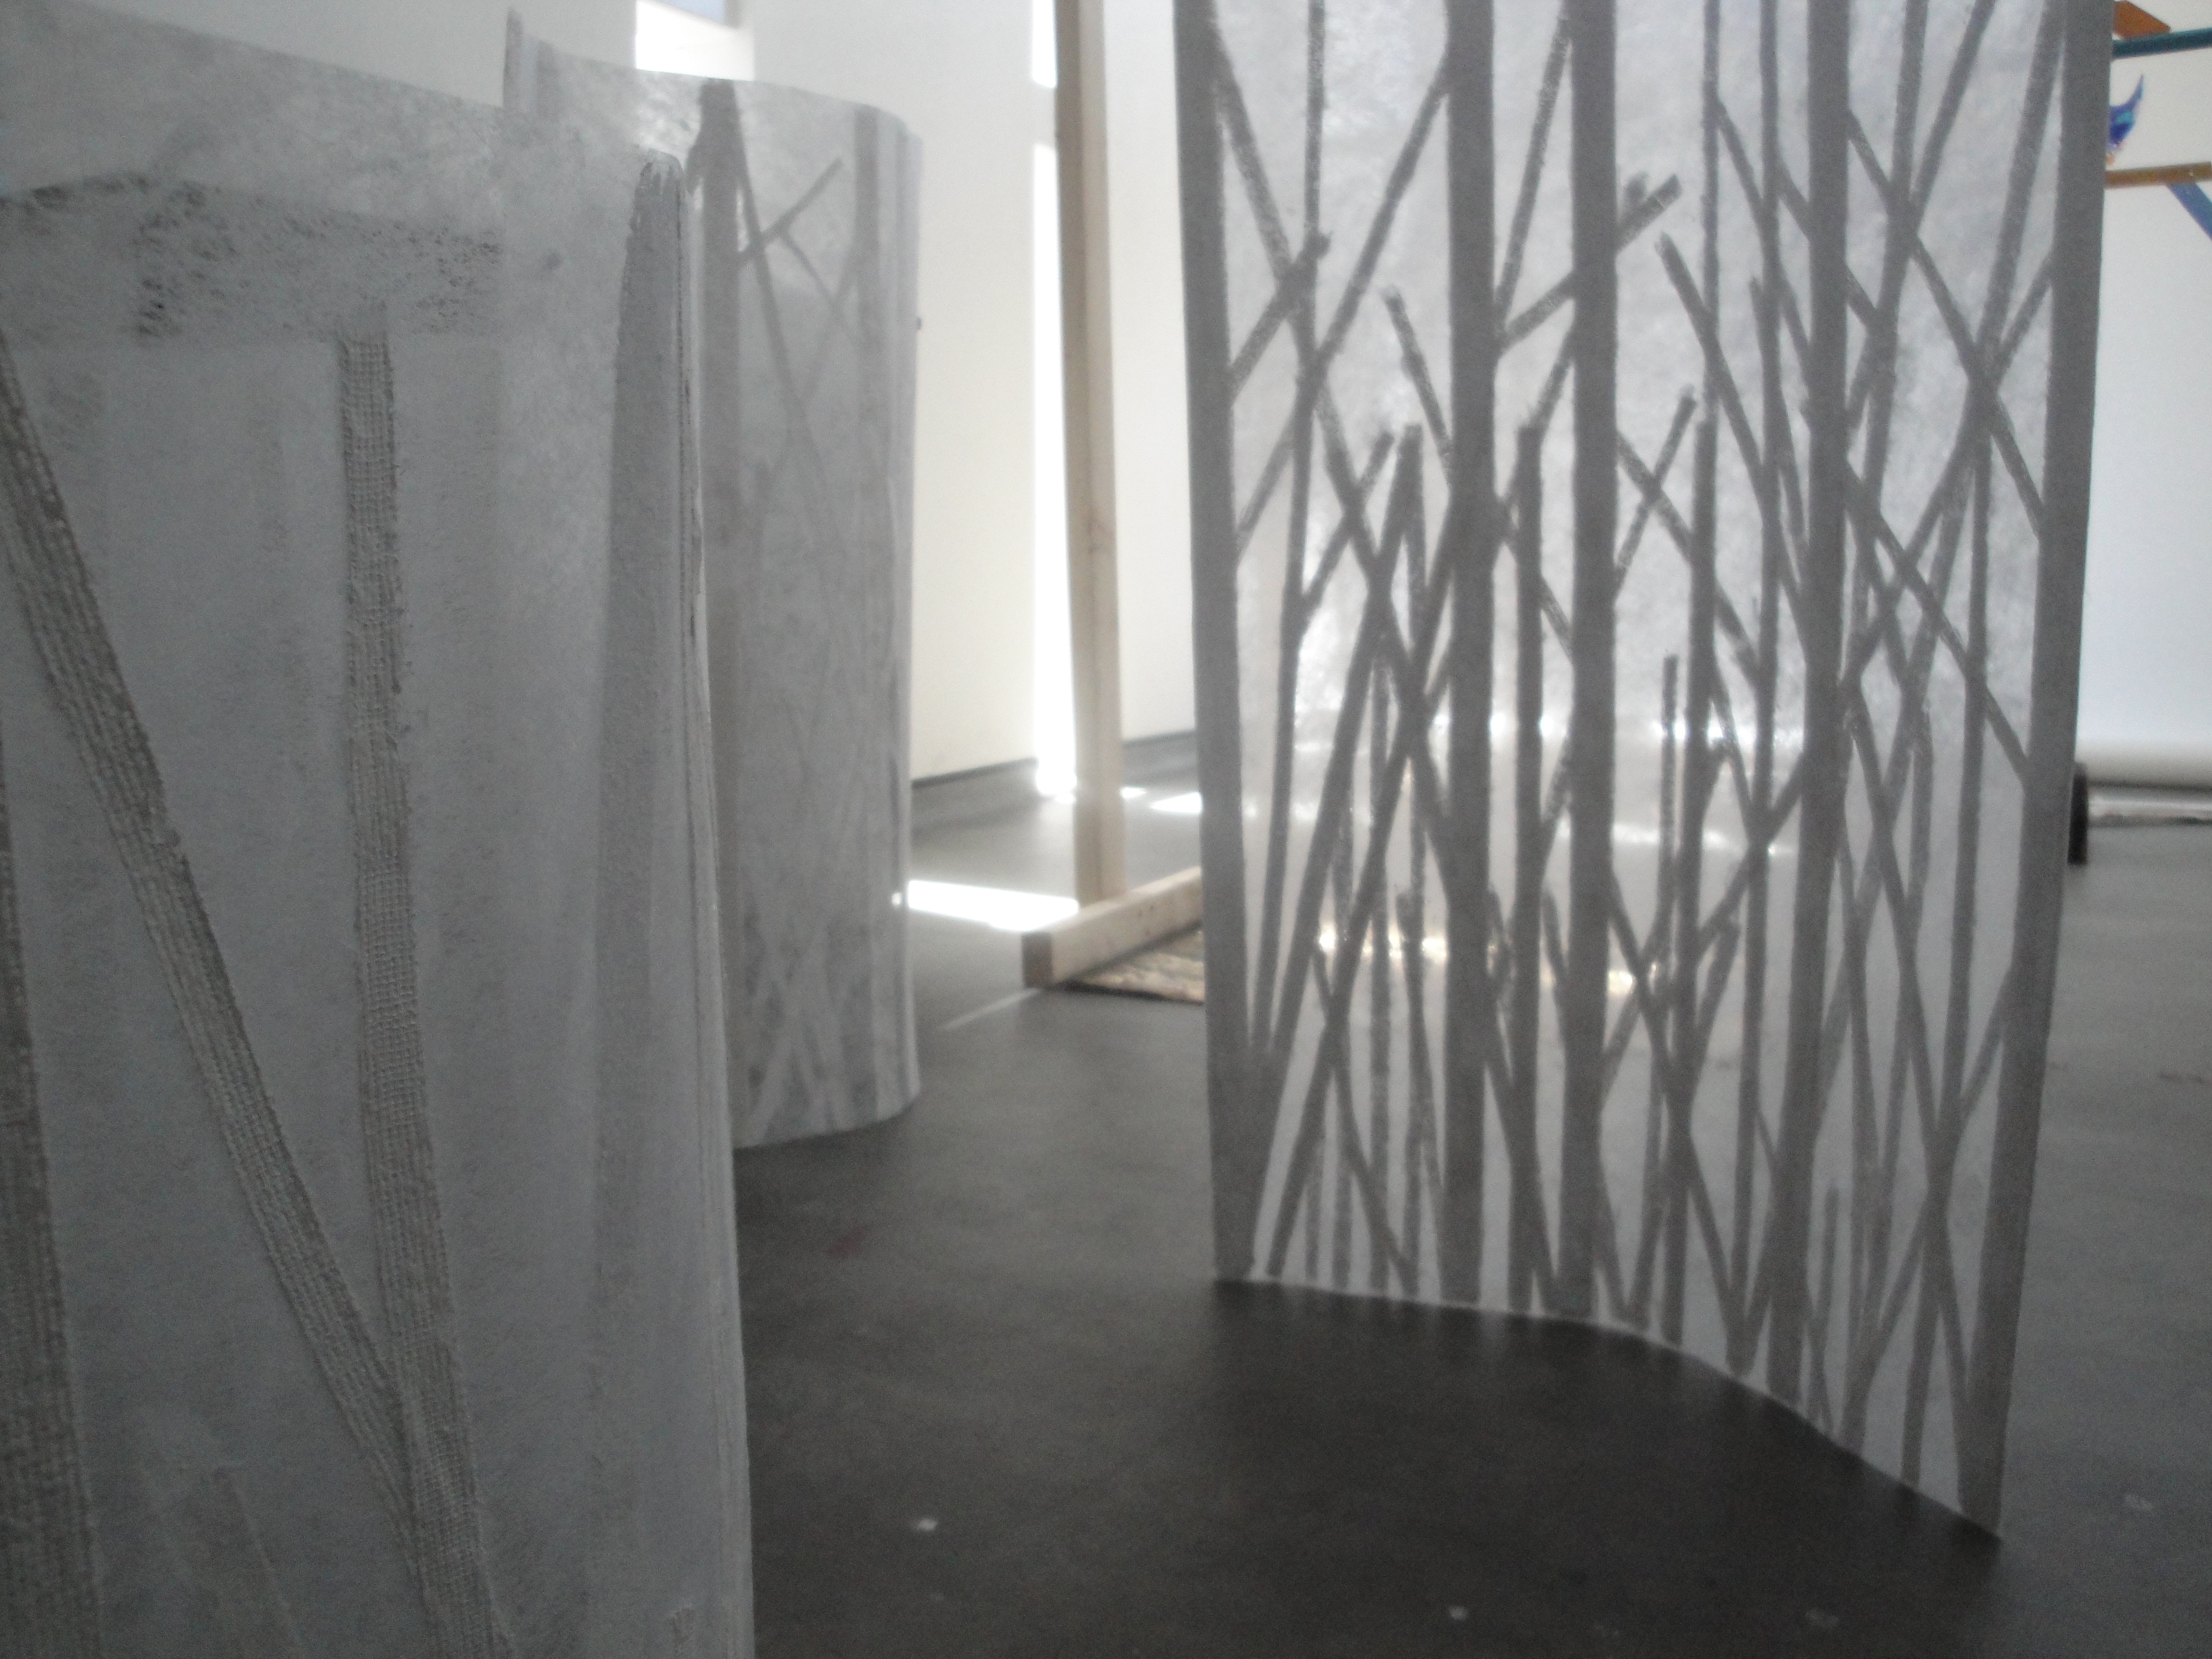
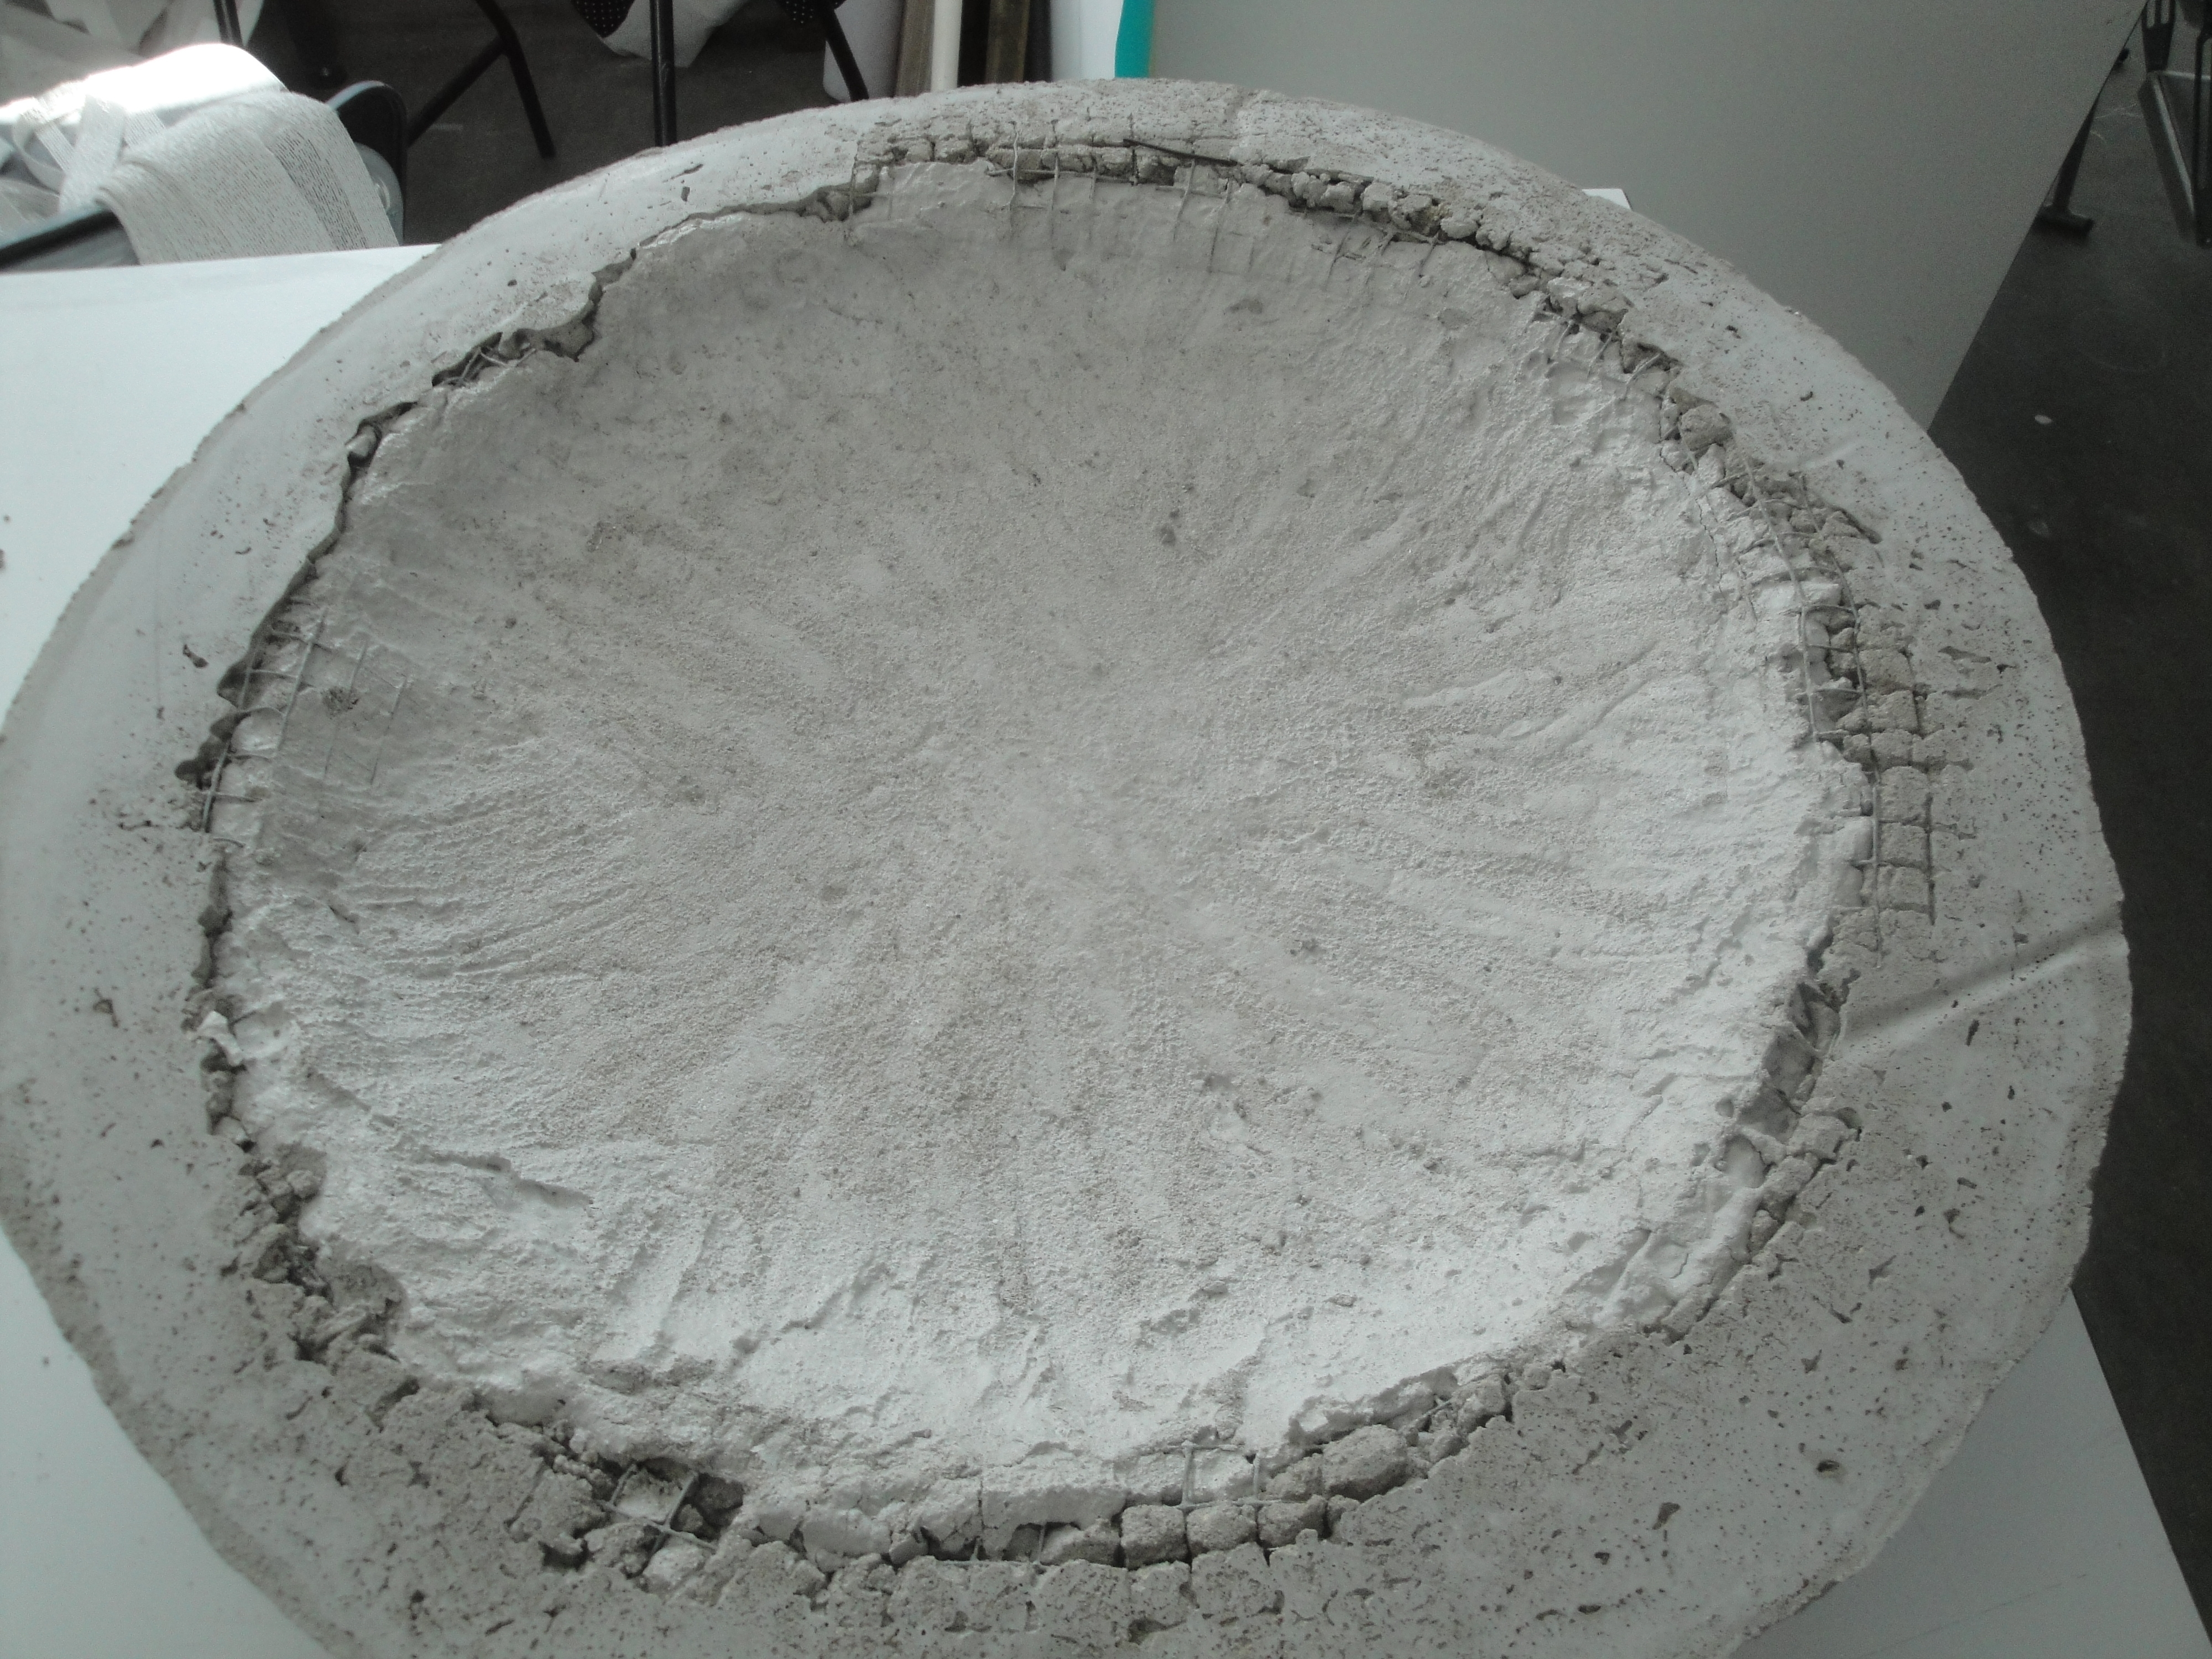
It is interesting to note that each piece has its own natural ‘curve’ which allows it to stay upright. This is the shape that I will need to create at the base with the horizontal plaster.

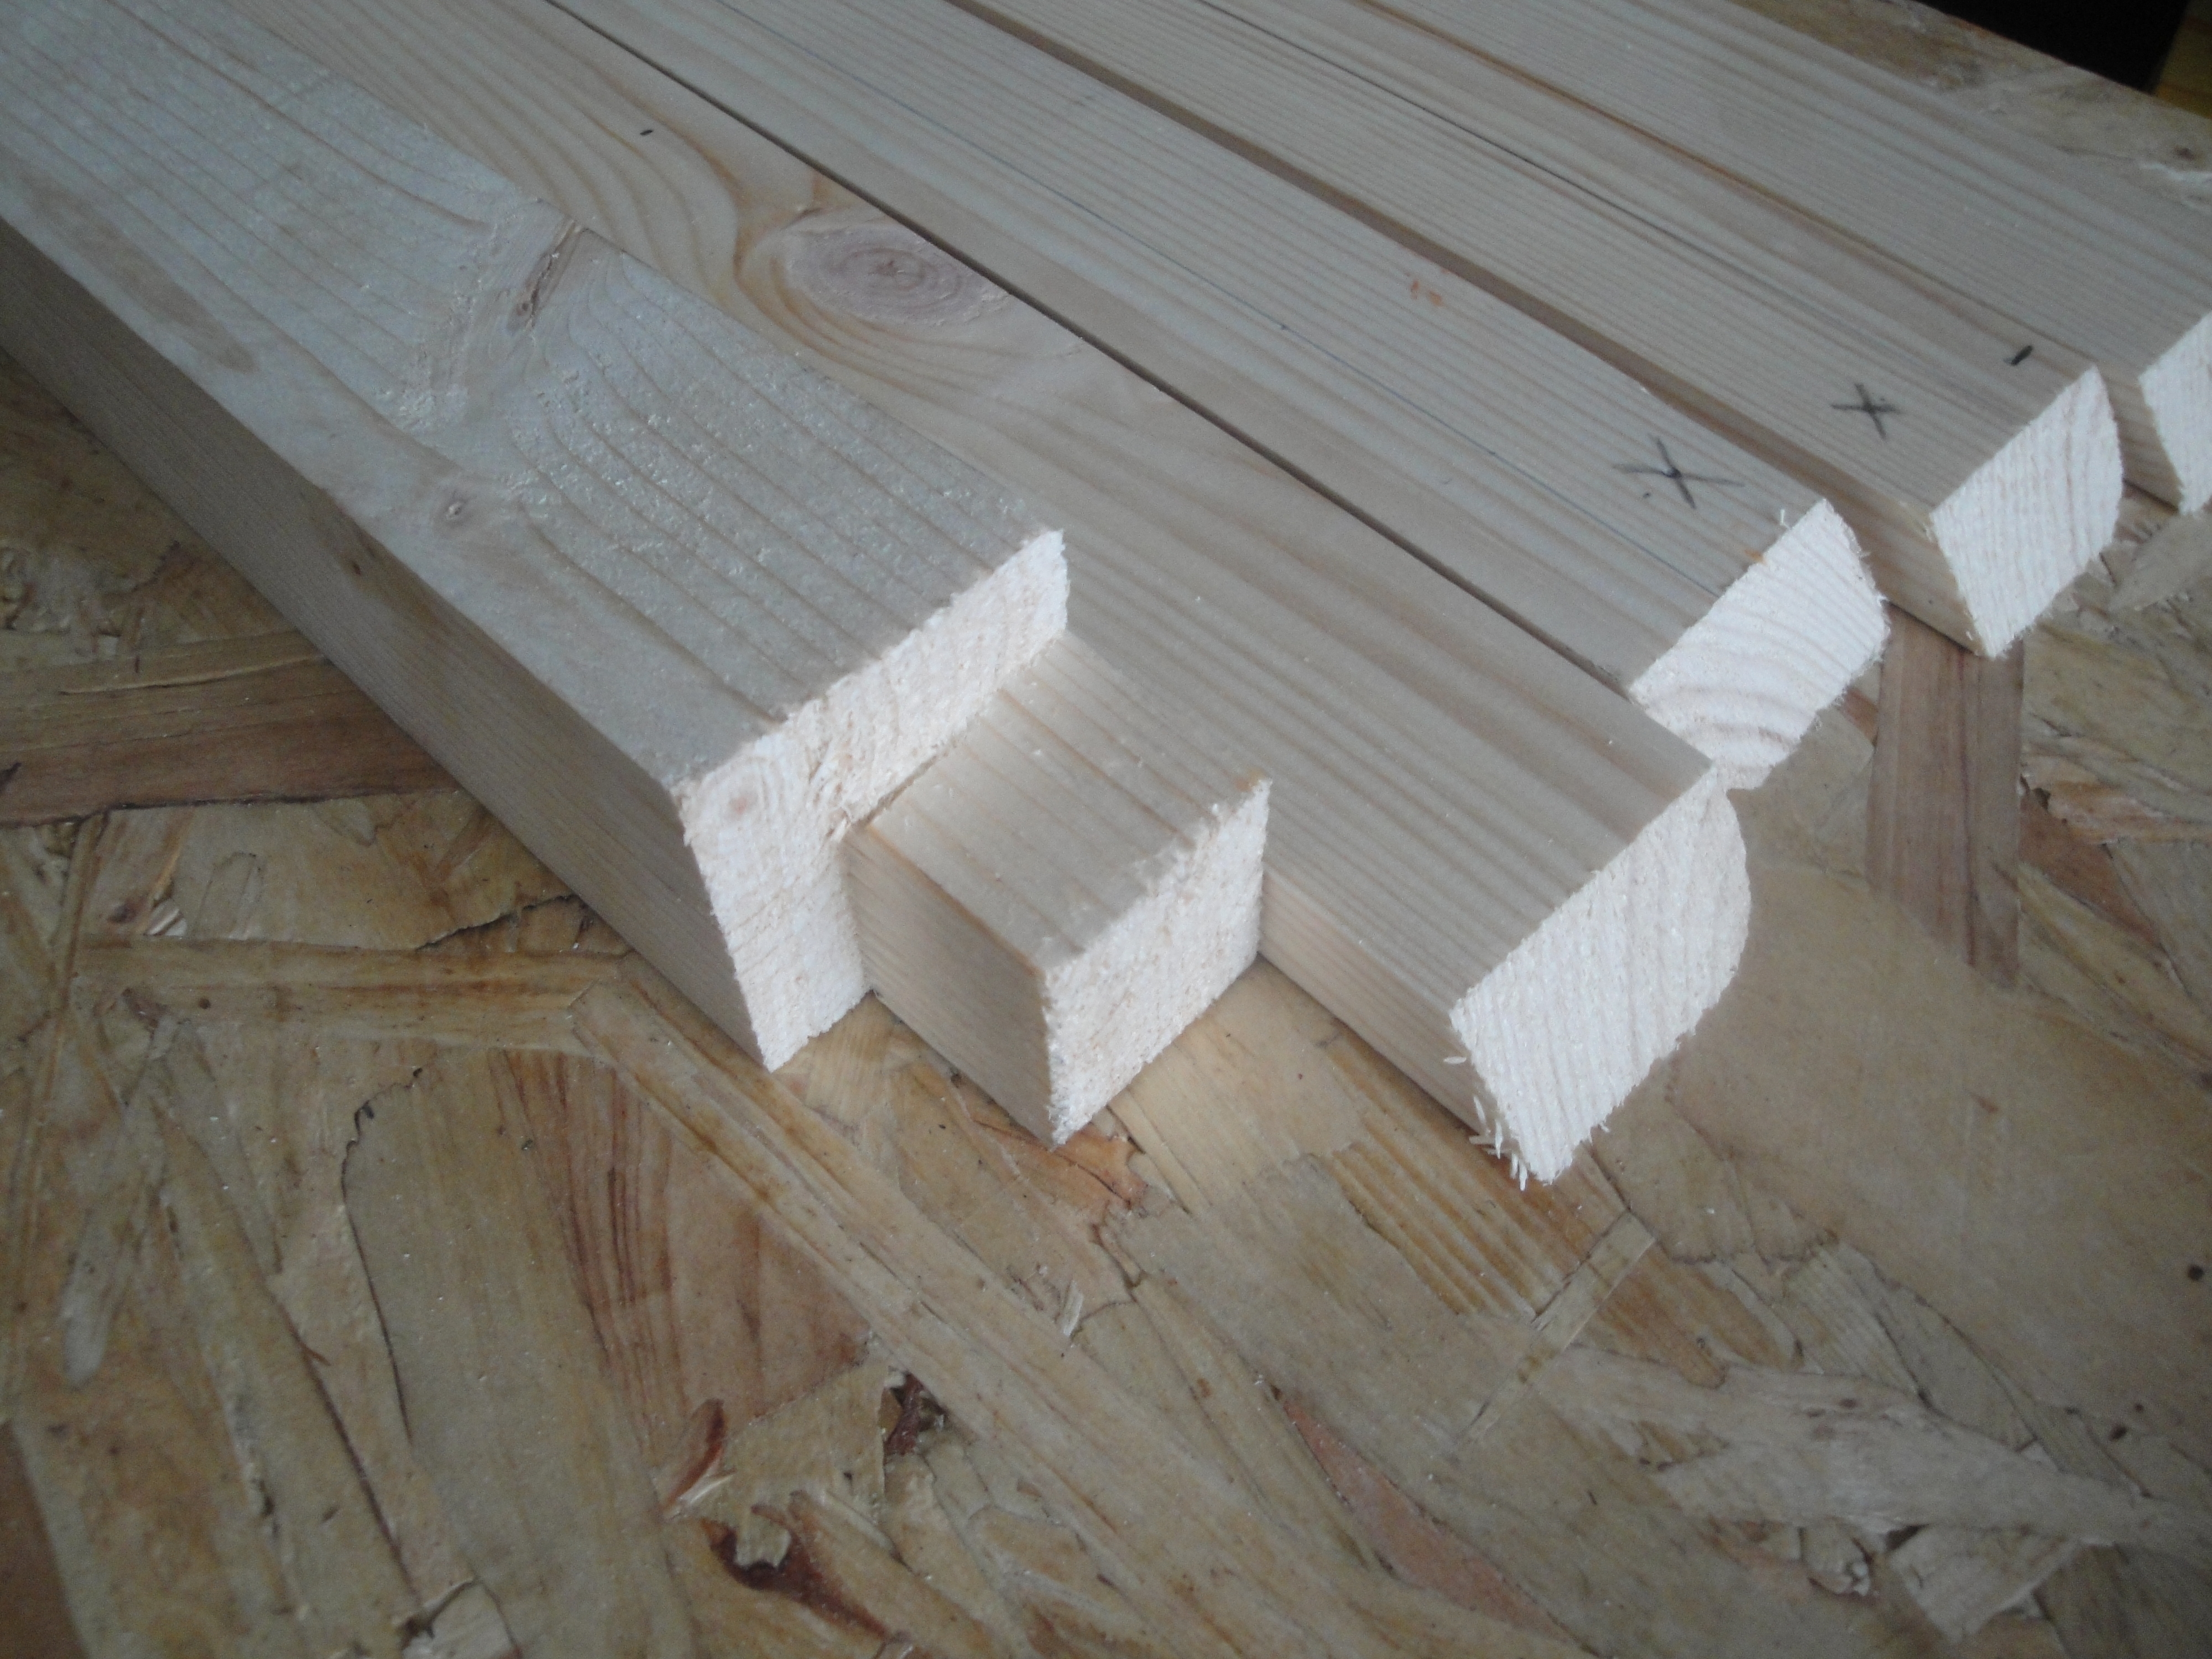
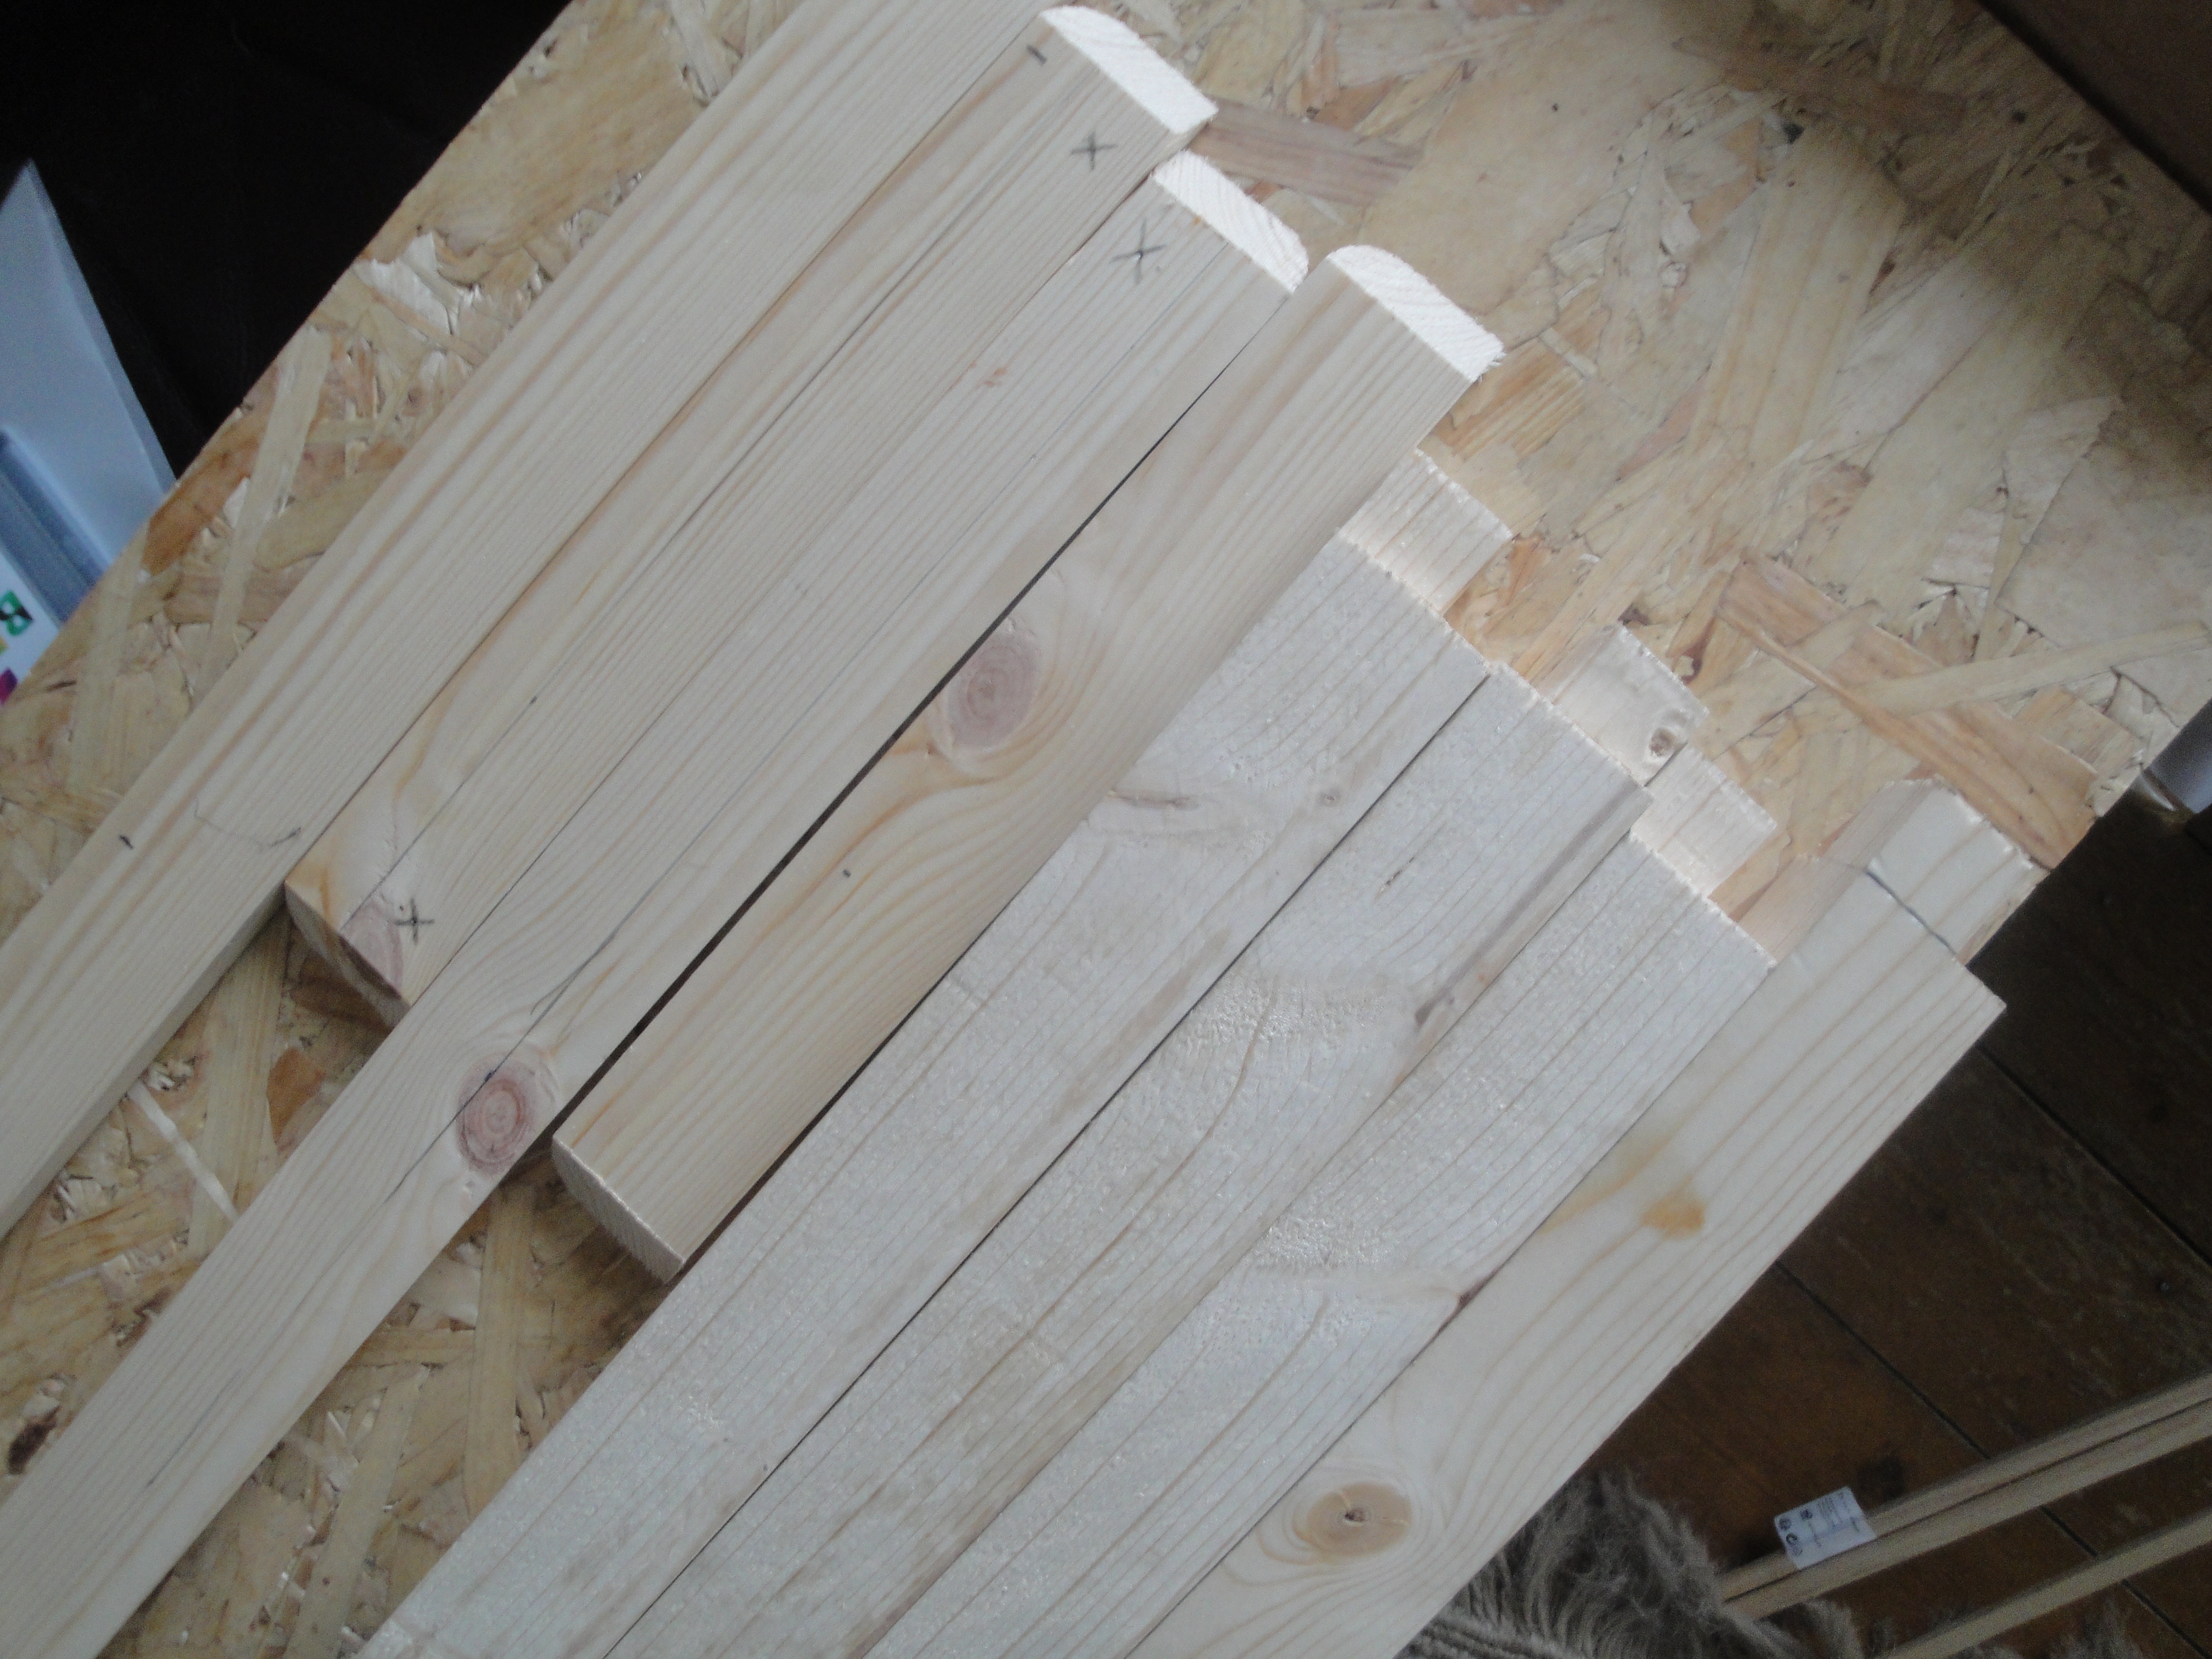
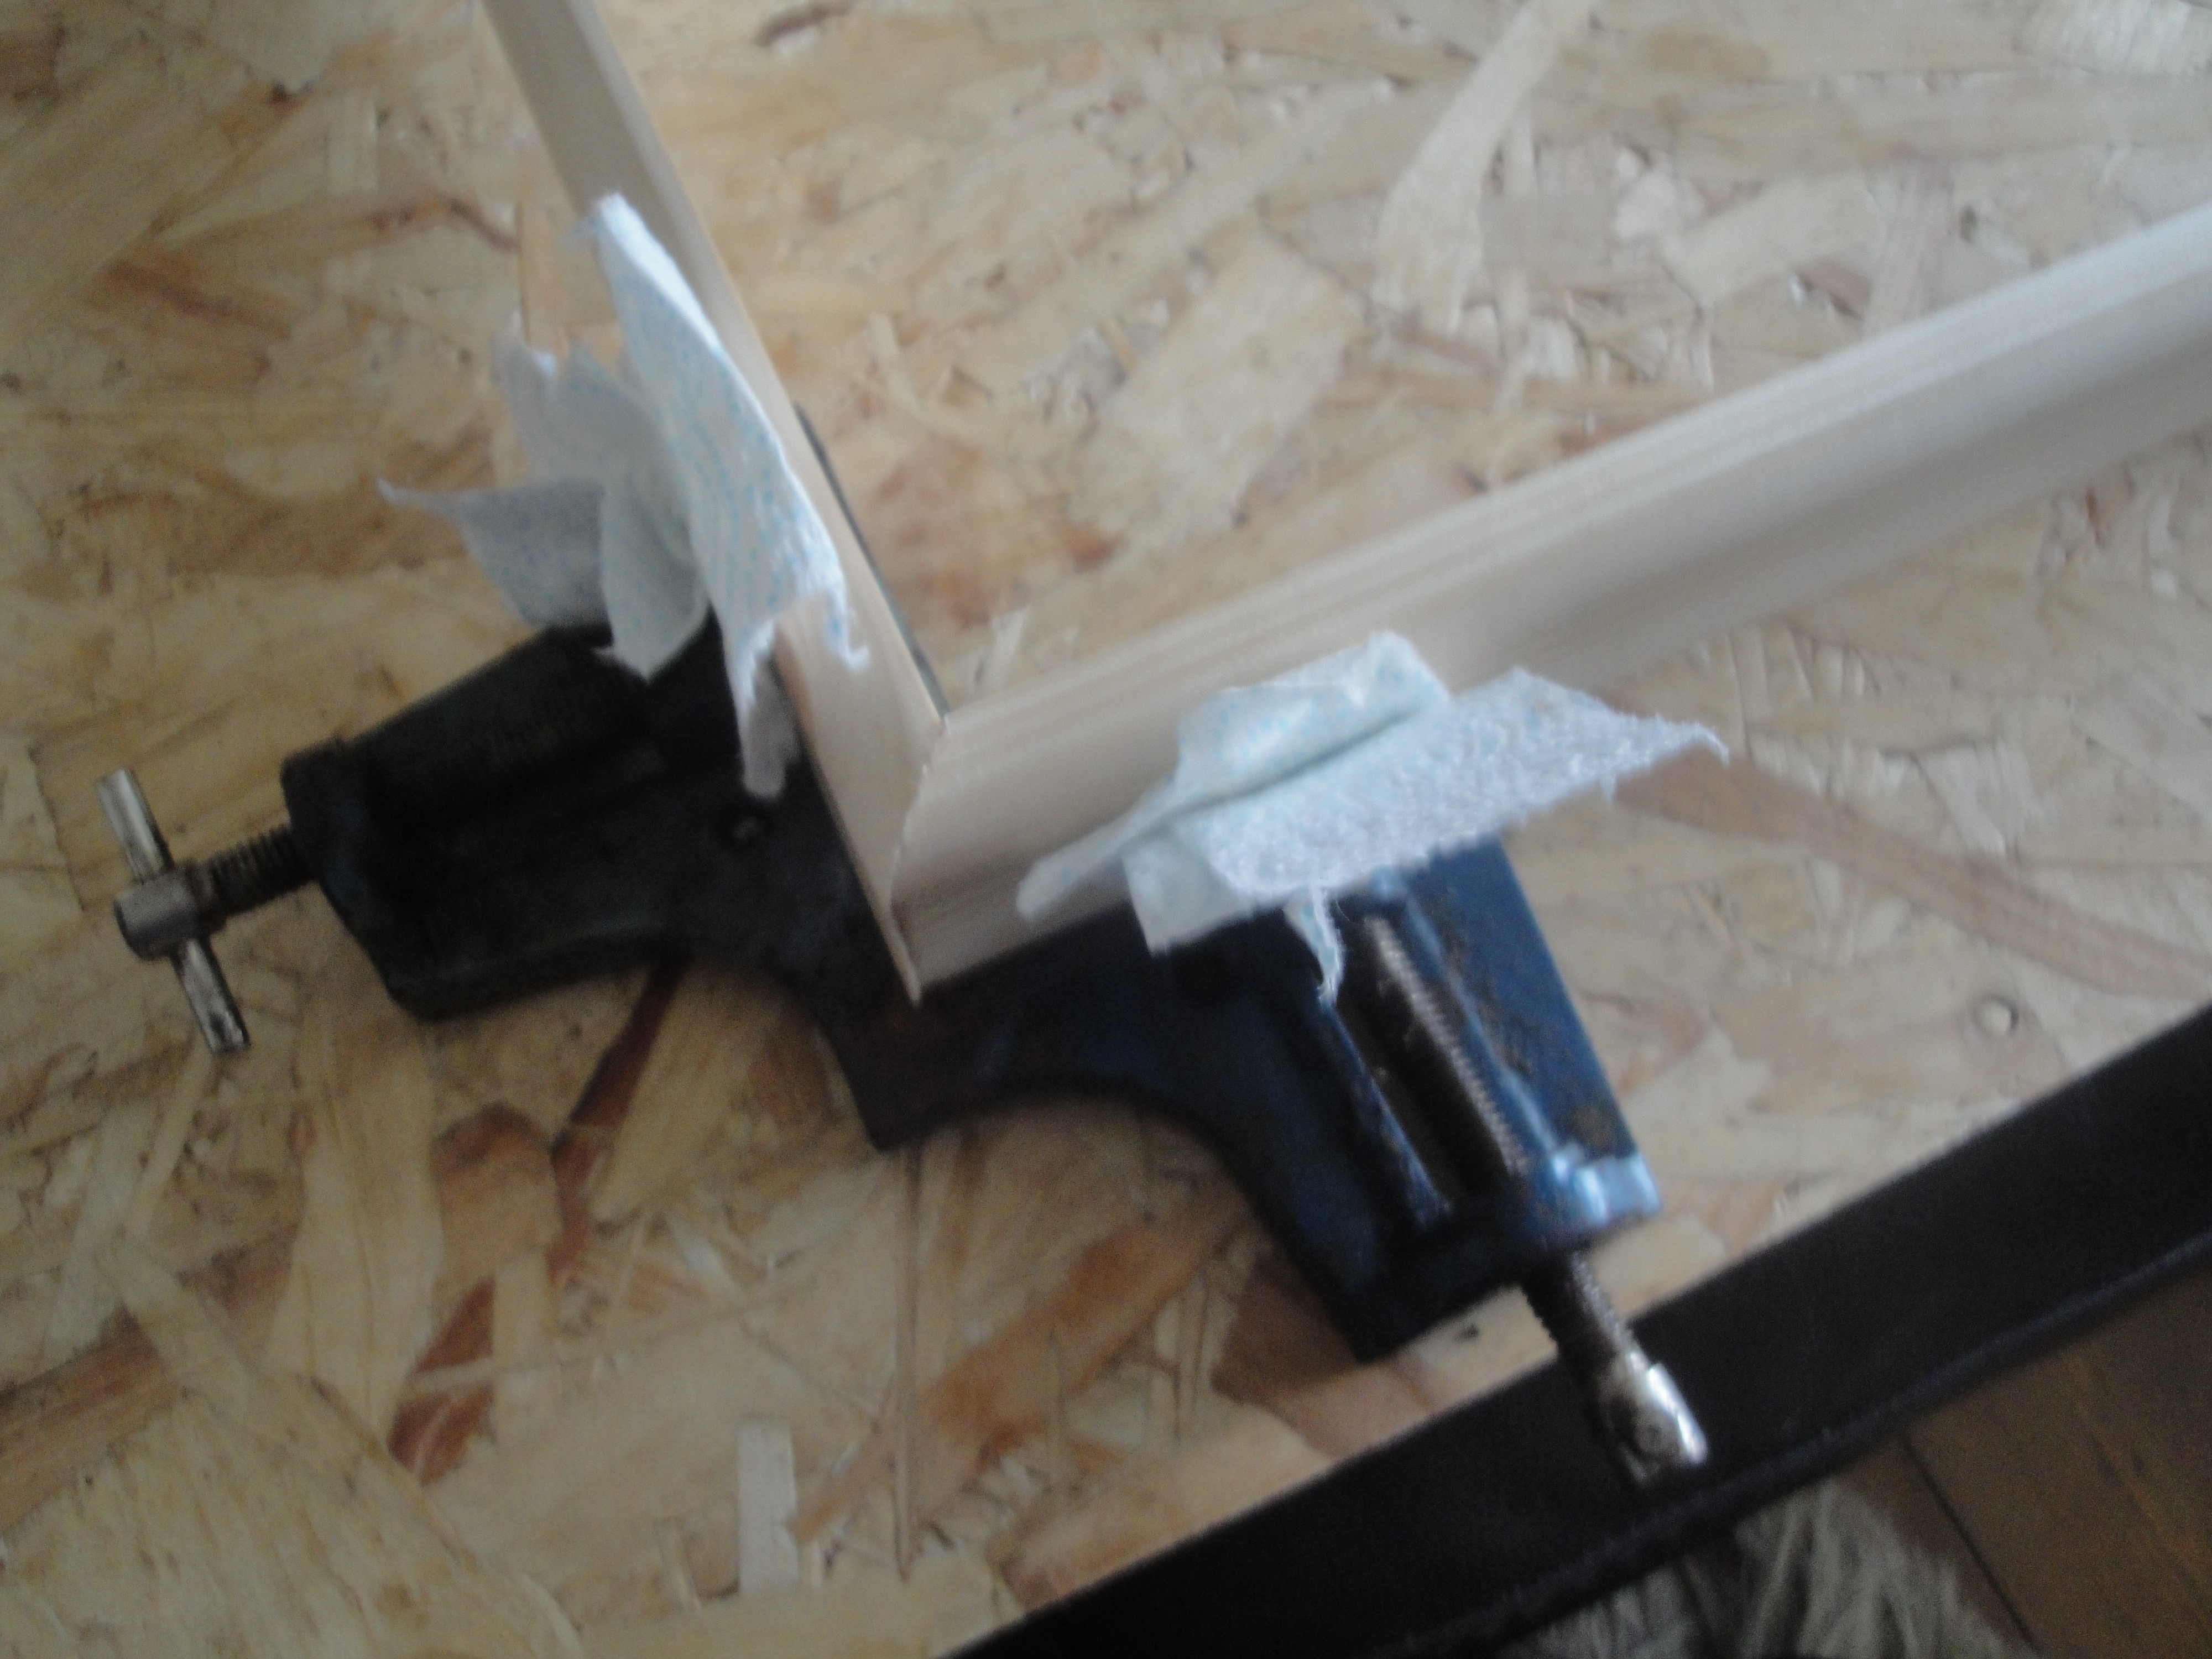
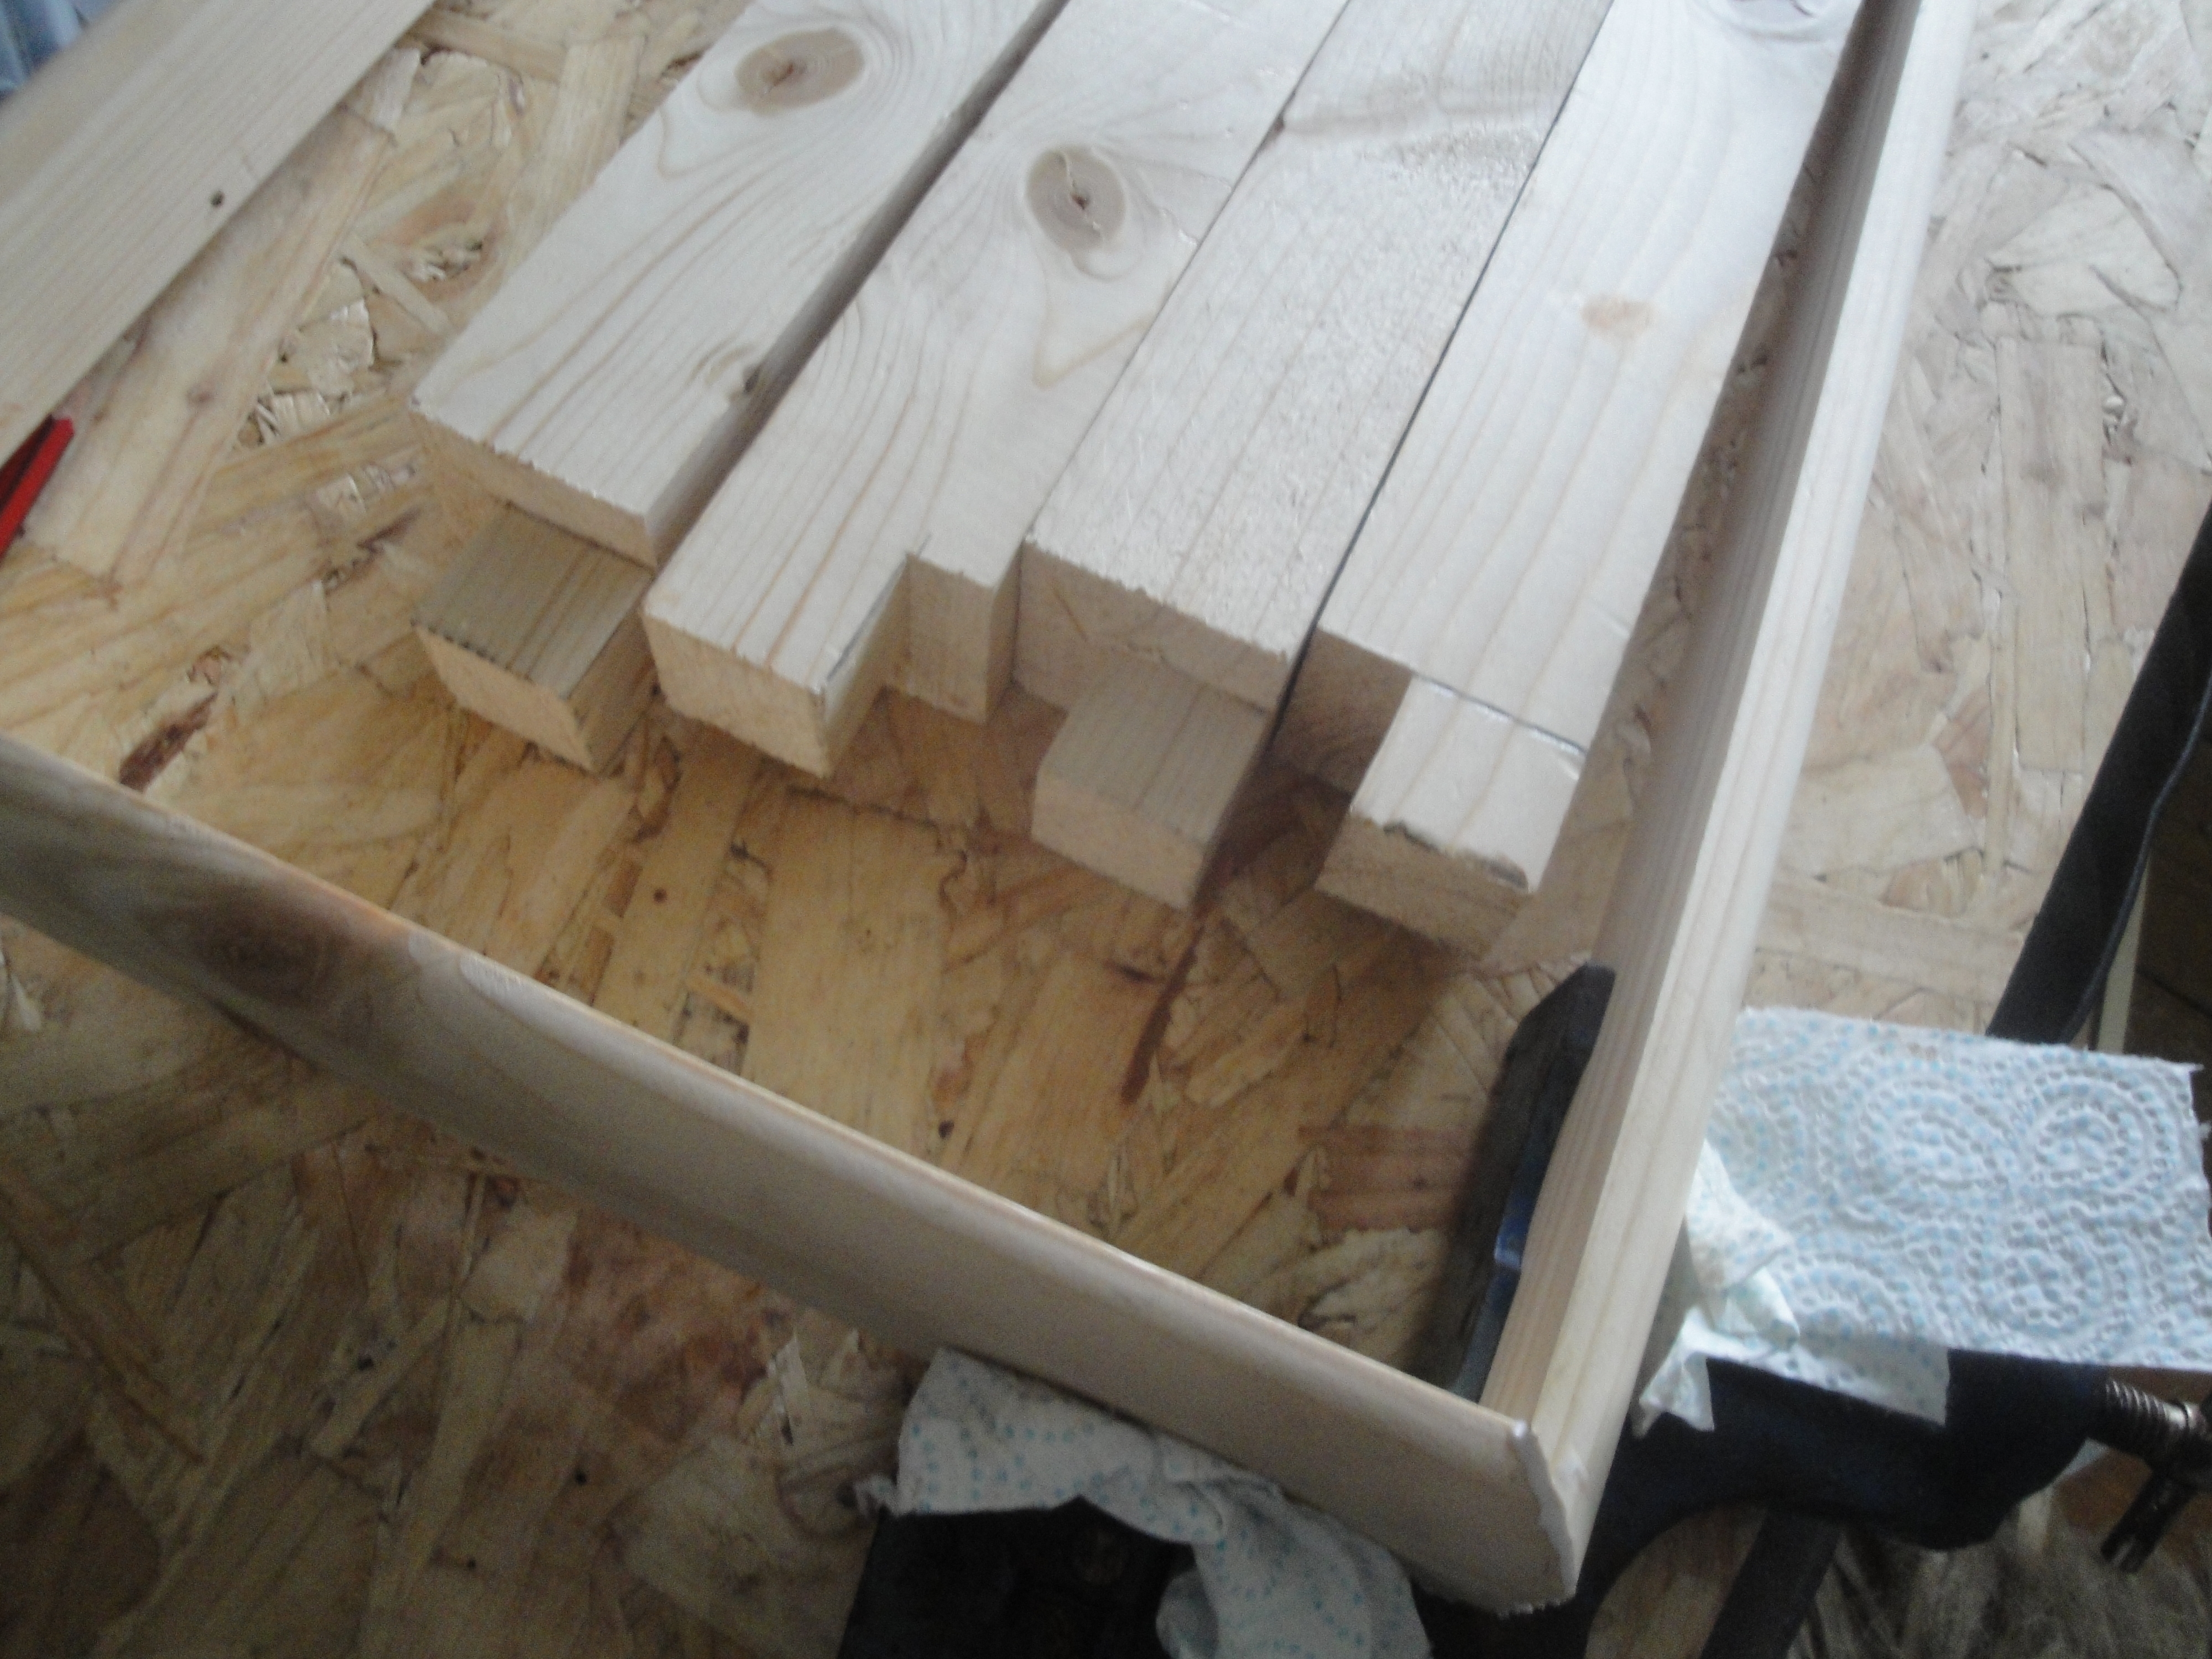
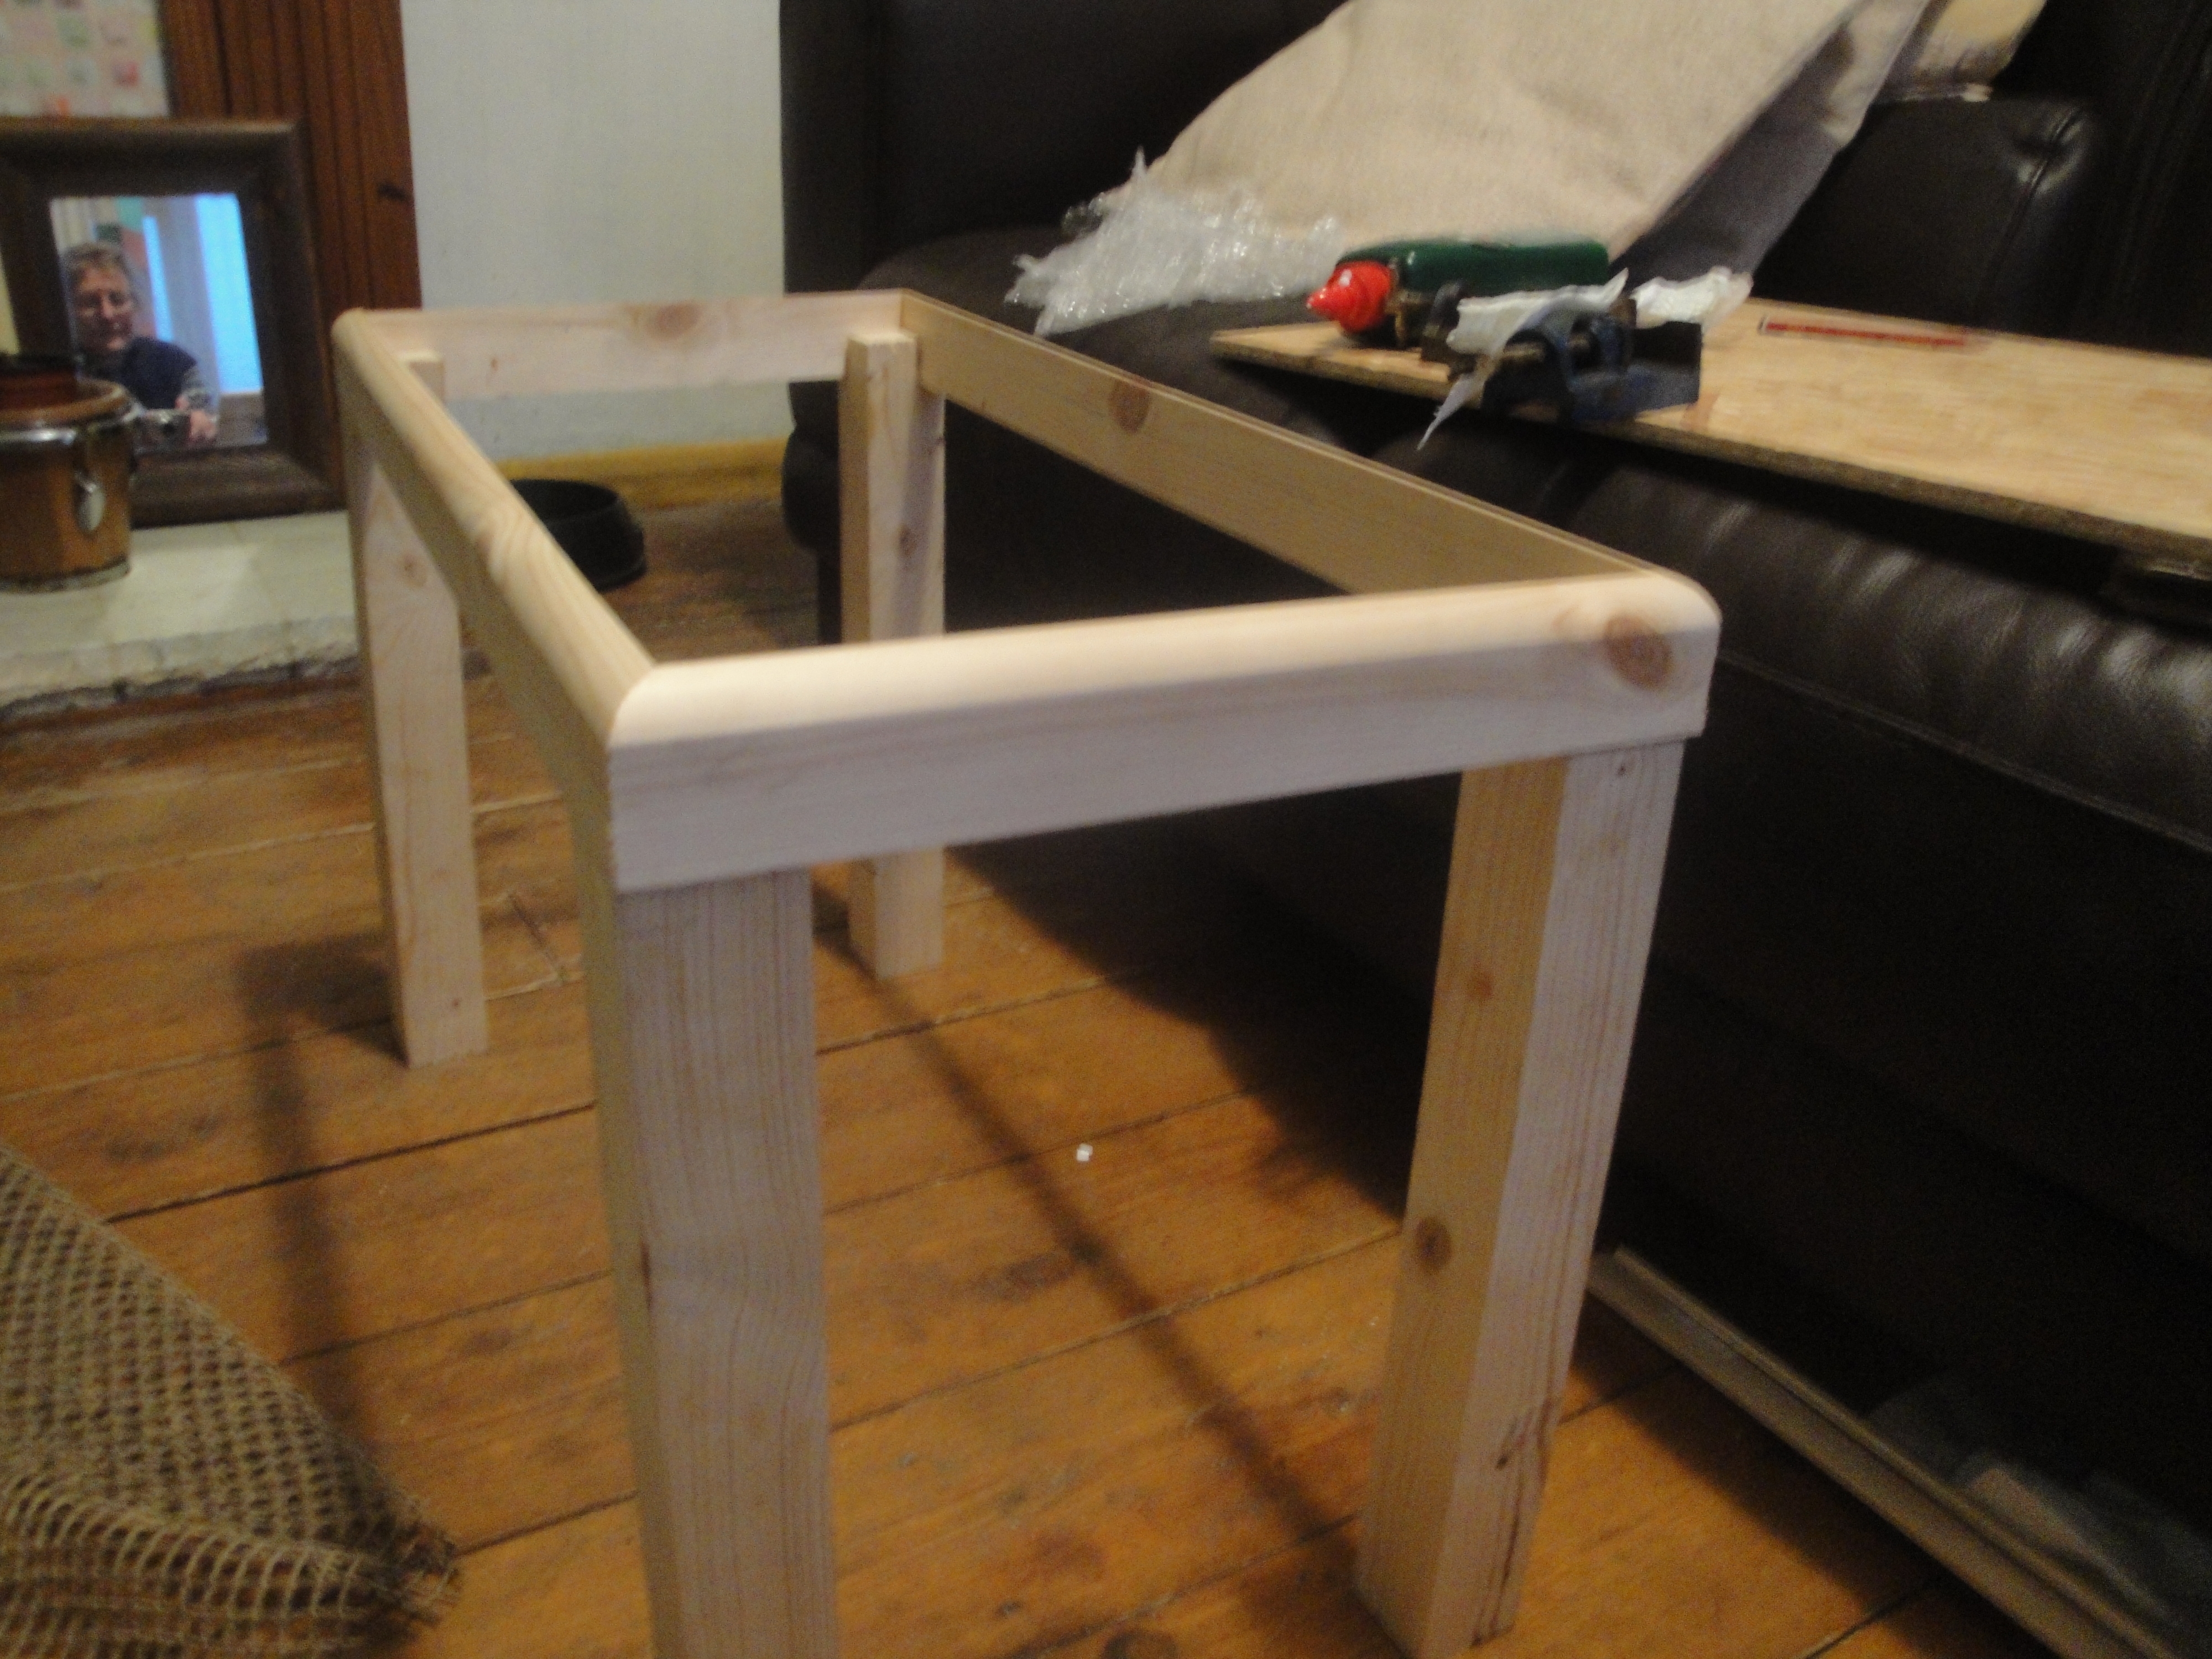
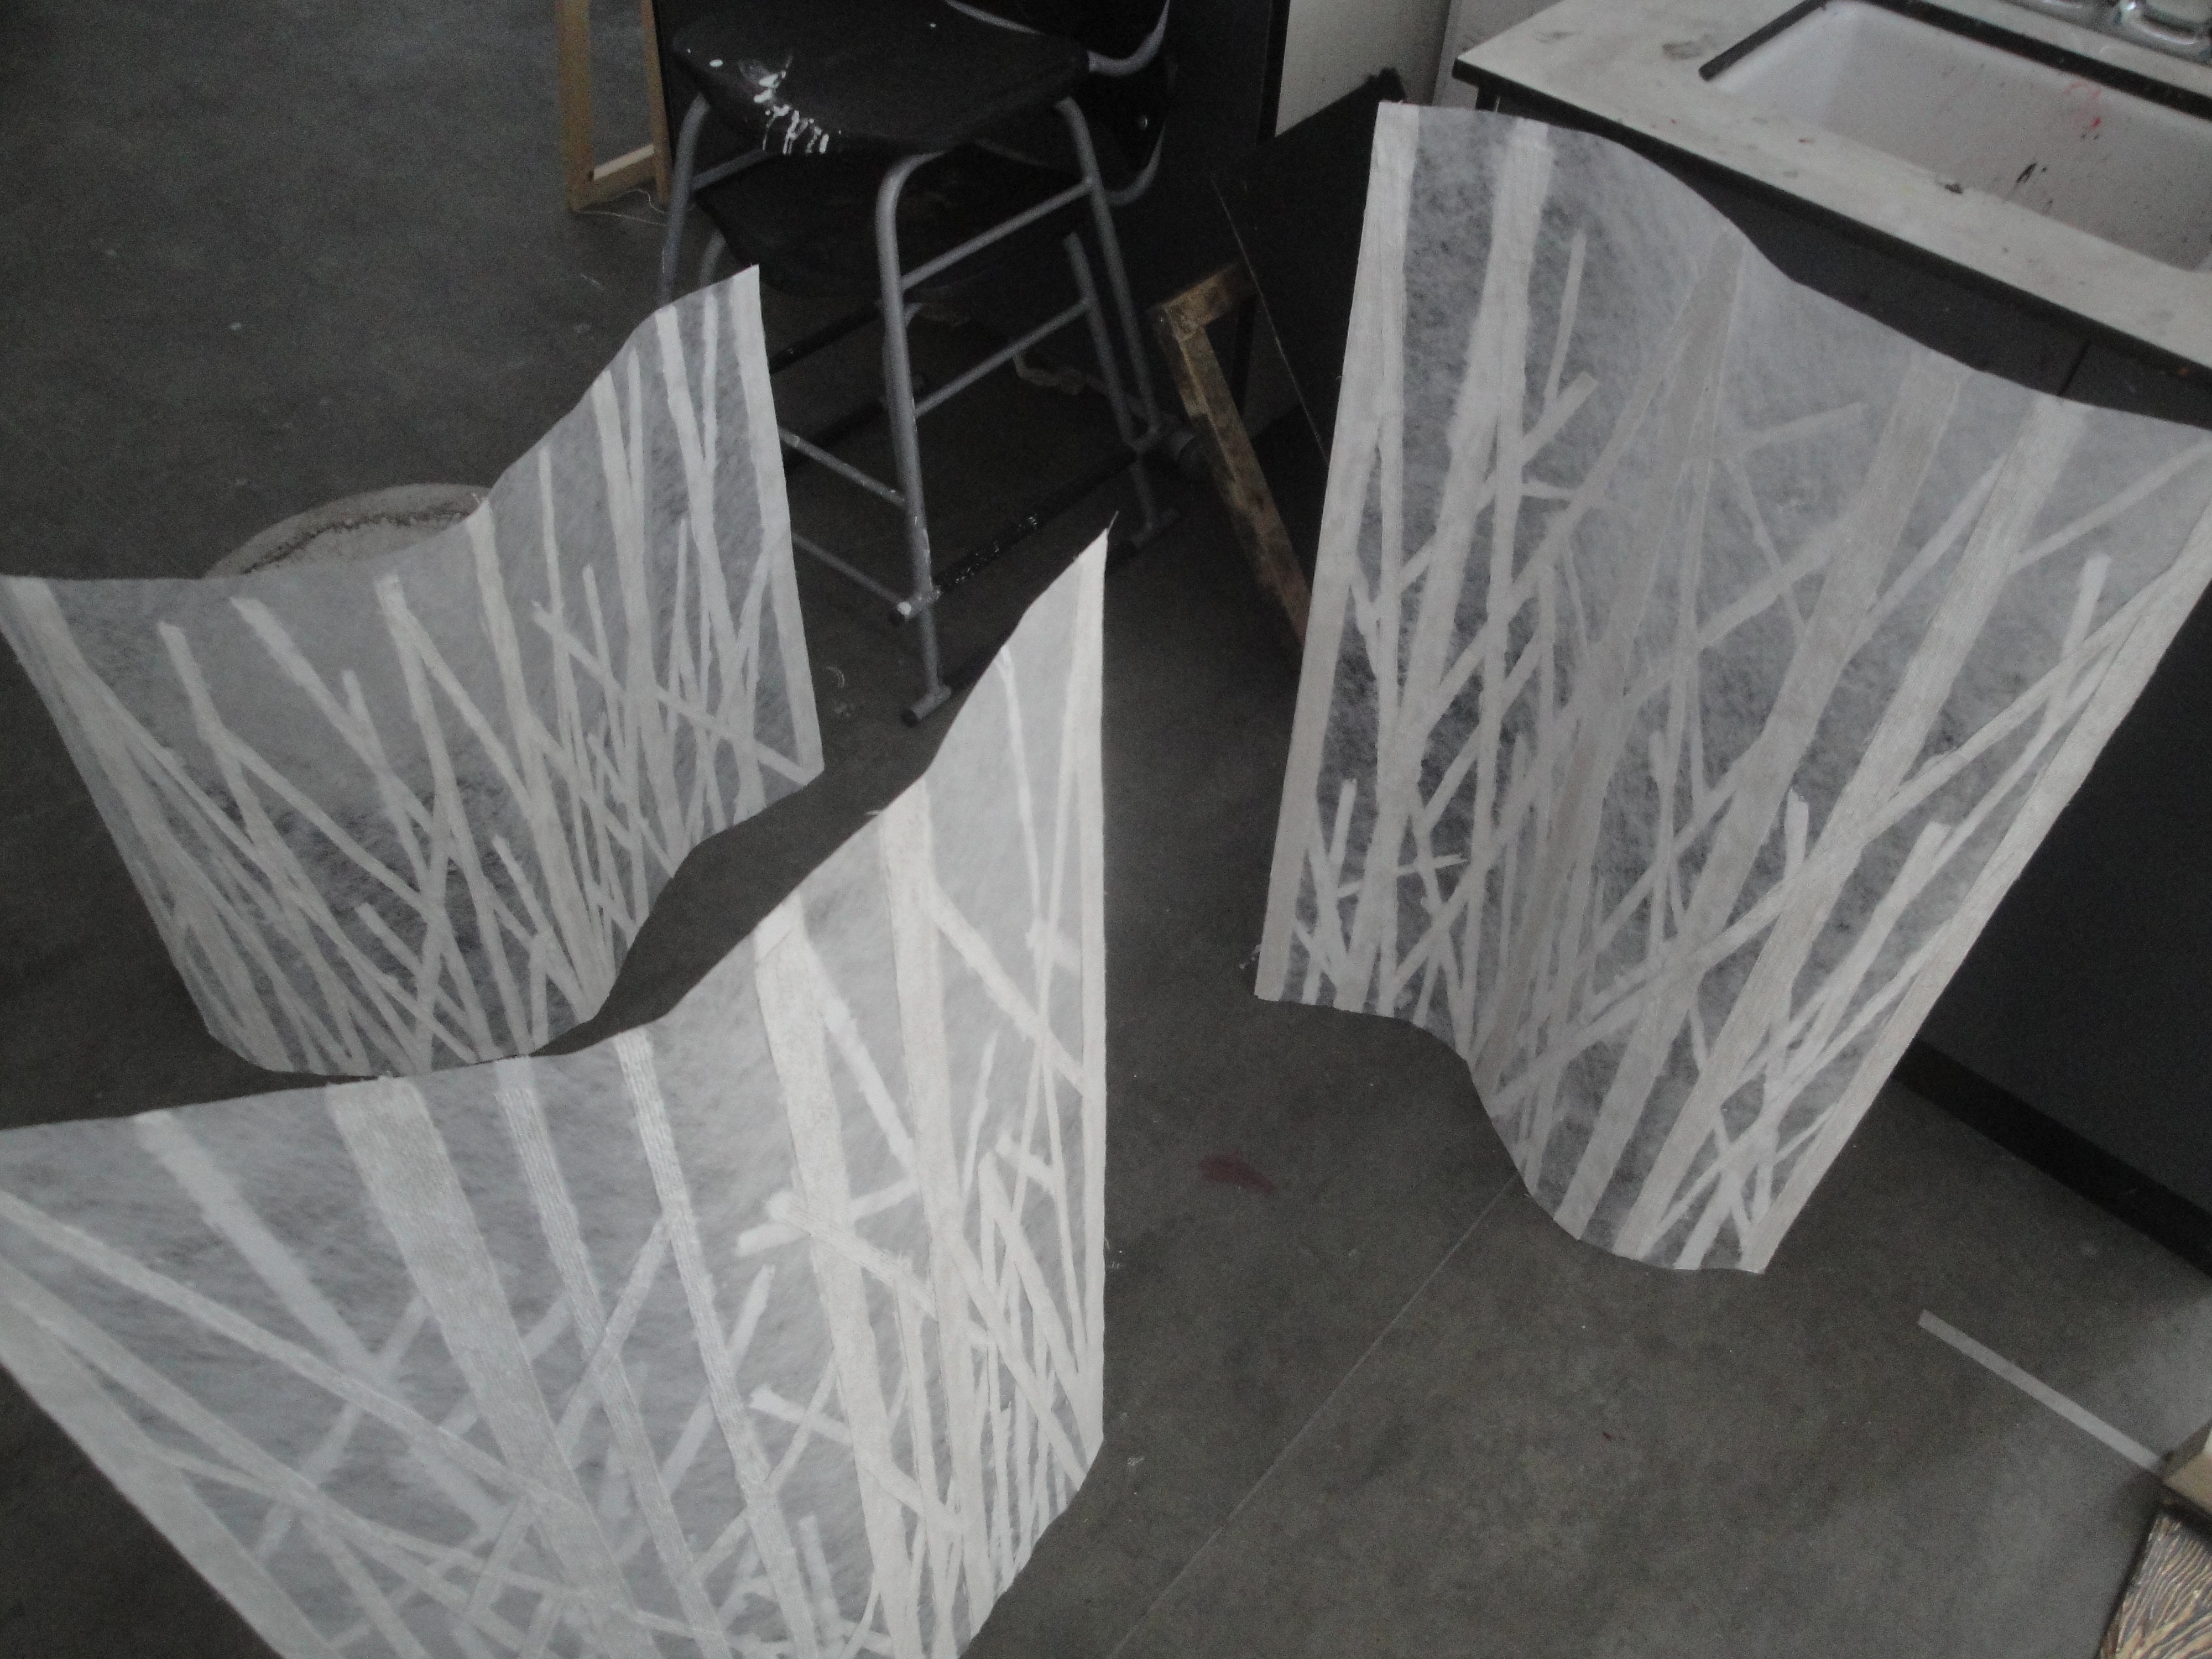
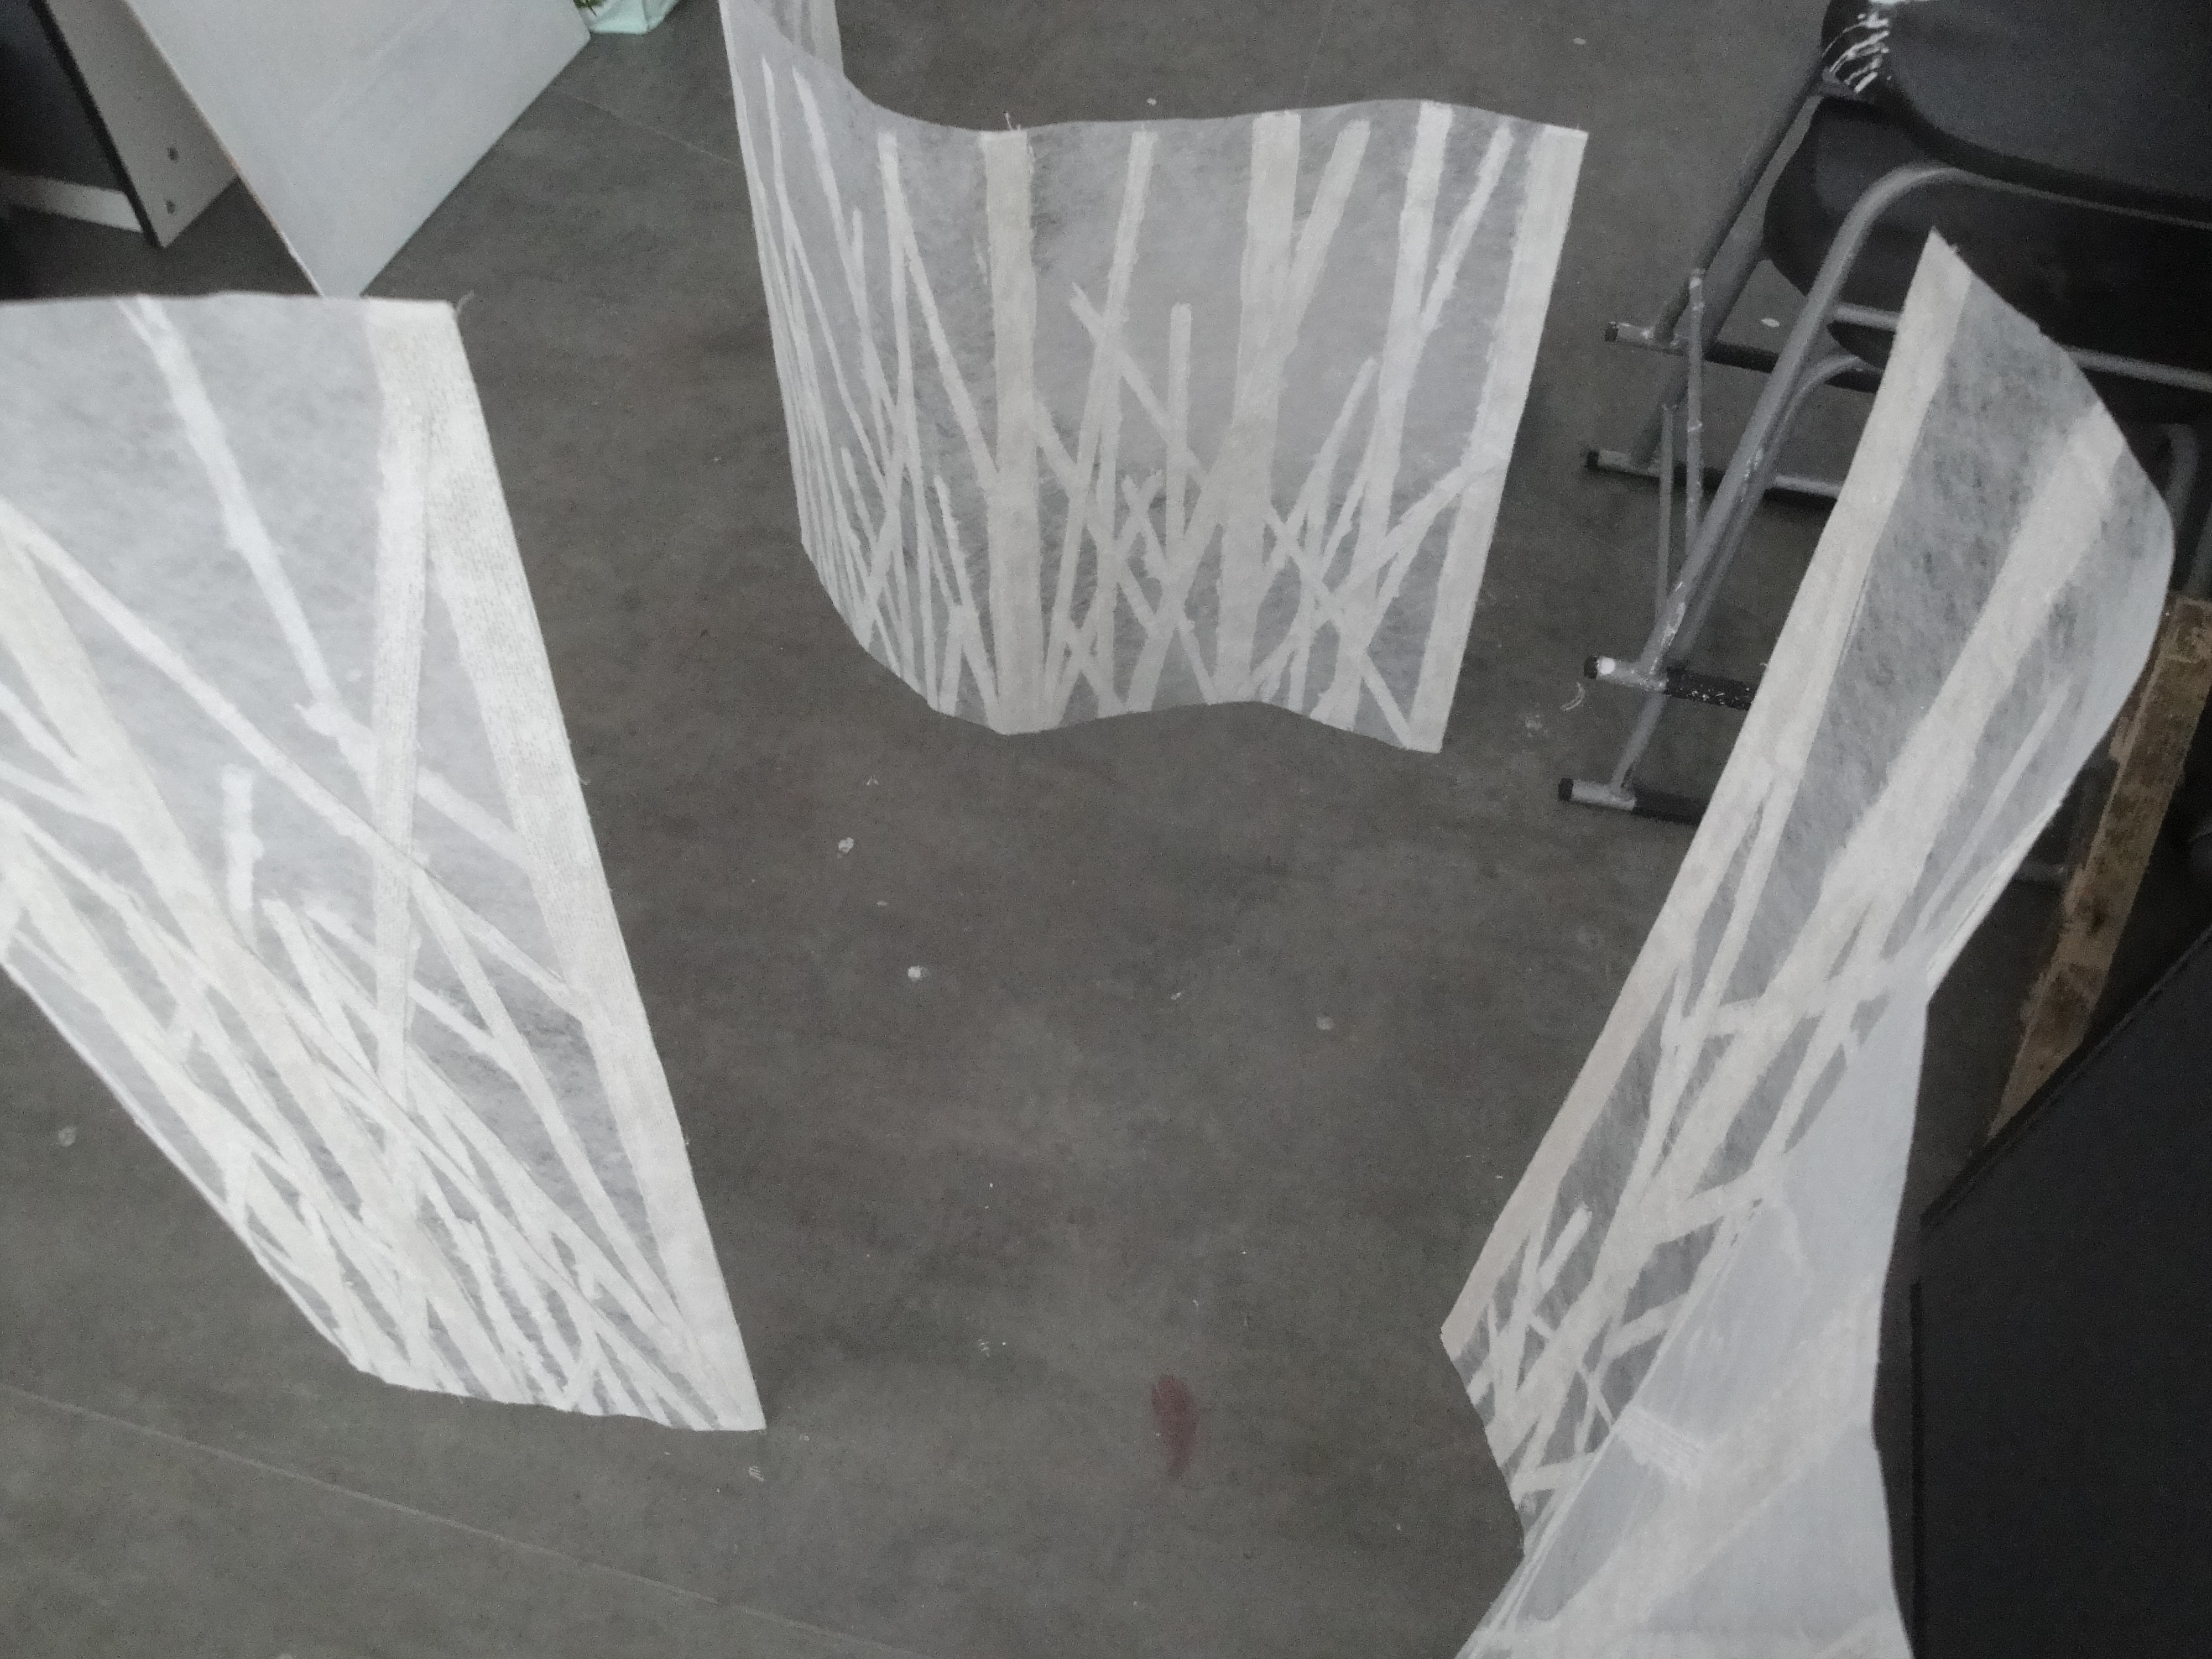
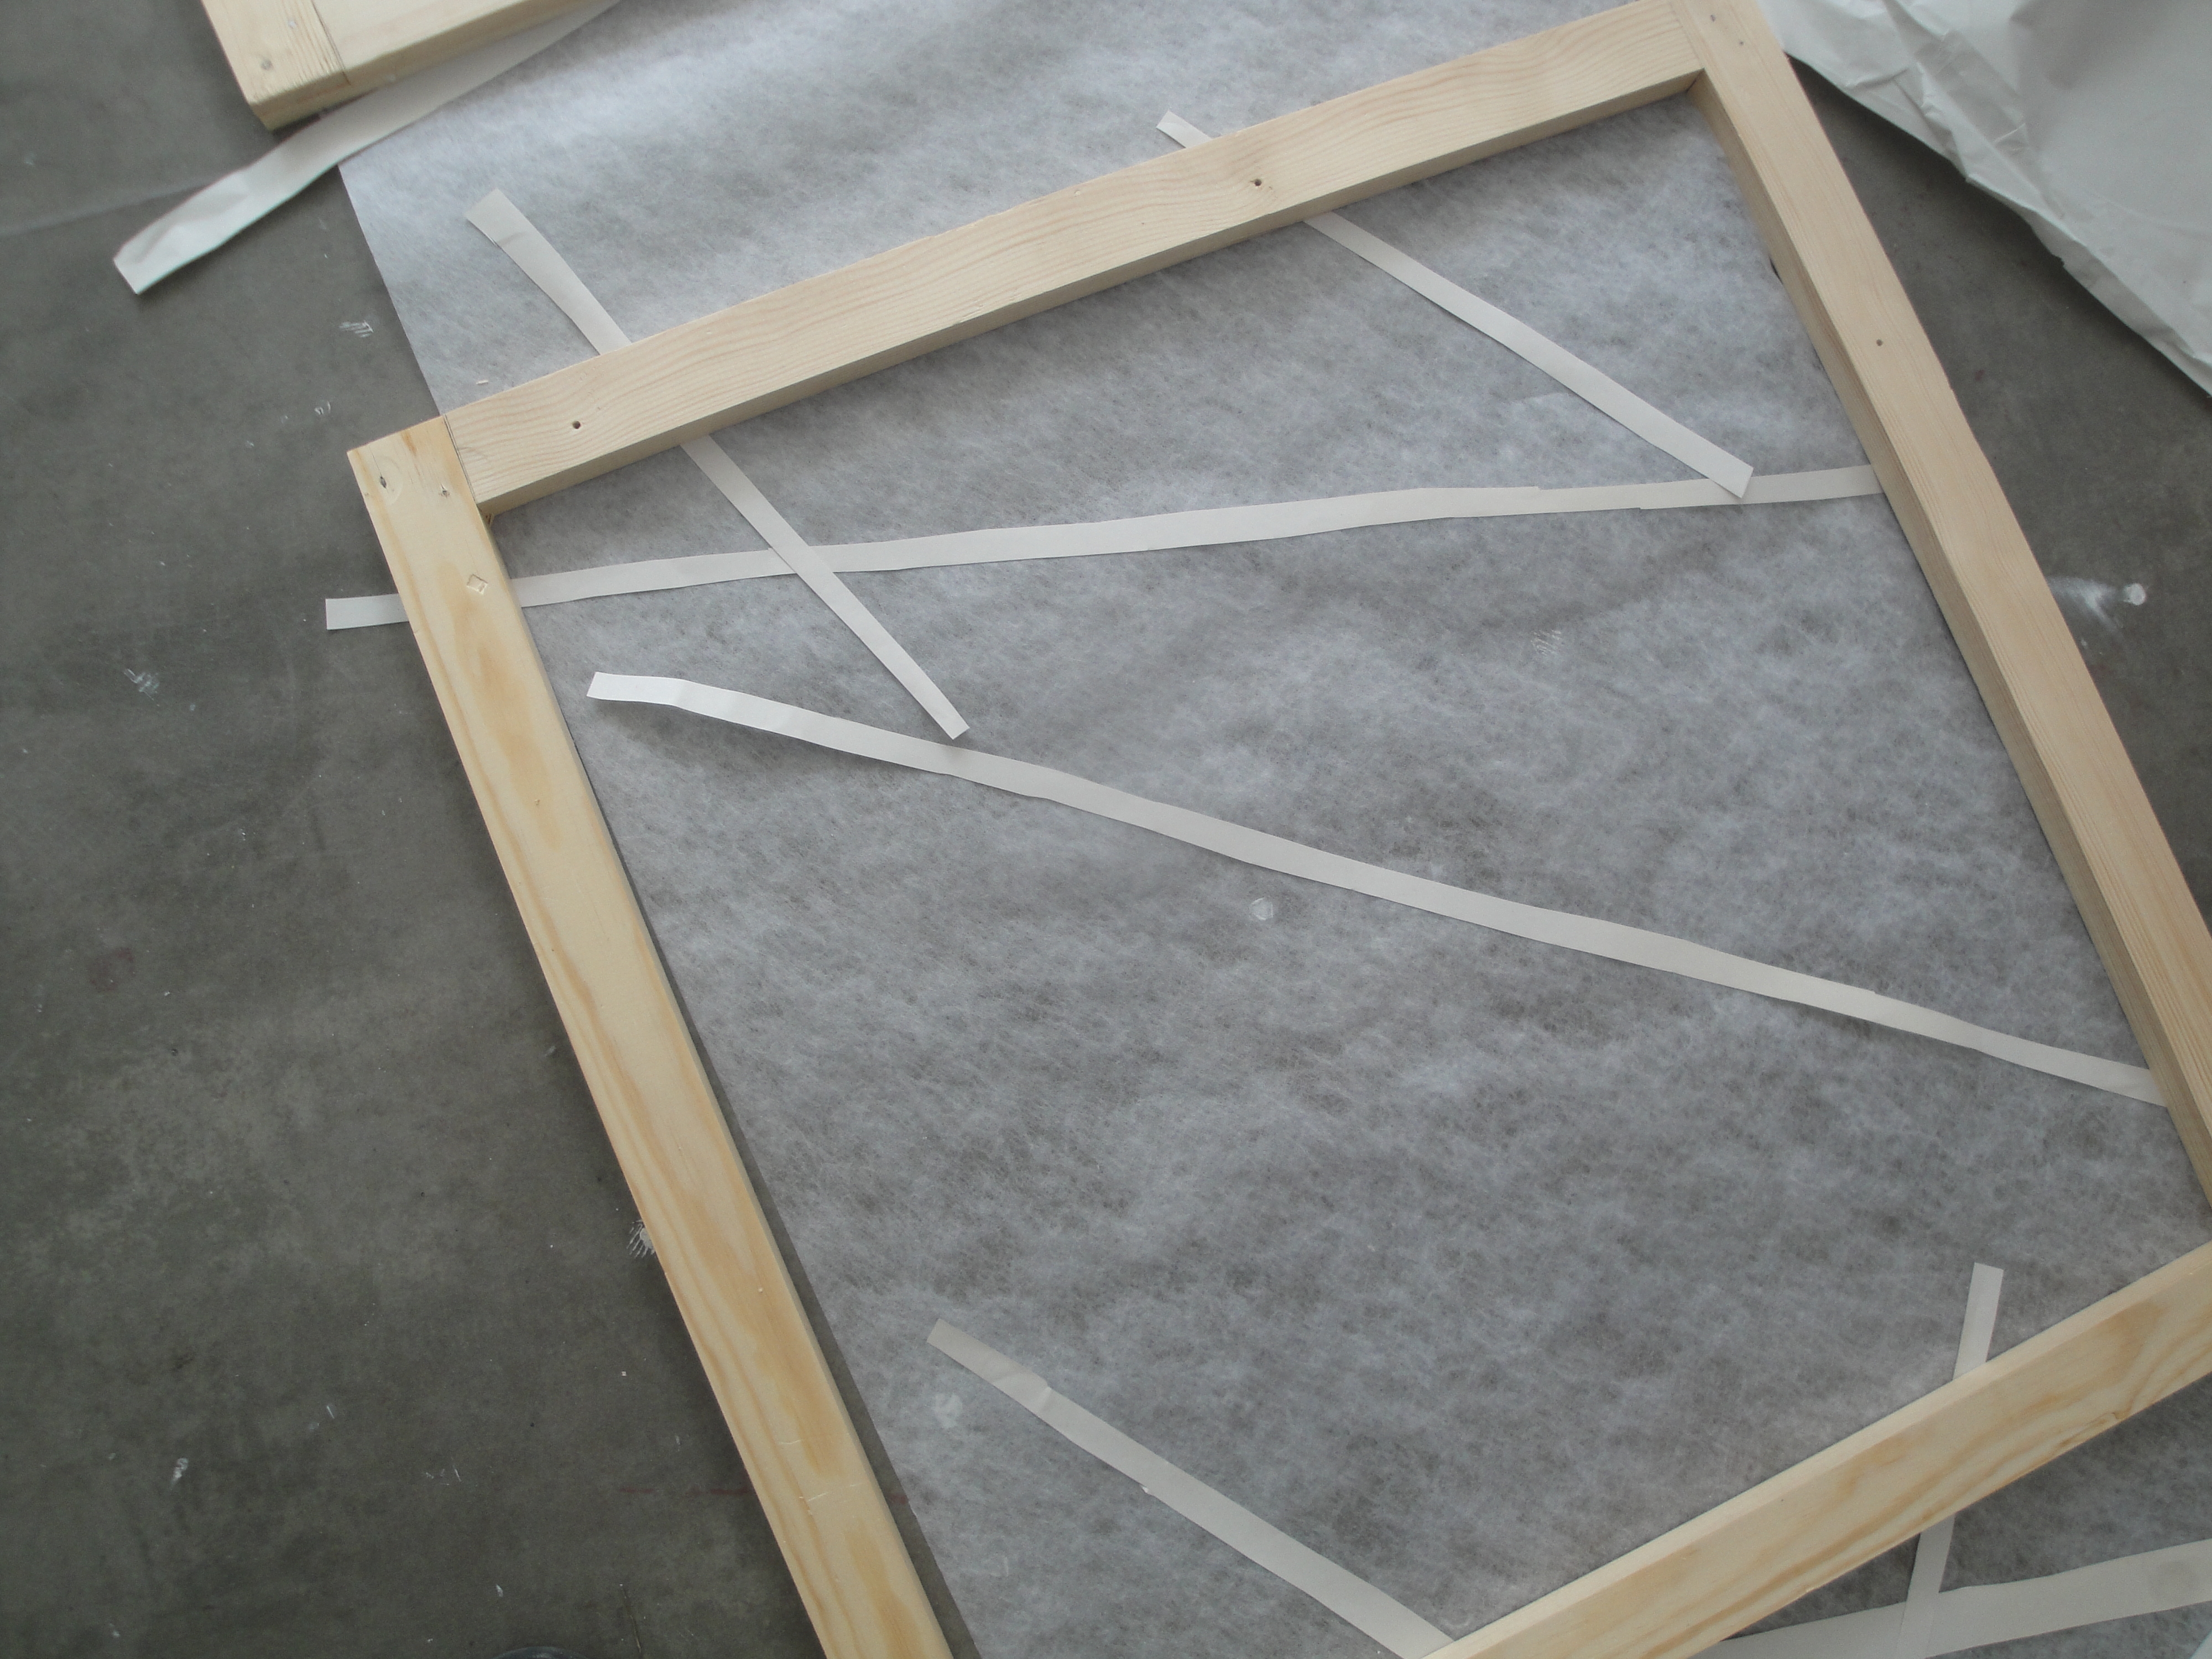
Over the last couple of days my thoughts have turned to the question of how to crate the installation pieces – they are quite fragile and need to be carried in a way that doesn’t break the plaster’s supporting qualities in the vertical plane – also, when the base support is applied to make them curved, this needs to be protected across the horizontal. As a further refinement from the trial pieces in which I applied the horizontal plaster around polystyrene formers; I will use ‘the crates’ I’m going to make, to double up as formers for the horizontal plaster work to go on next week. I have drawn the natural ‘standing’ curve for each element and will develop the crate/formers along these lines. I hope that using the ‘natural’ line each piece ‘wants to take’ will add to their strength, rather than ‘force’ a curve as in the test pieces where I cut the polystyrene before the pieces were made.

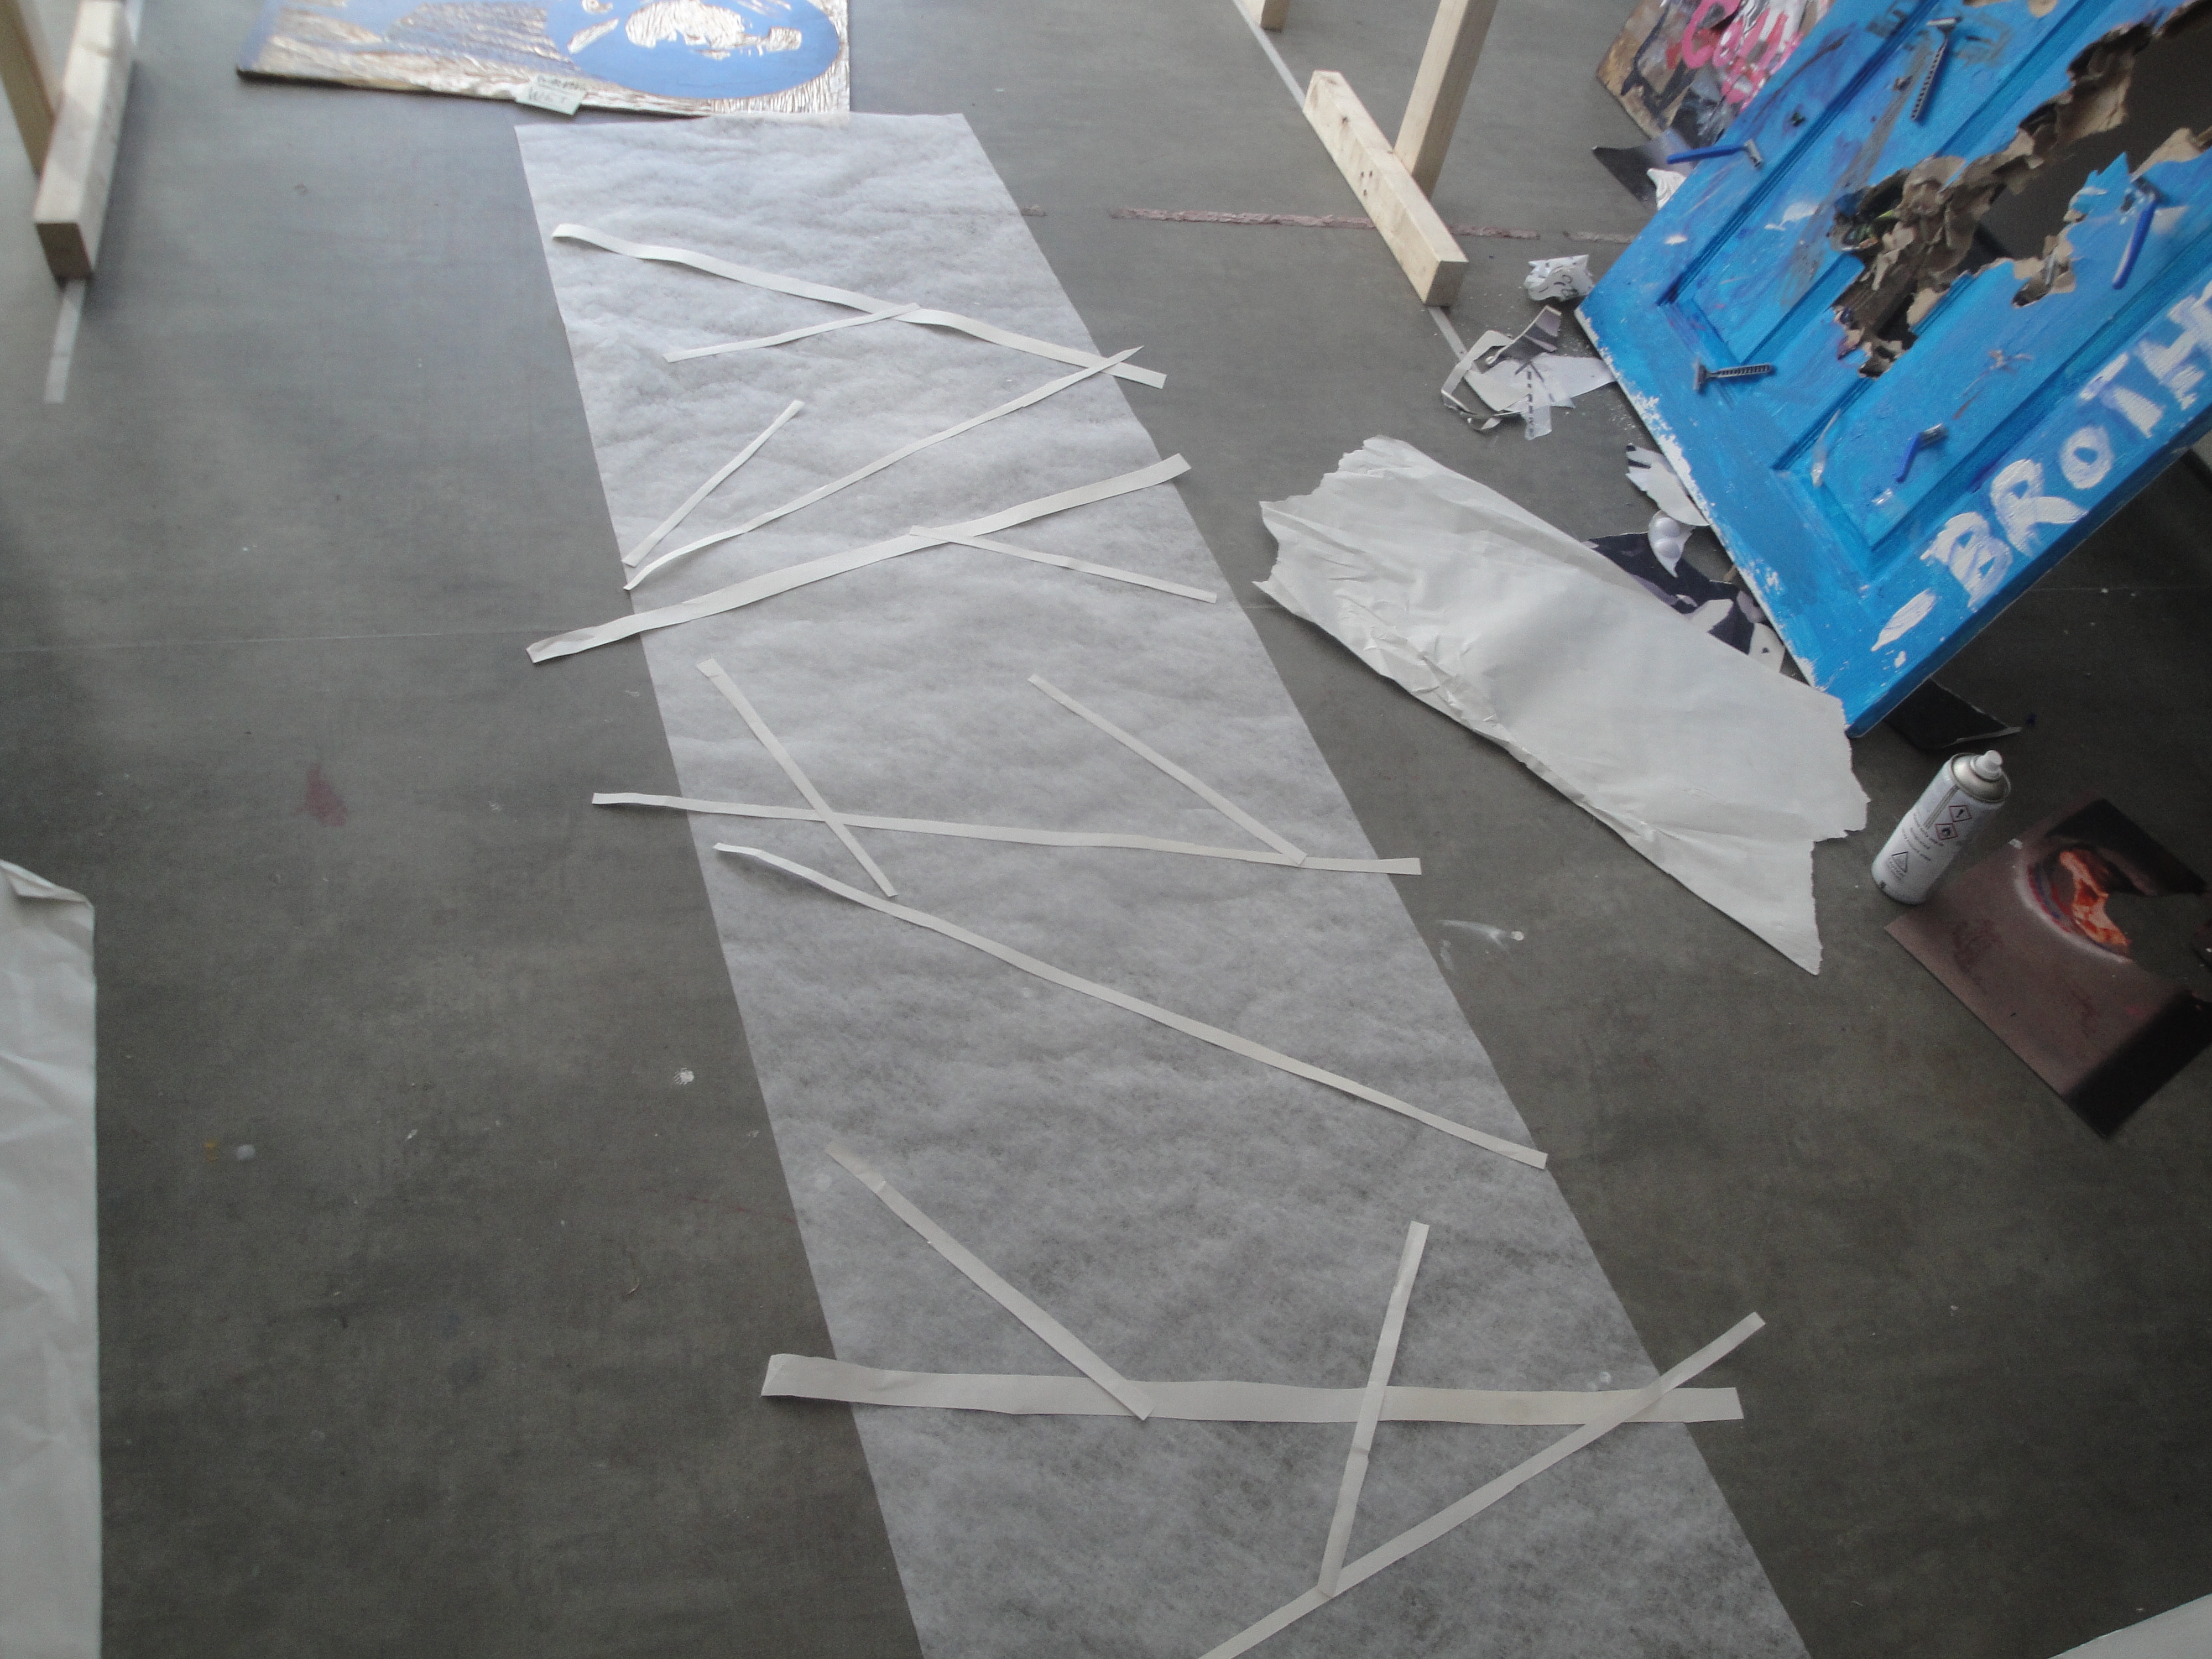
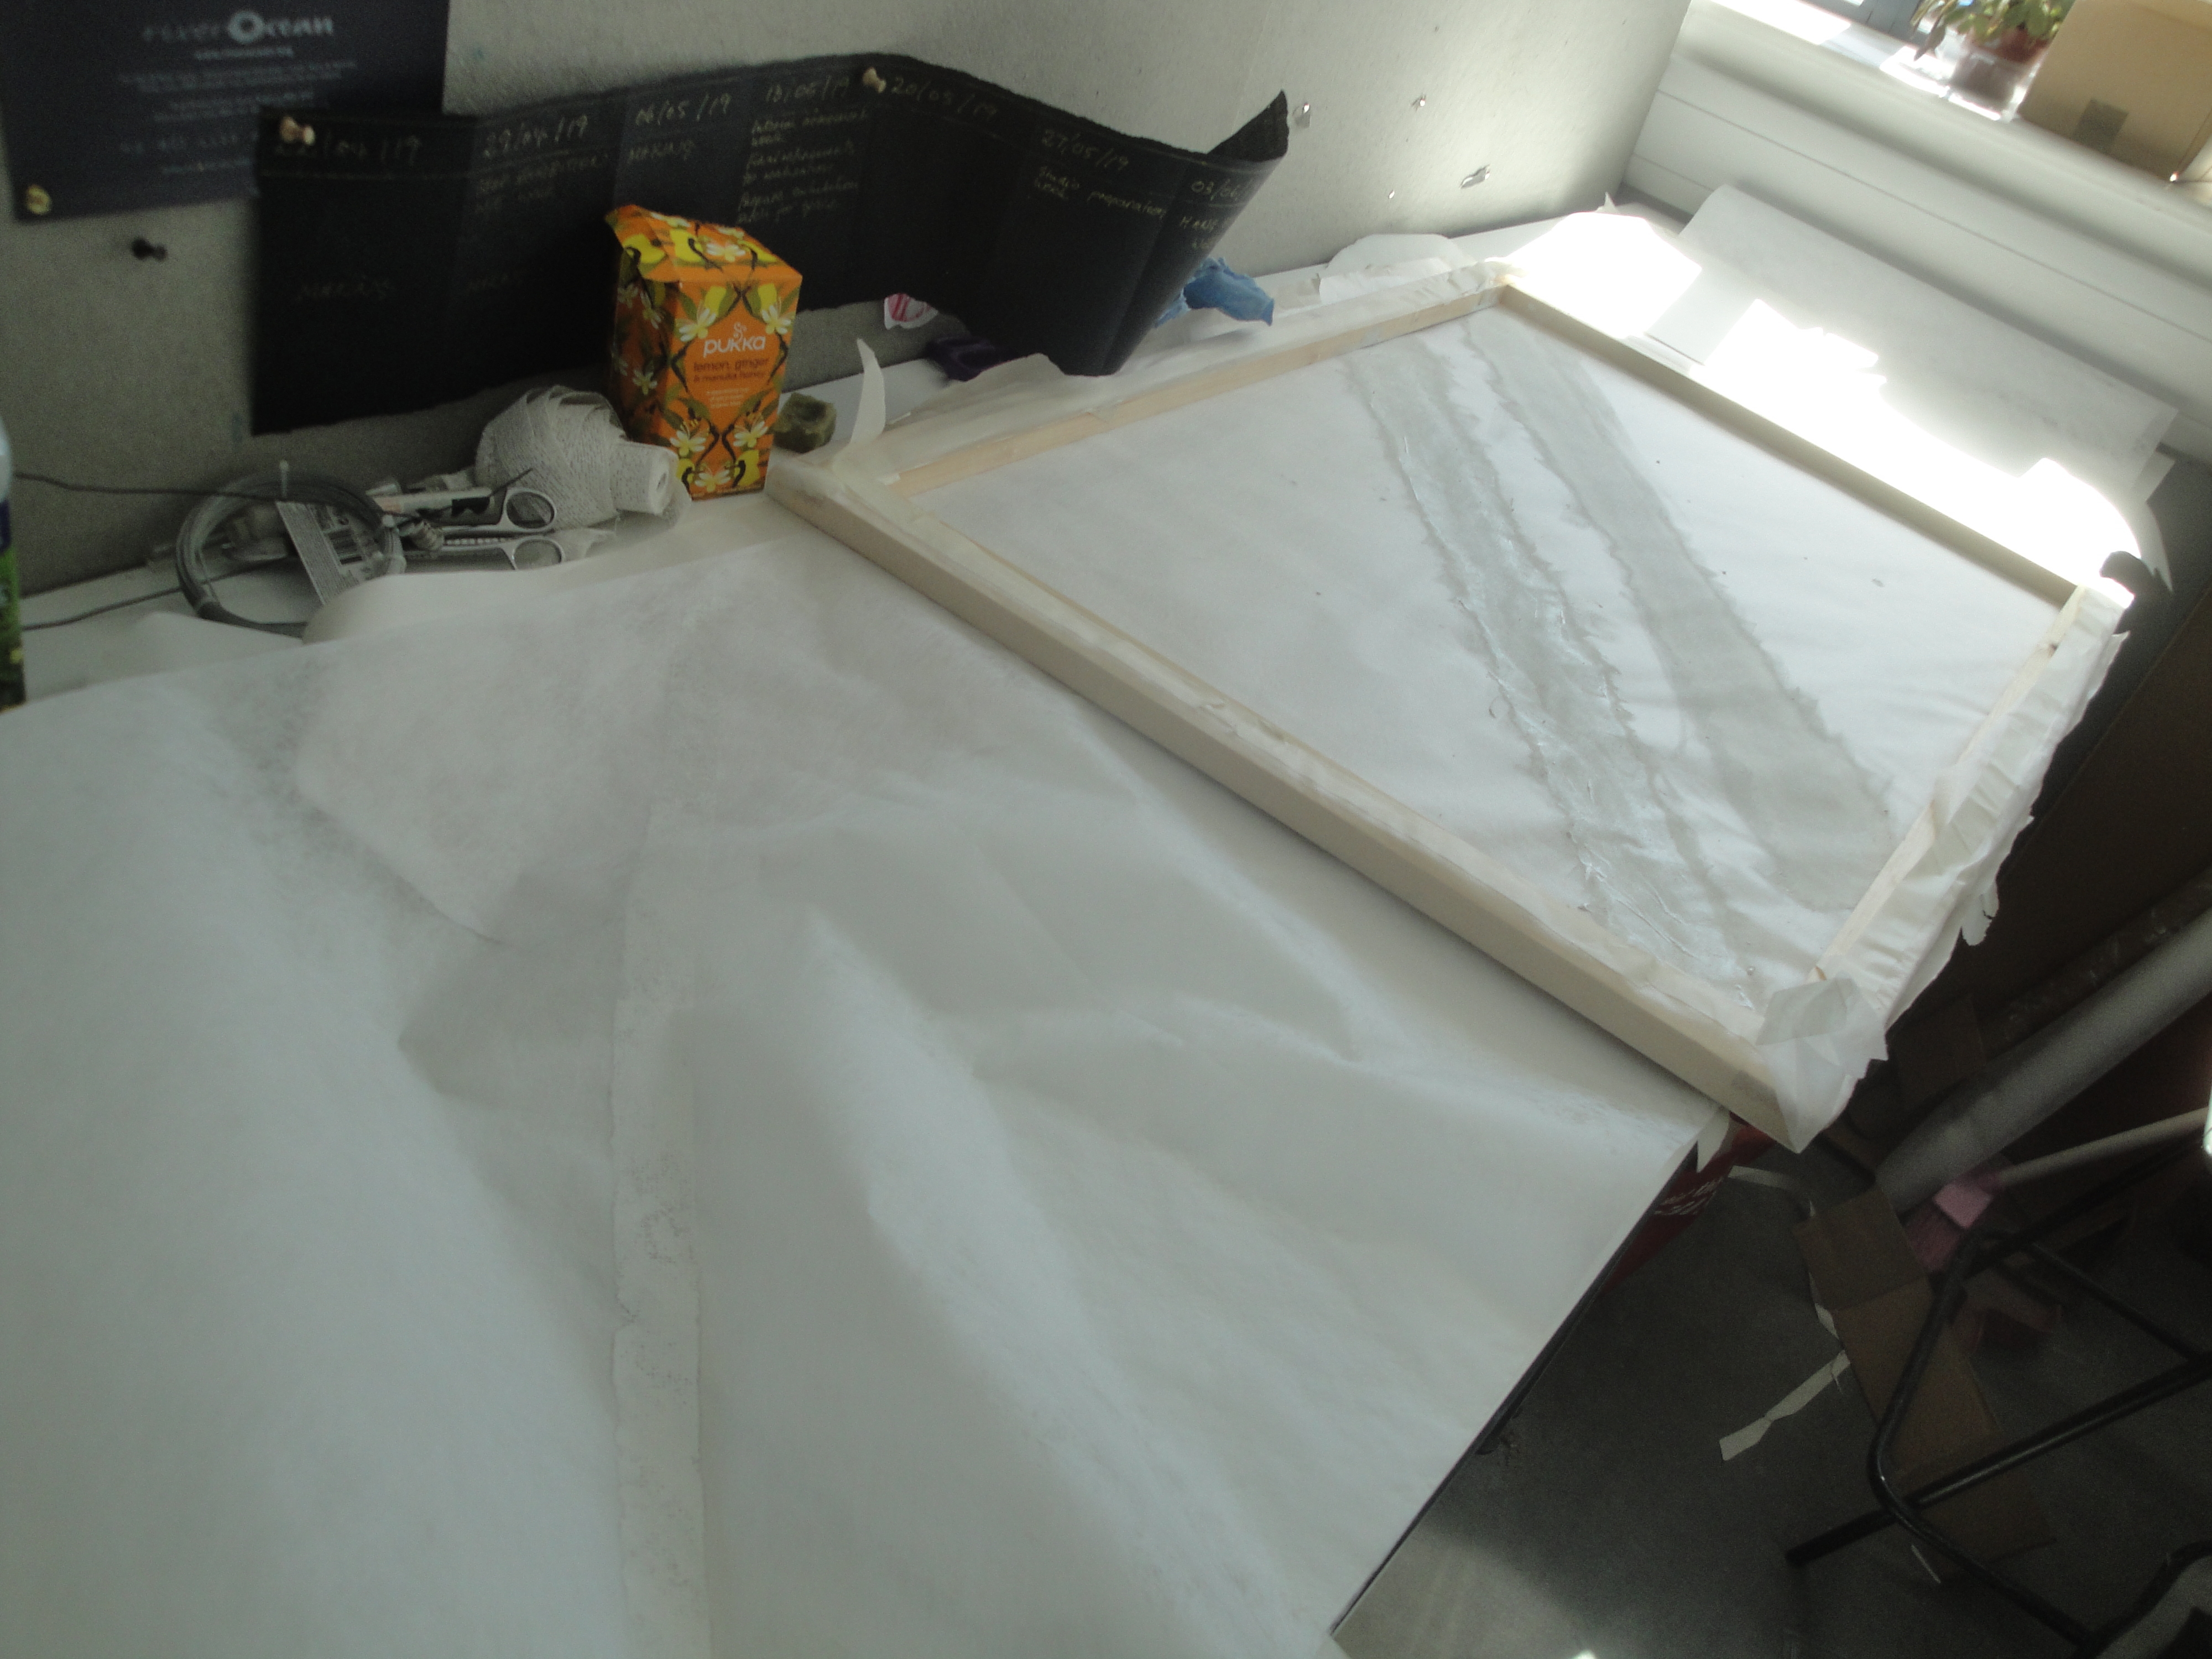
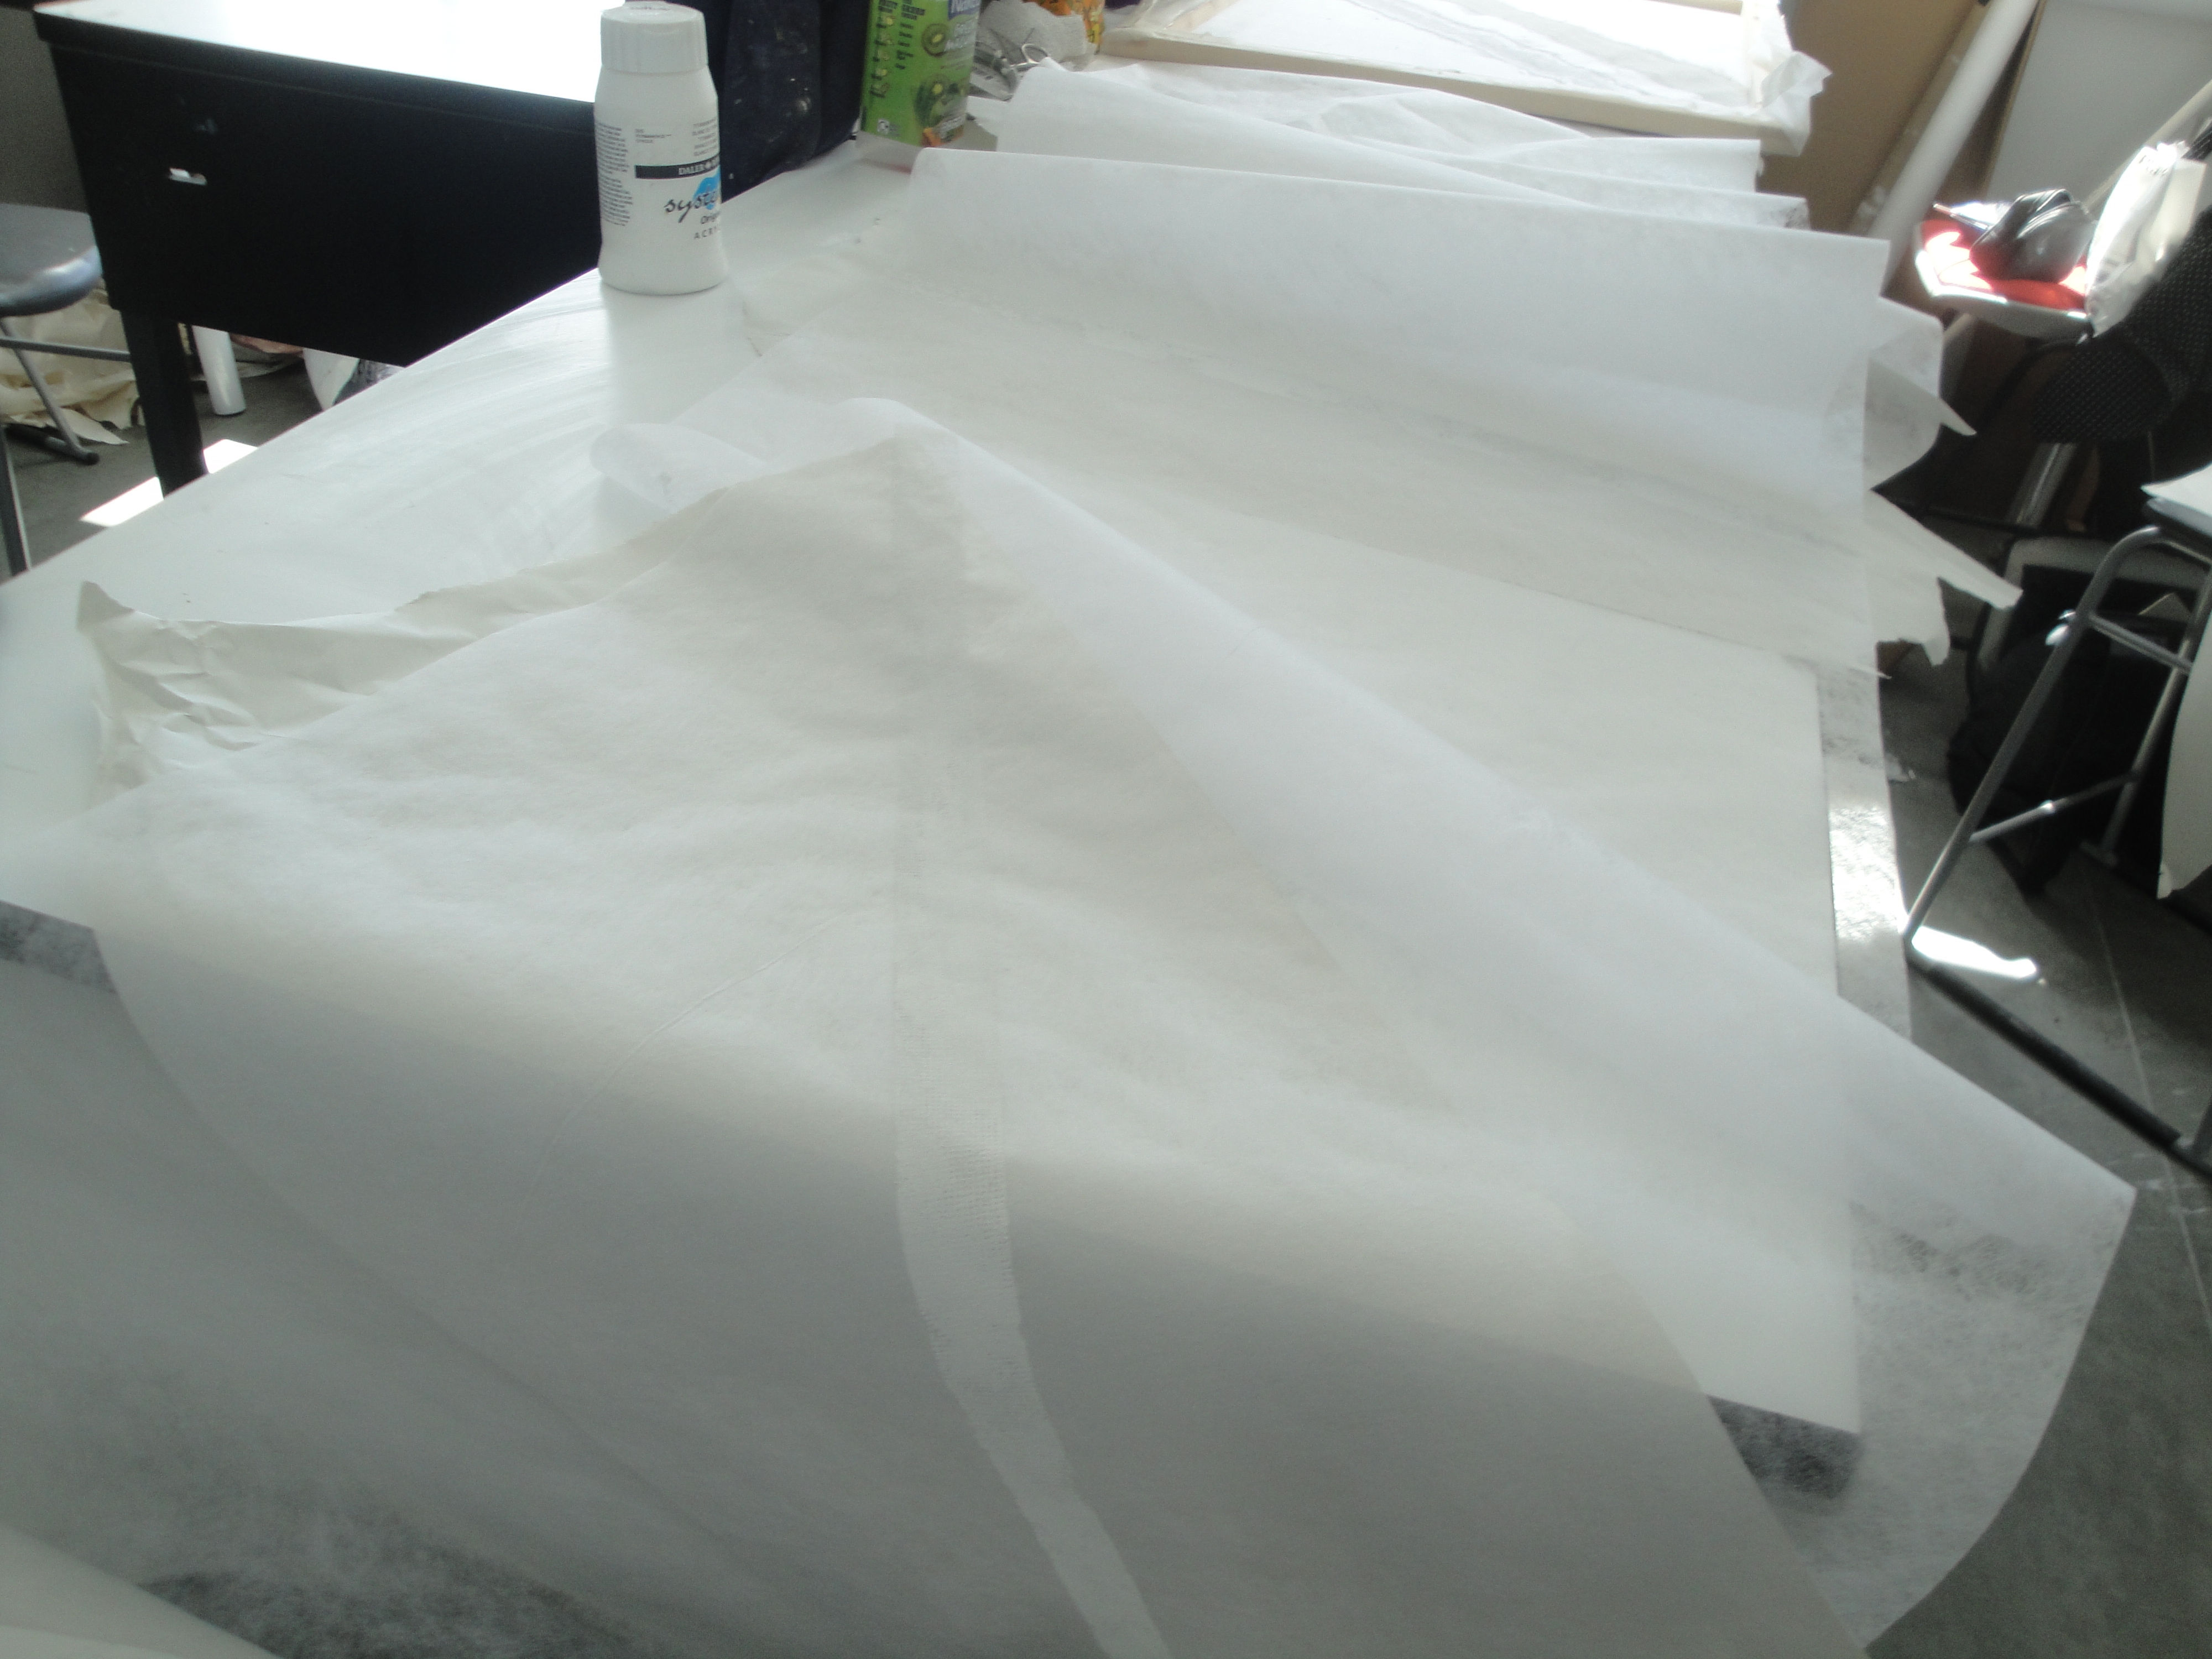
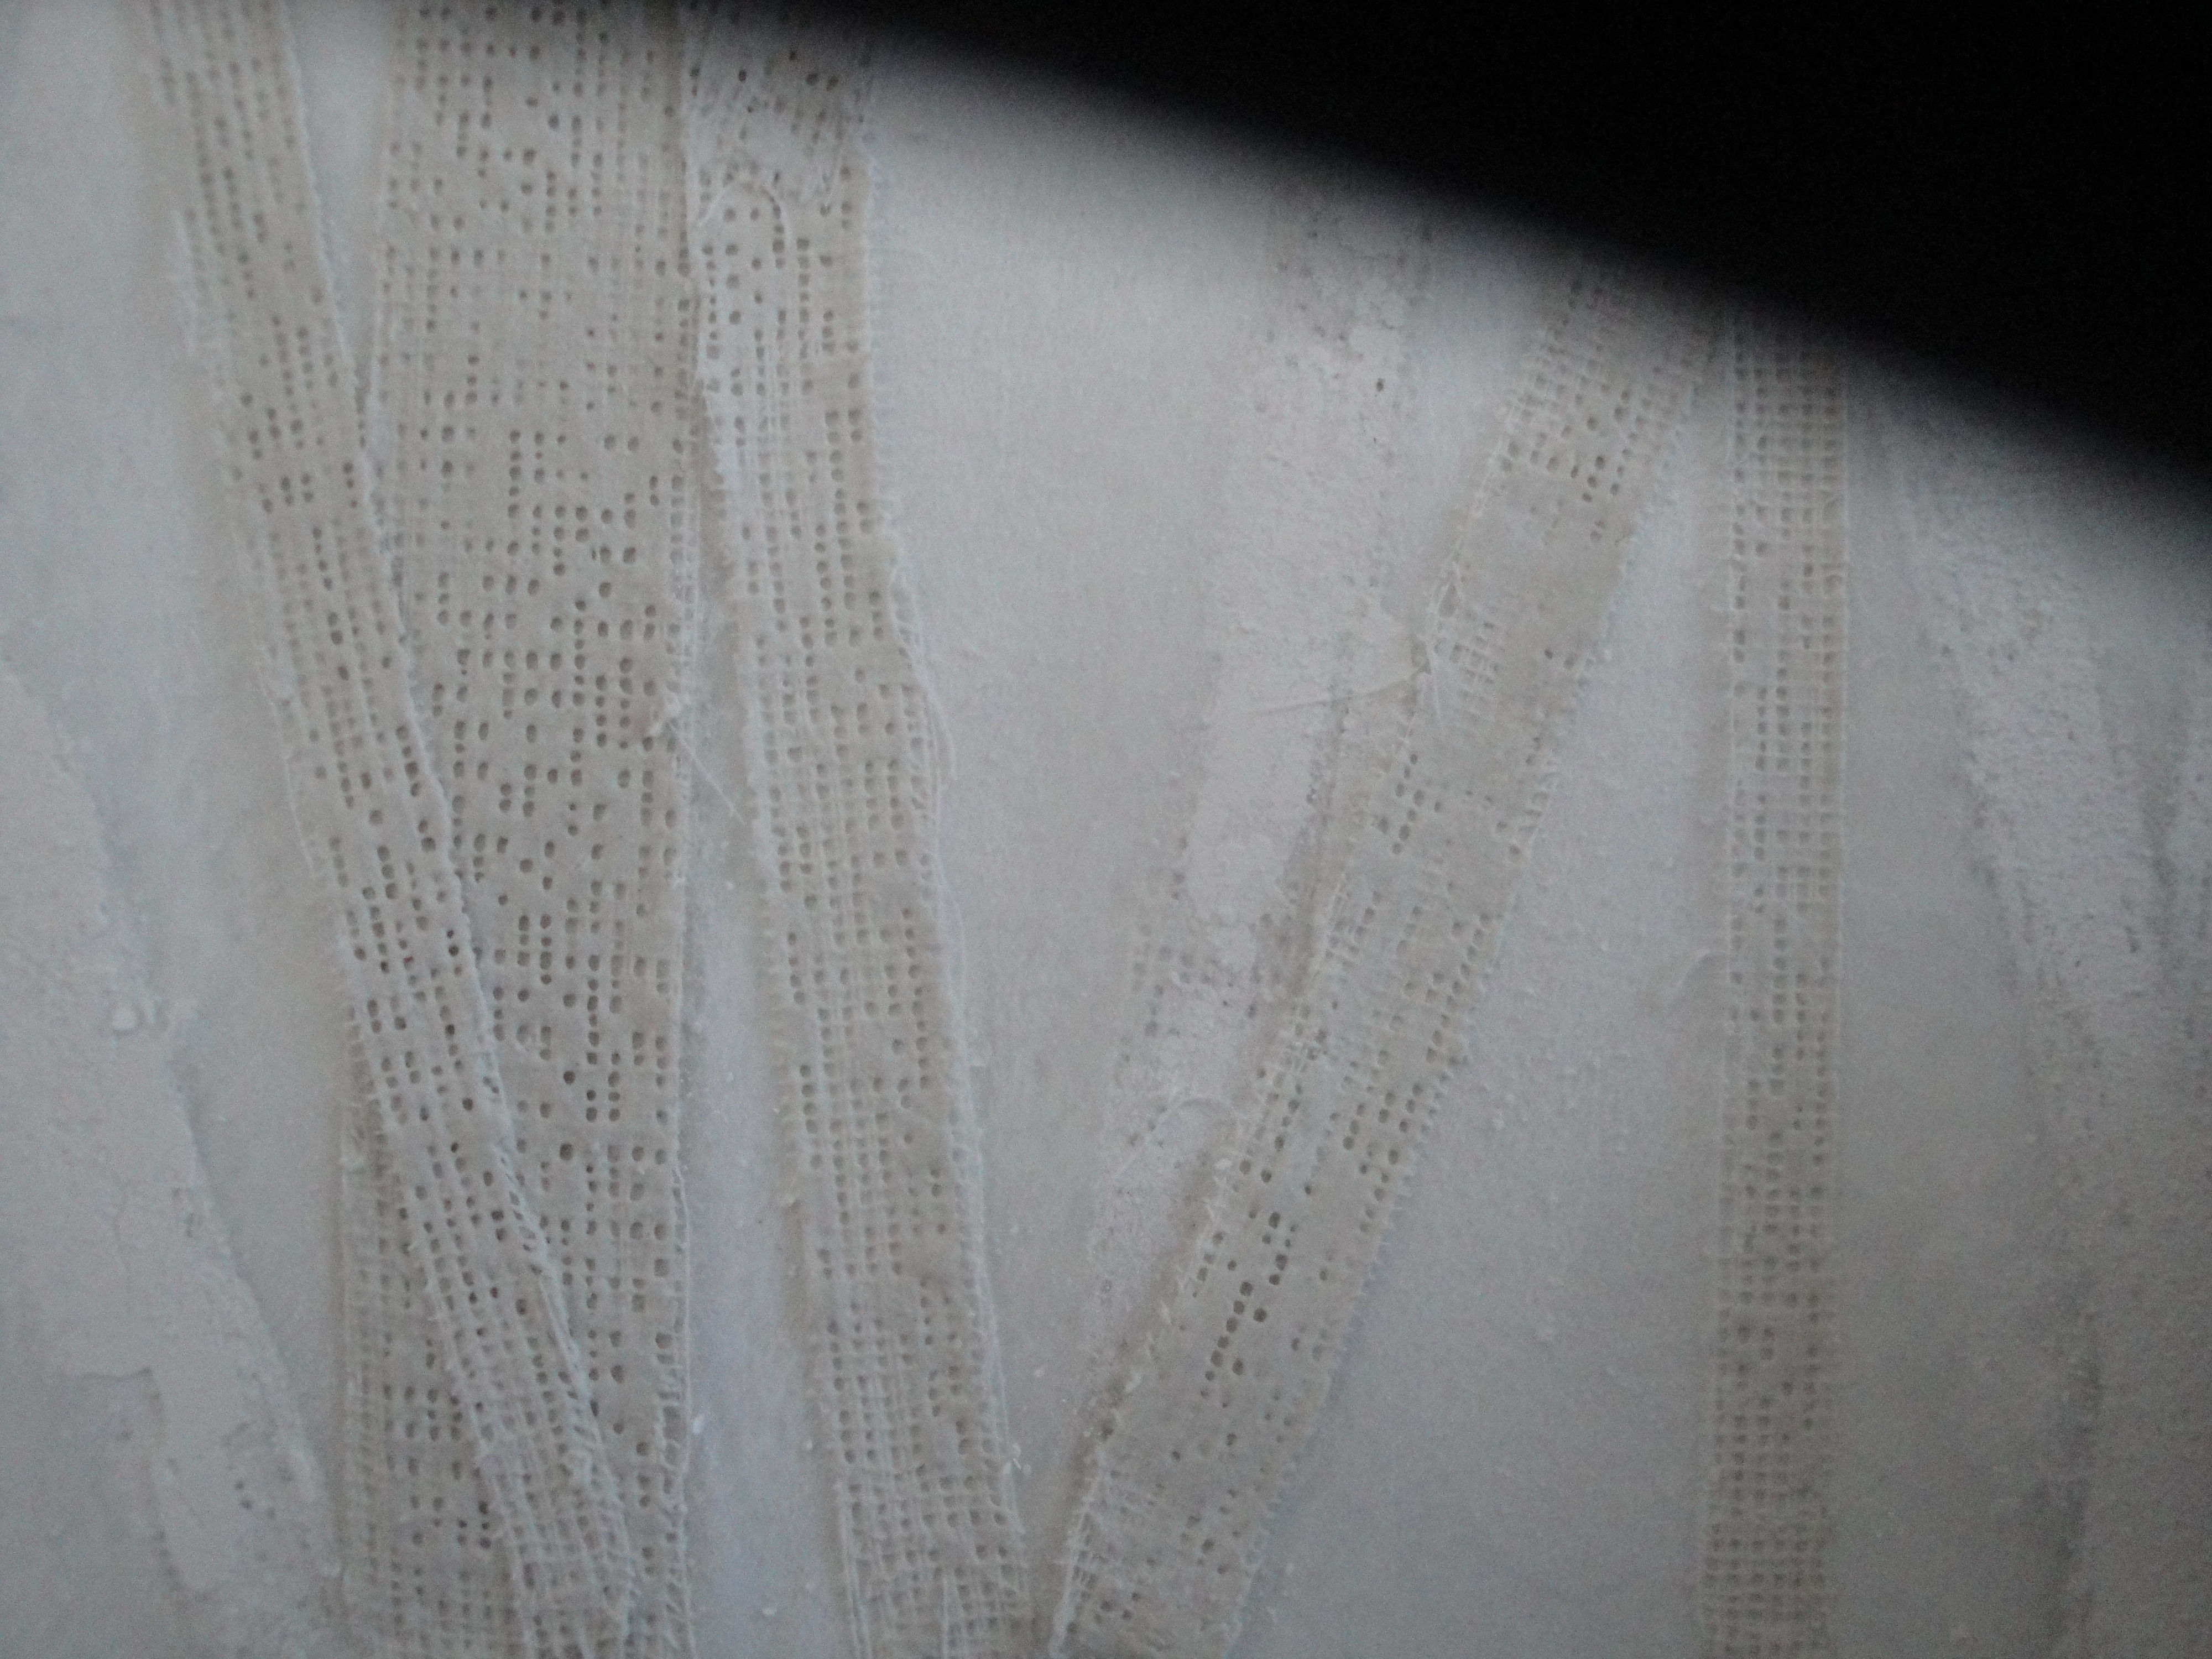
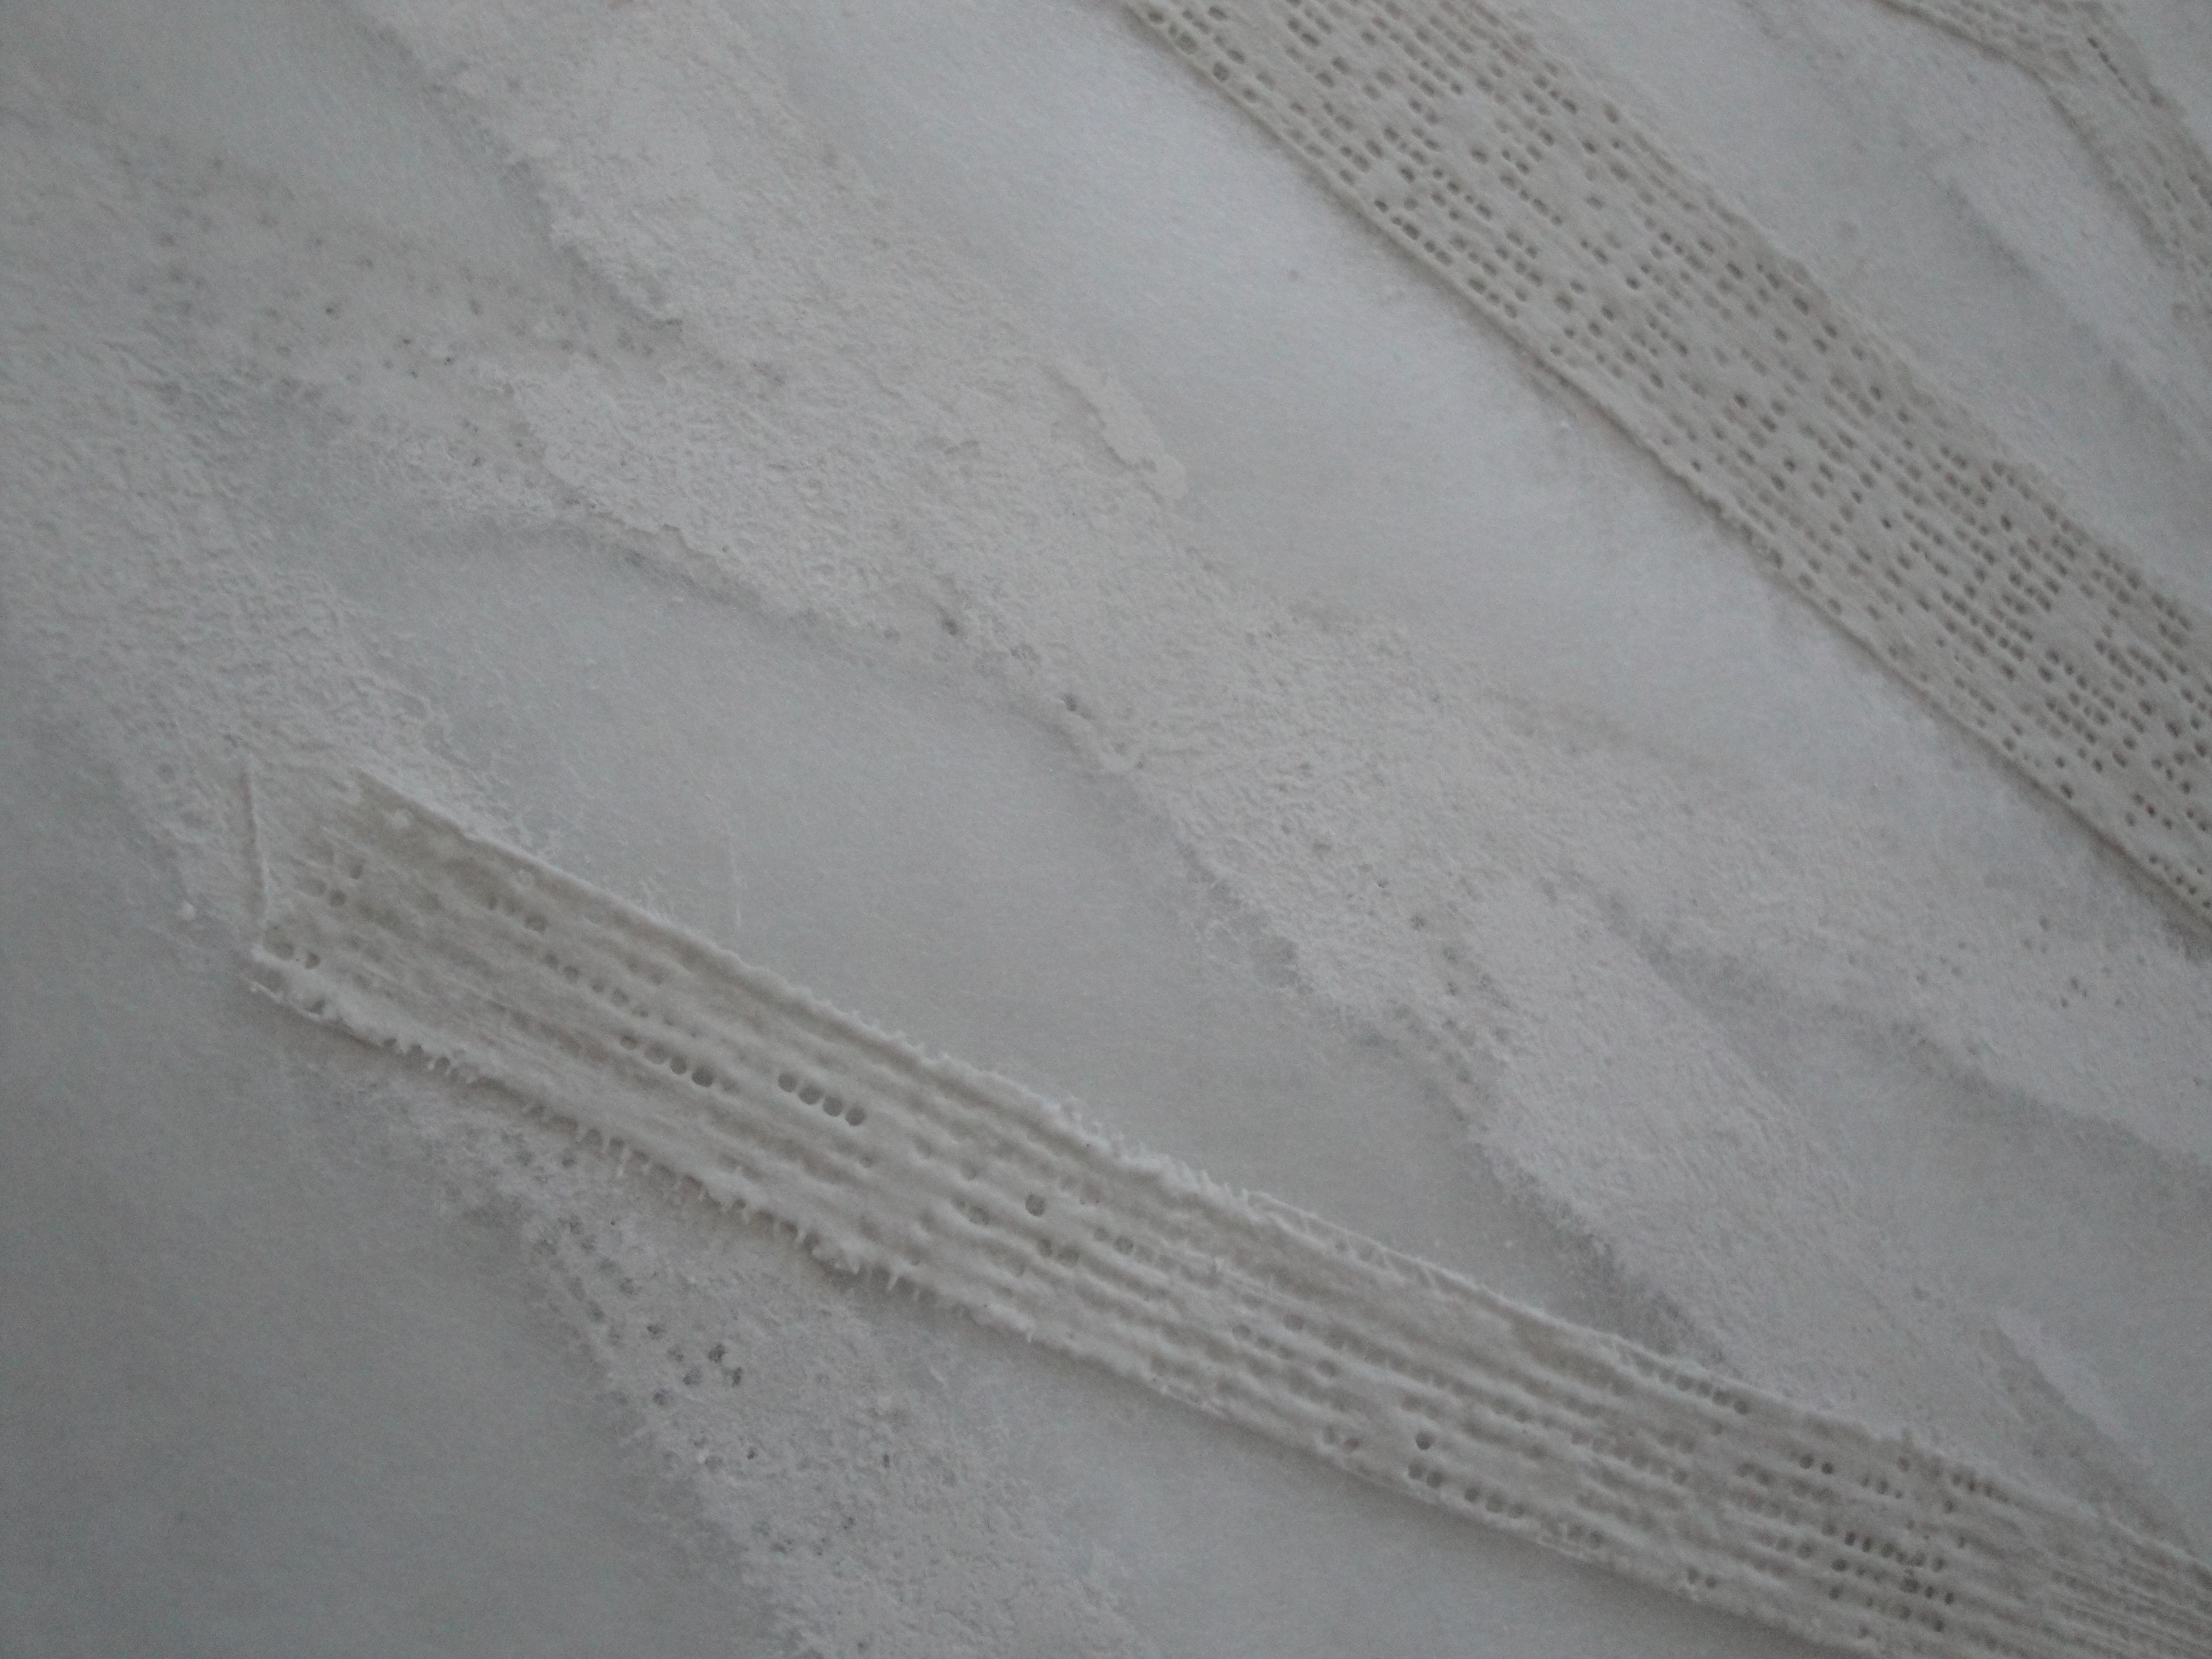
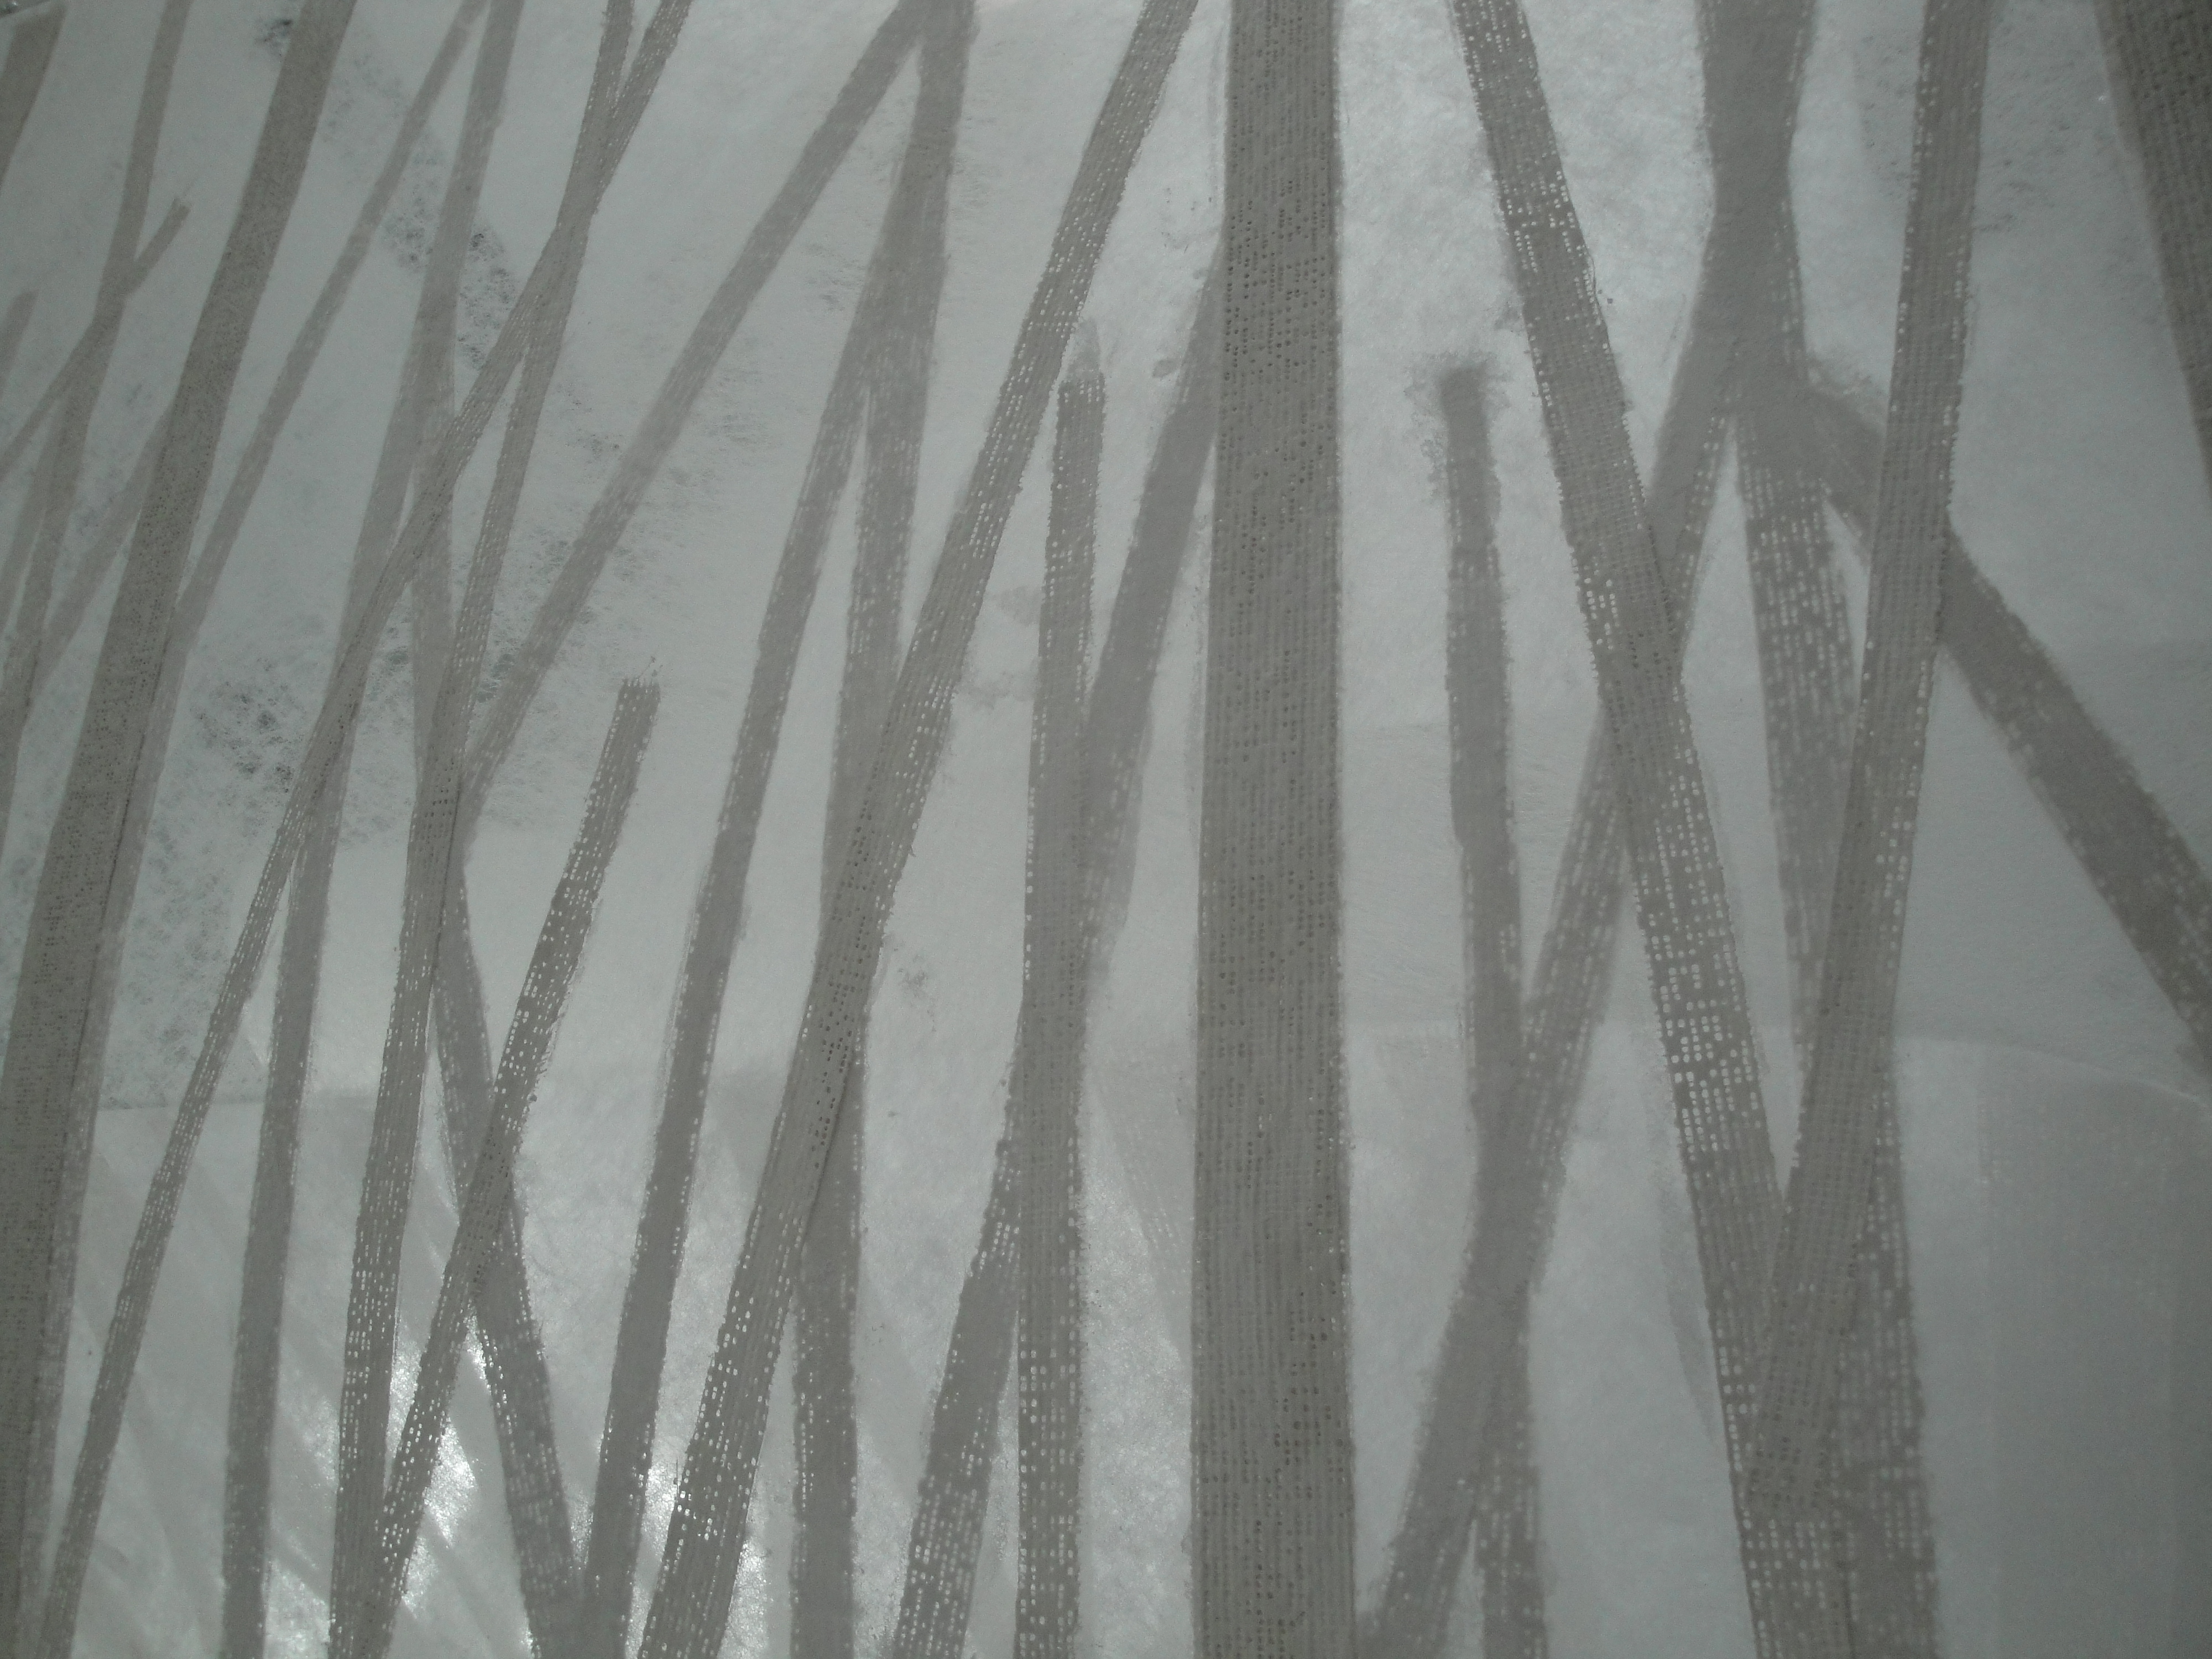
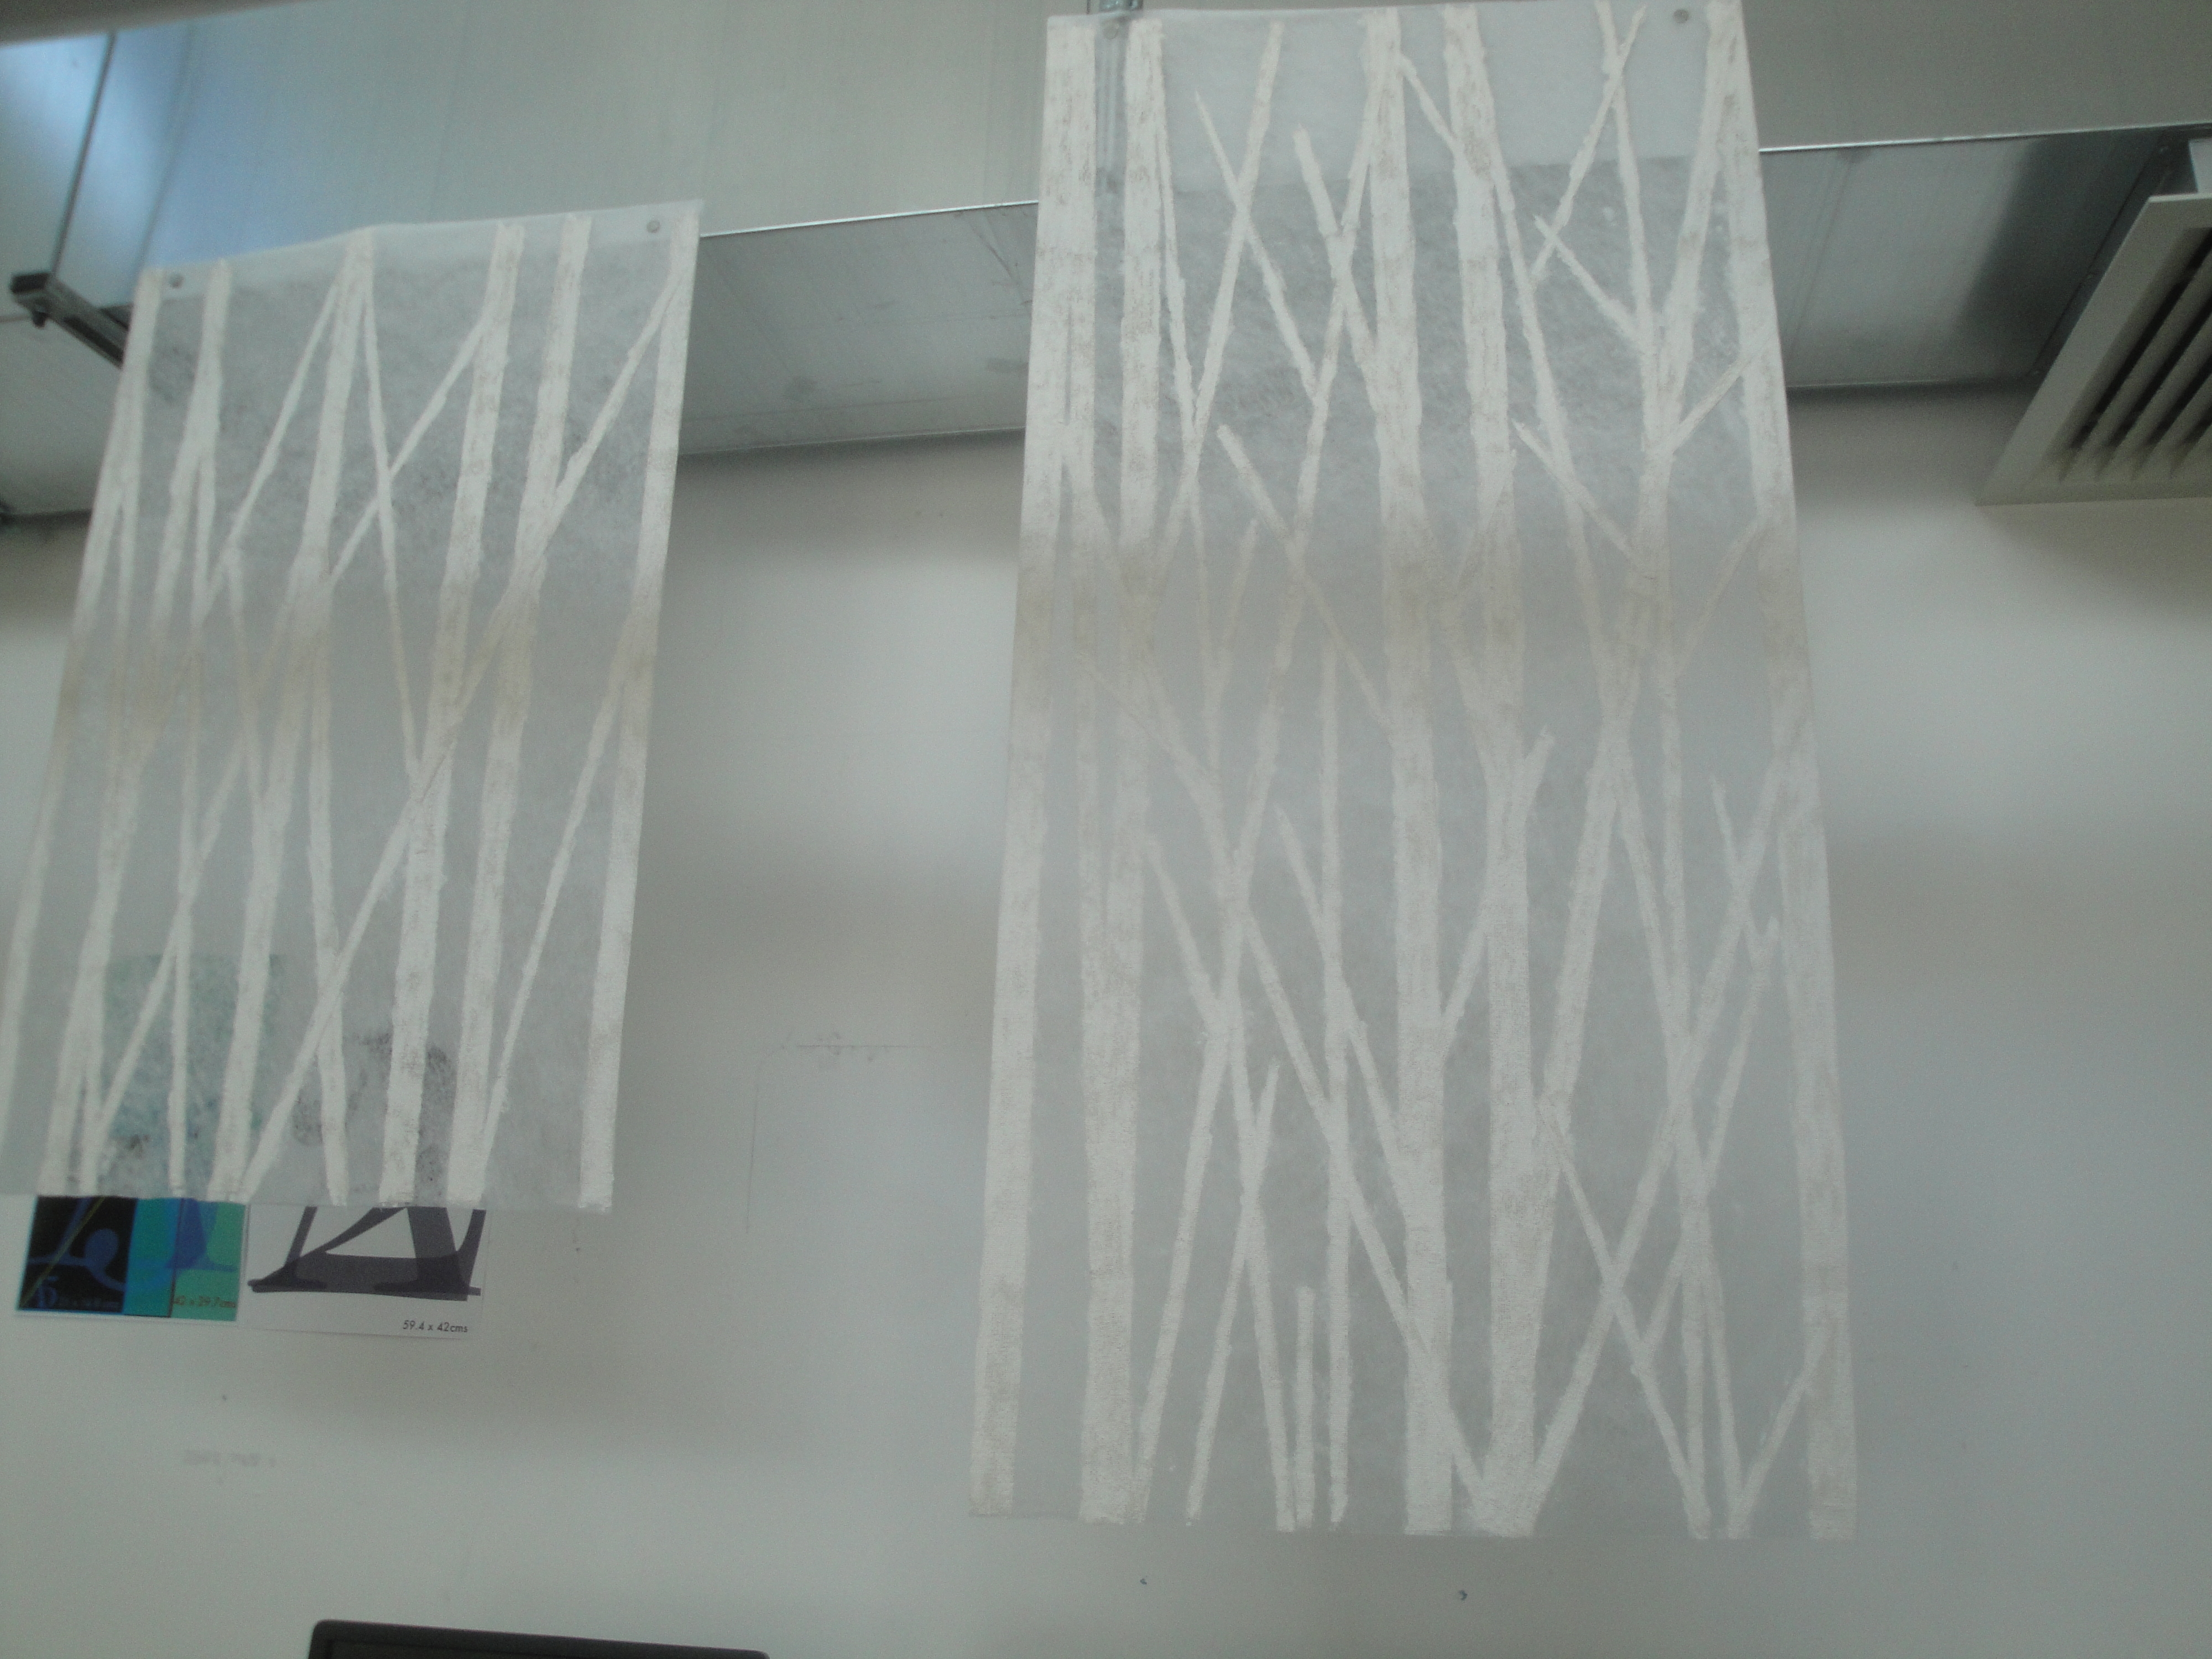
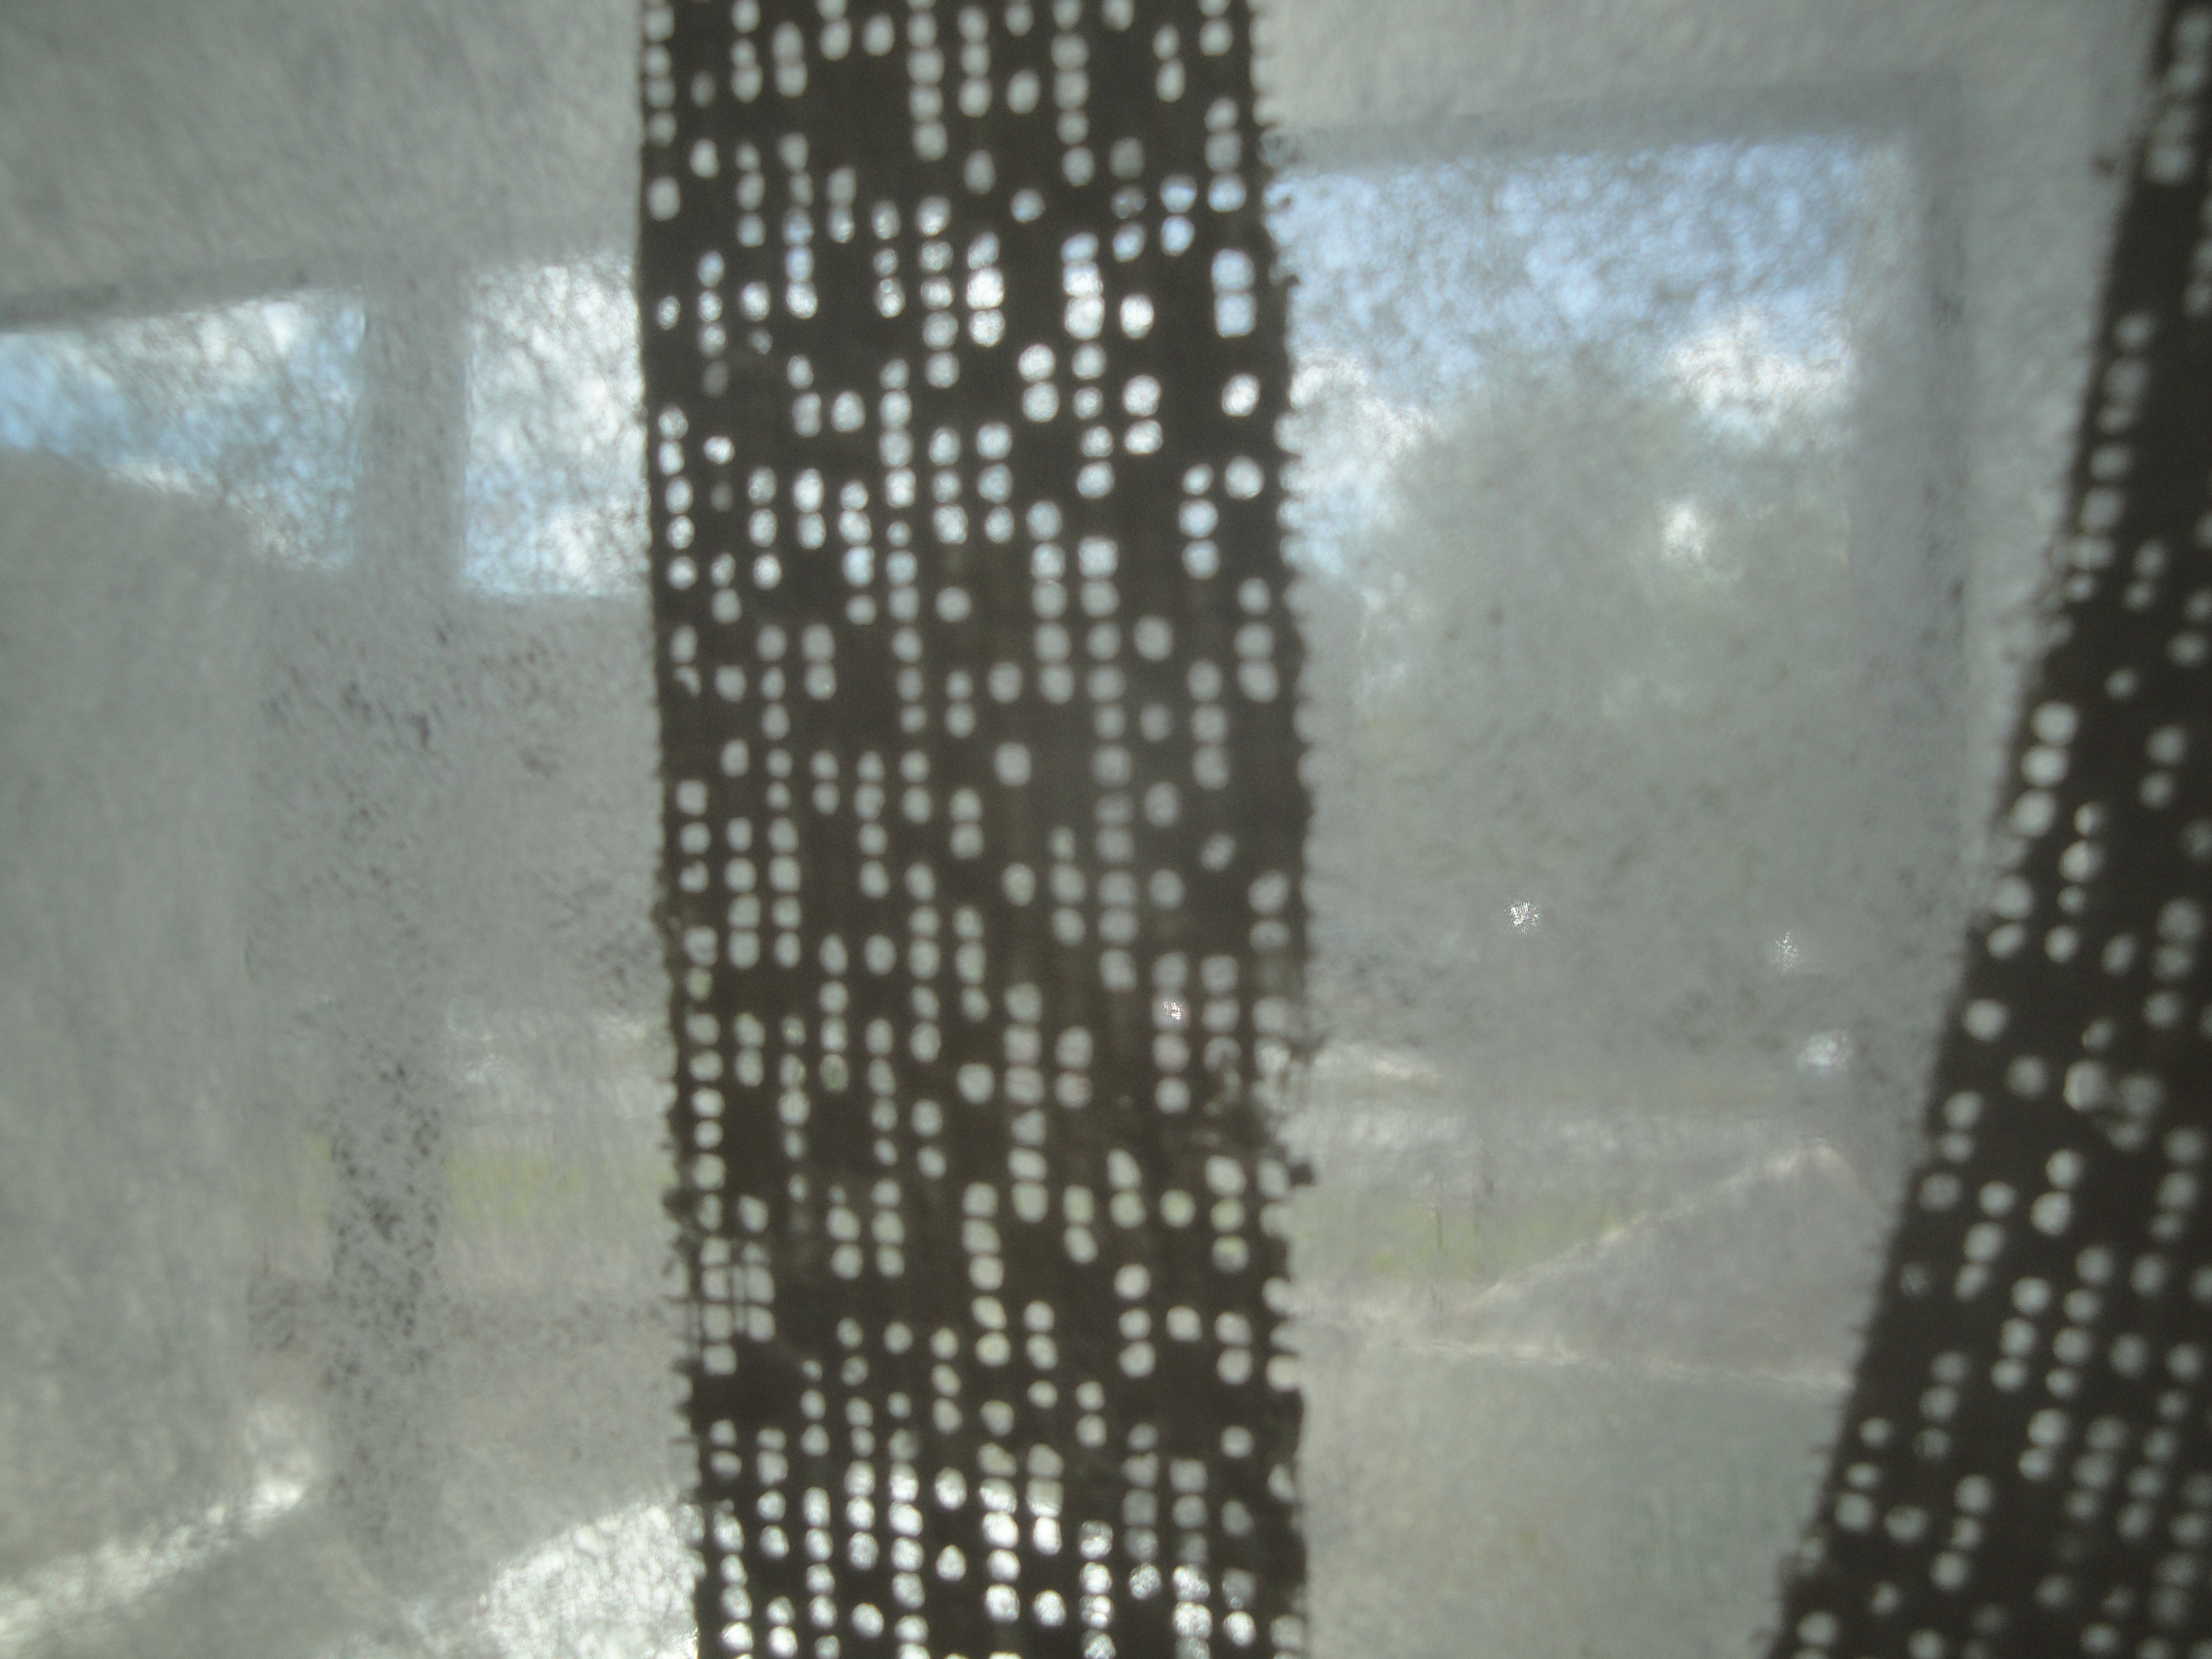
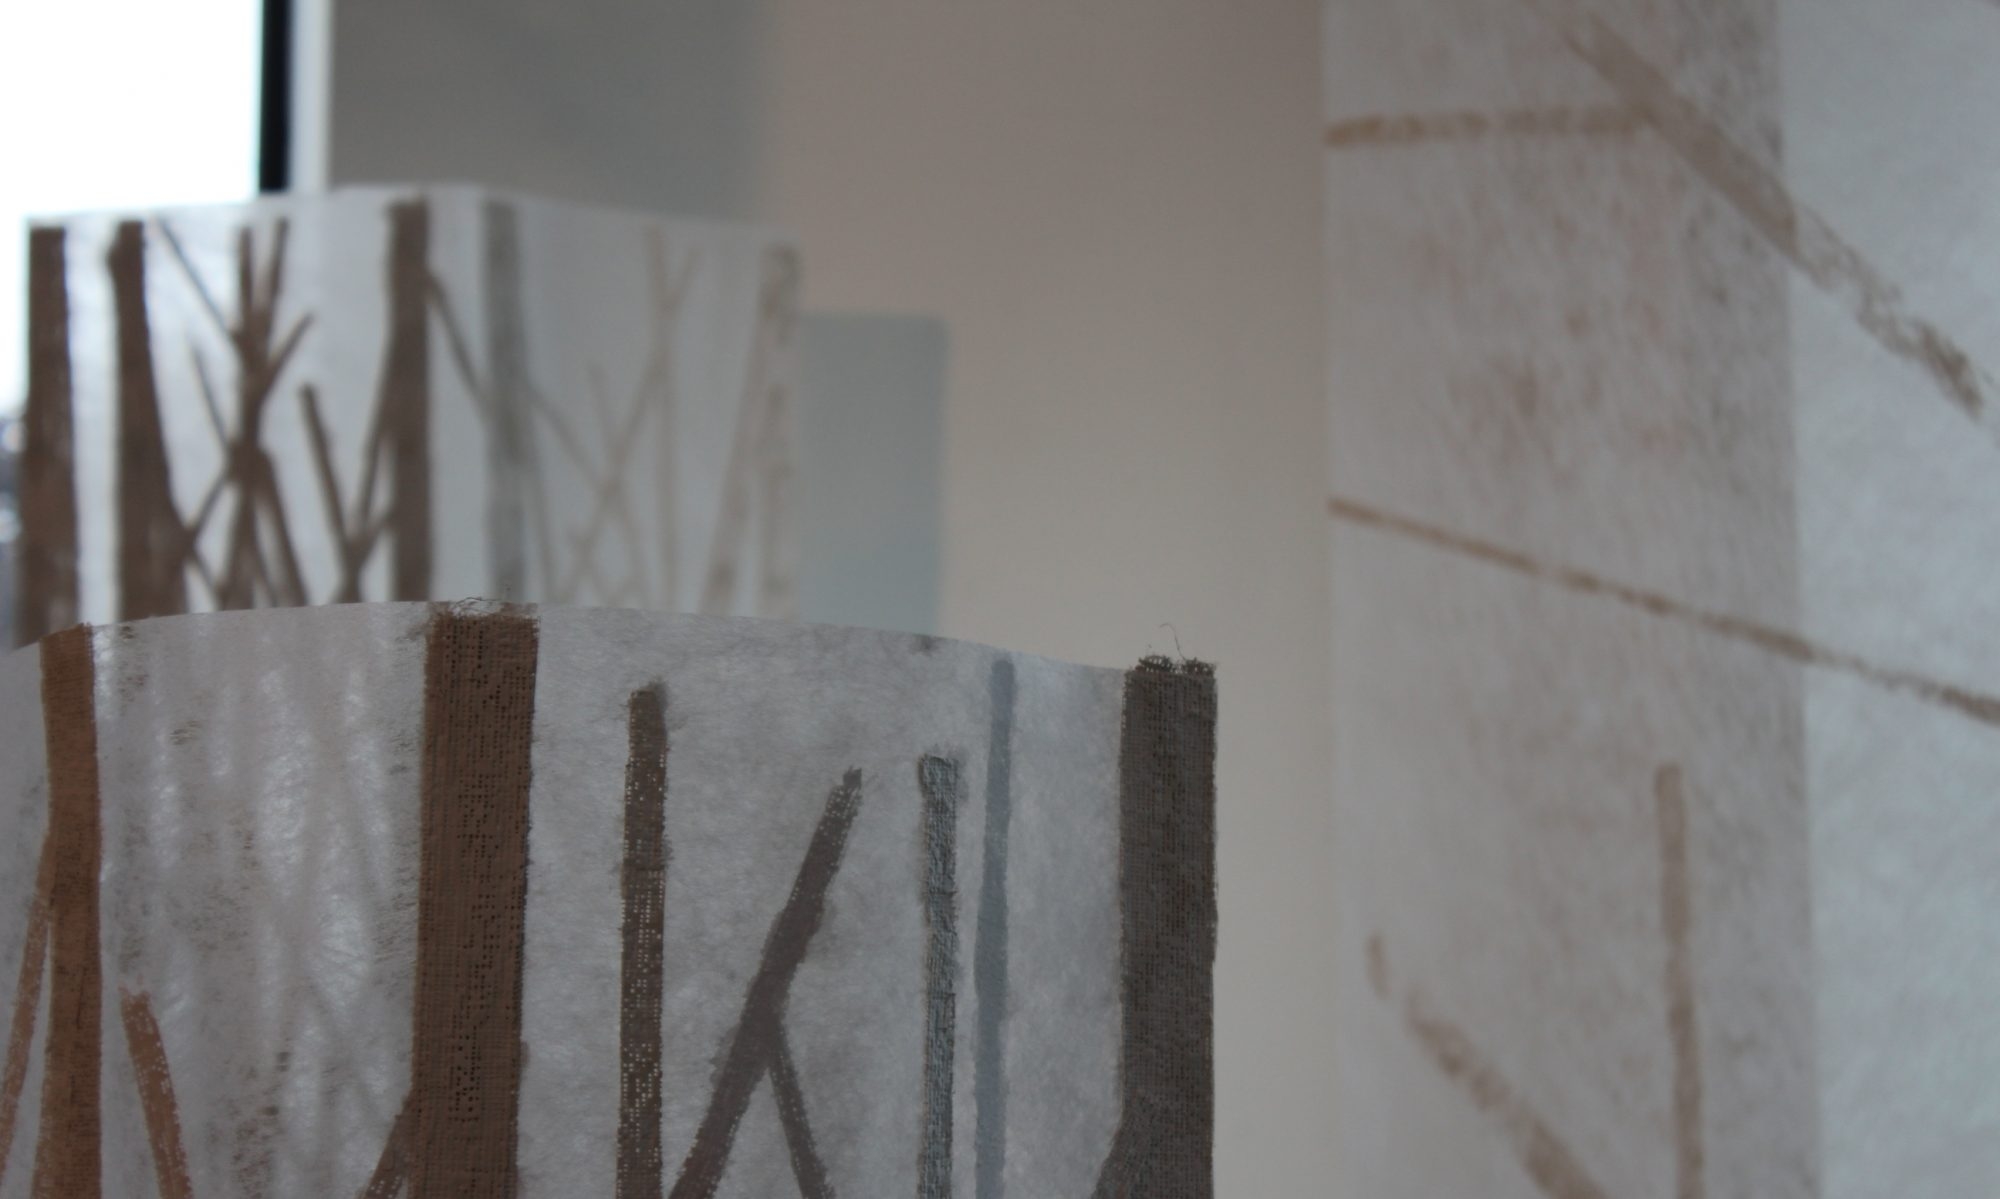
Most of today has been about beginning to print the hanging elements. In order that they balance with the standing elements I began by cutting paper strips (in same proportions as the plaster bandage strips) and laying them out along a 3 metre sample drape. With this as a visual reference, I have been able to begin the printing through crop protection fleece and newsprint screen. A mix of plaster and acrylic paint works well, taking the sheen of the acrylic while matching the plaster of the standing elements. The crop protection fleece gives a ‘meshy’ print matrix rather akin to the plaster bandage mesh which is a rather fortuitous result! Printing one line at a time is quite tedious but worth being patient with because the results are pleasing. Unfortunately, I didn’t reach my target of finishing this printing today however, and will have to find a means to complete it at home – arrgh – space????

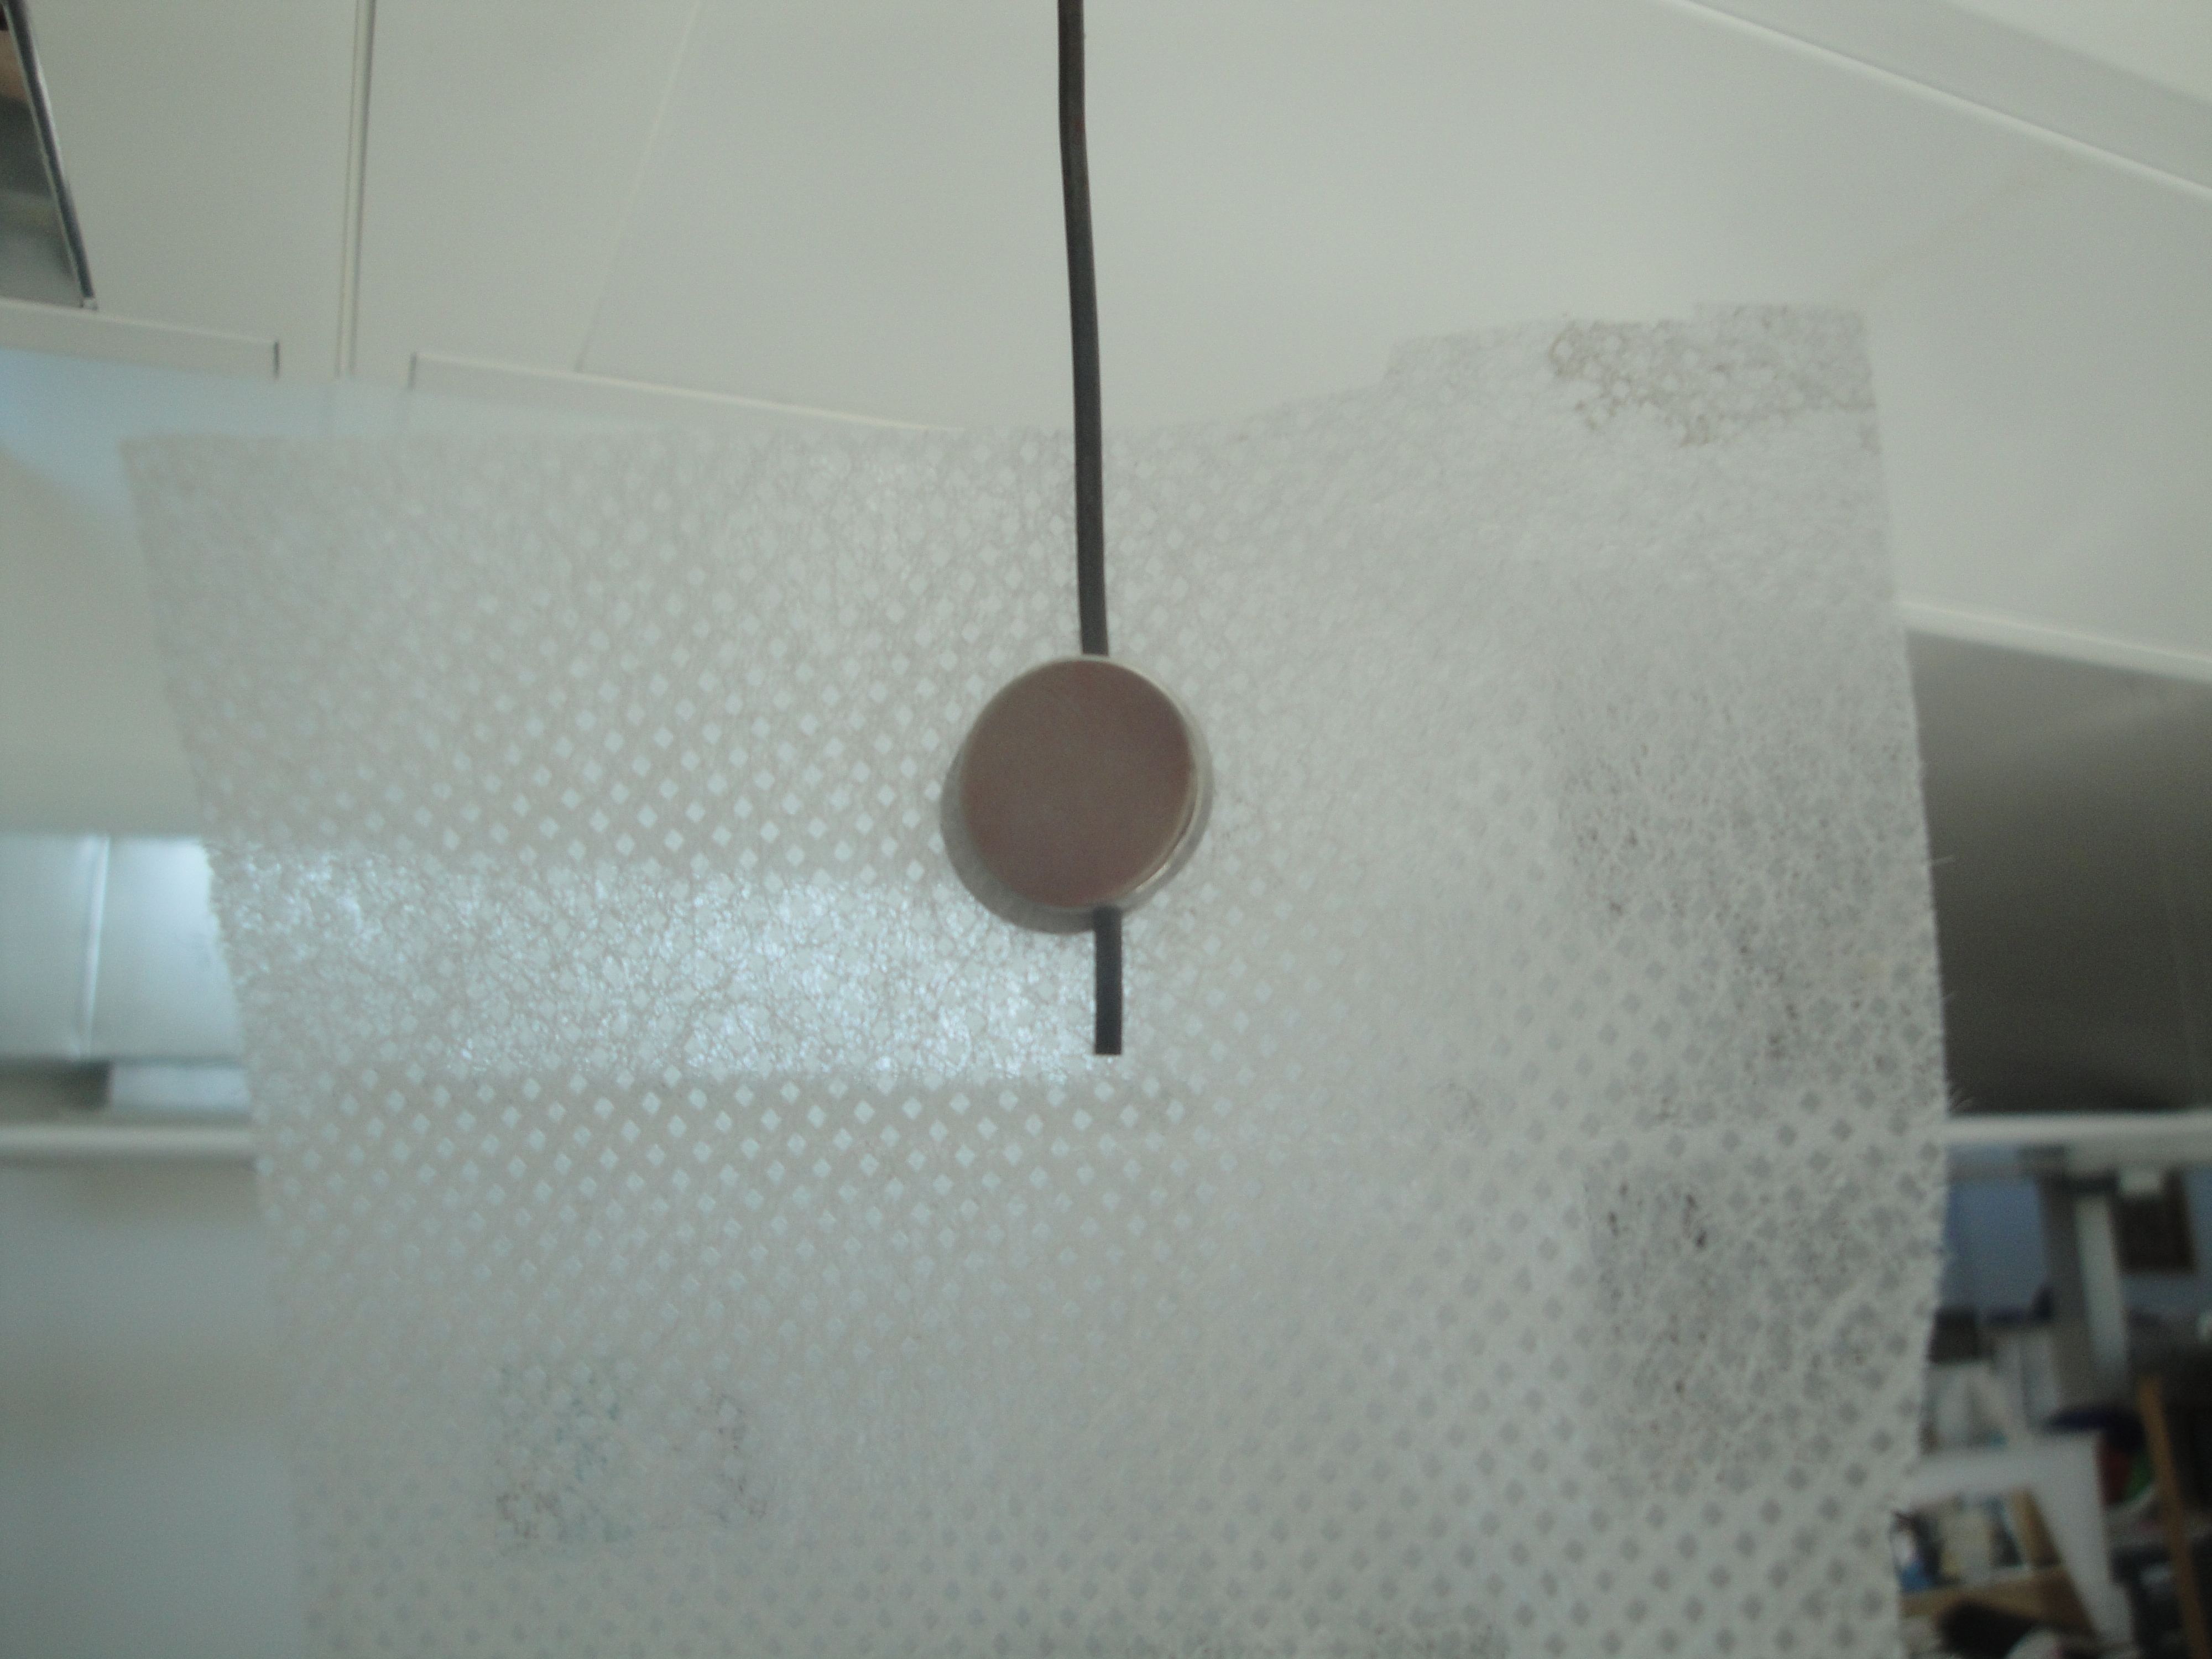
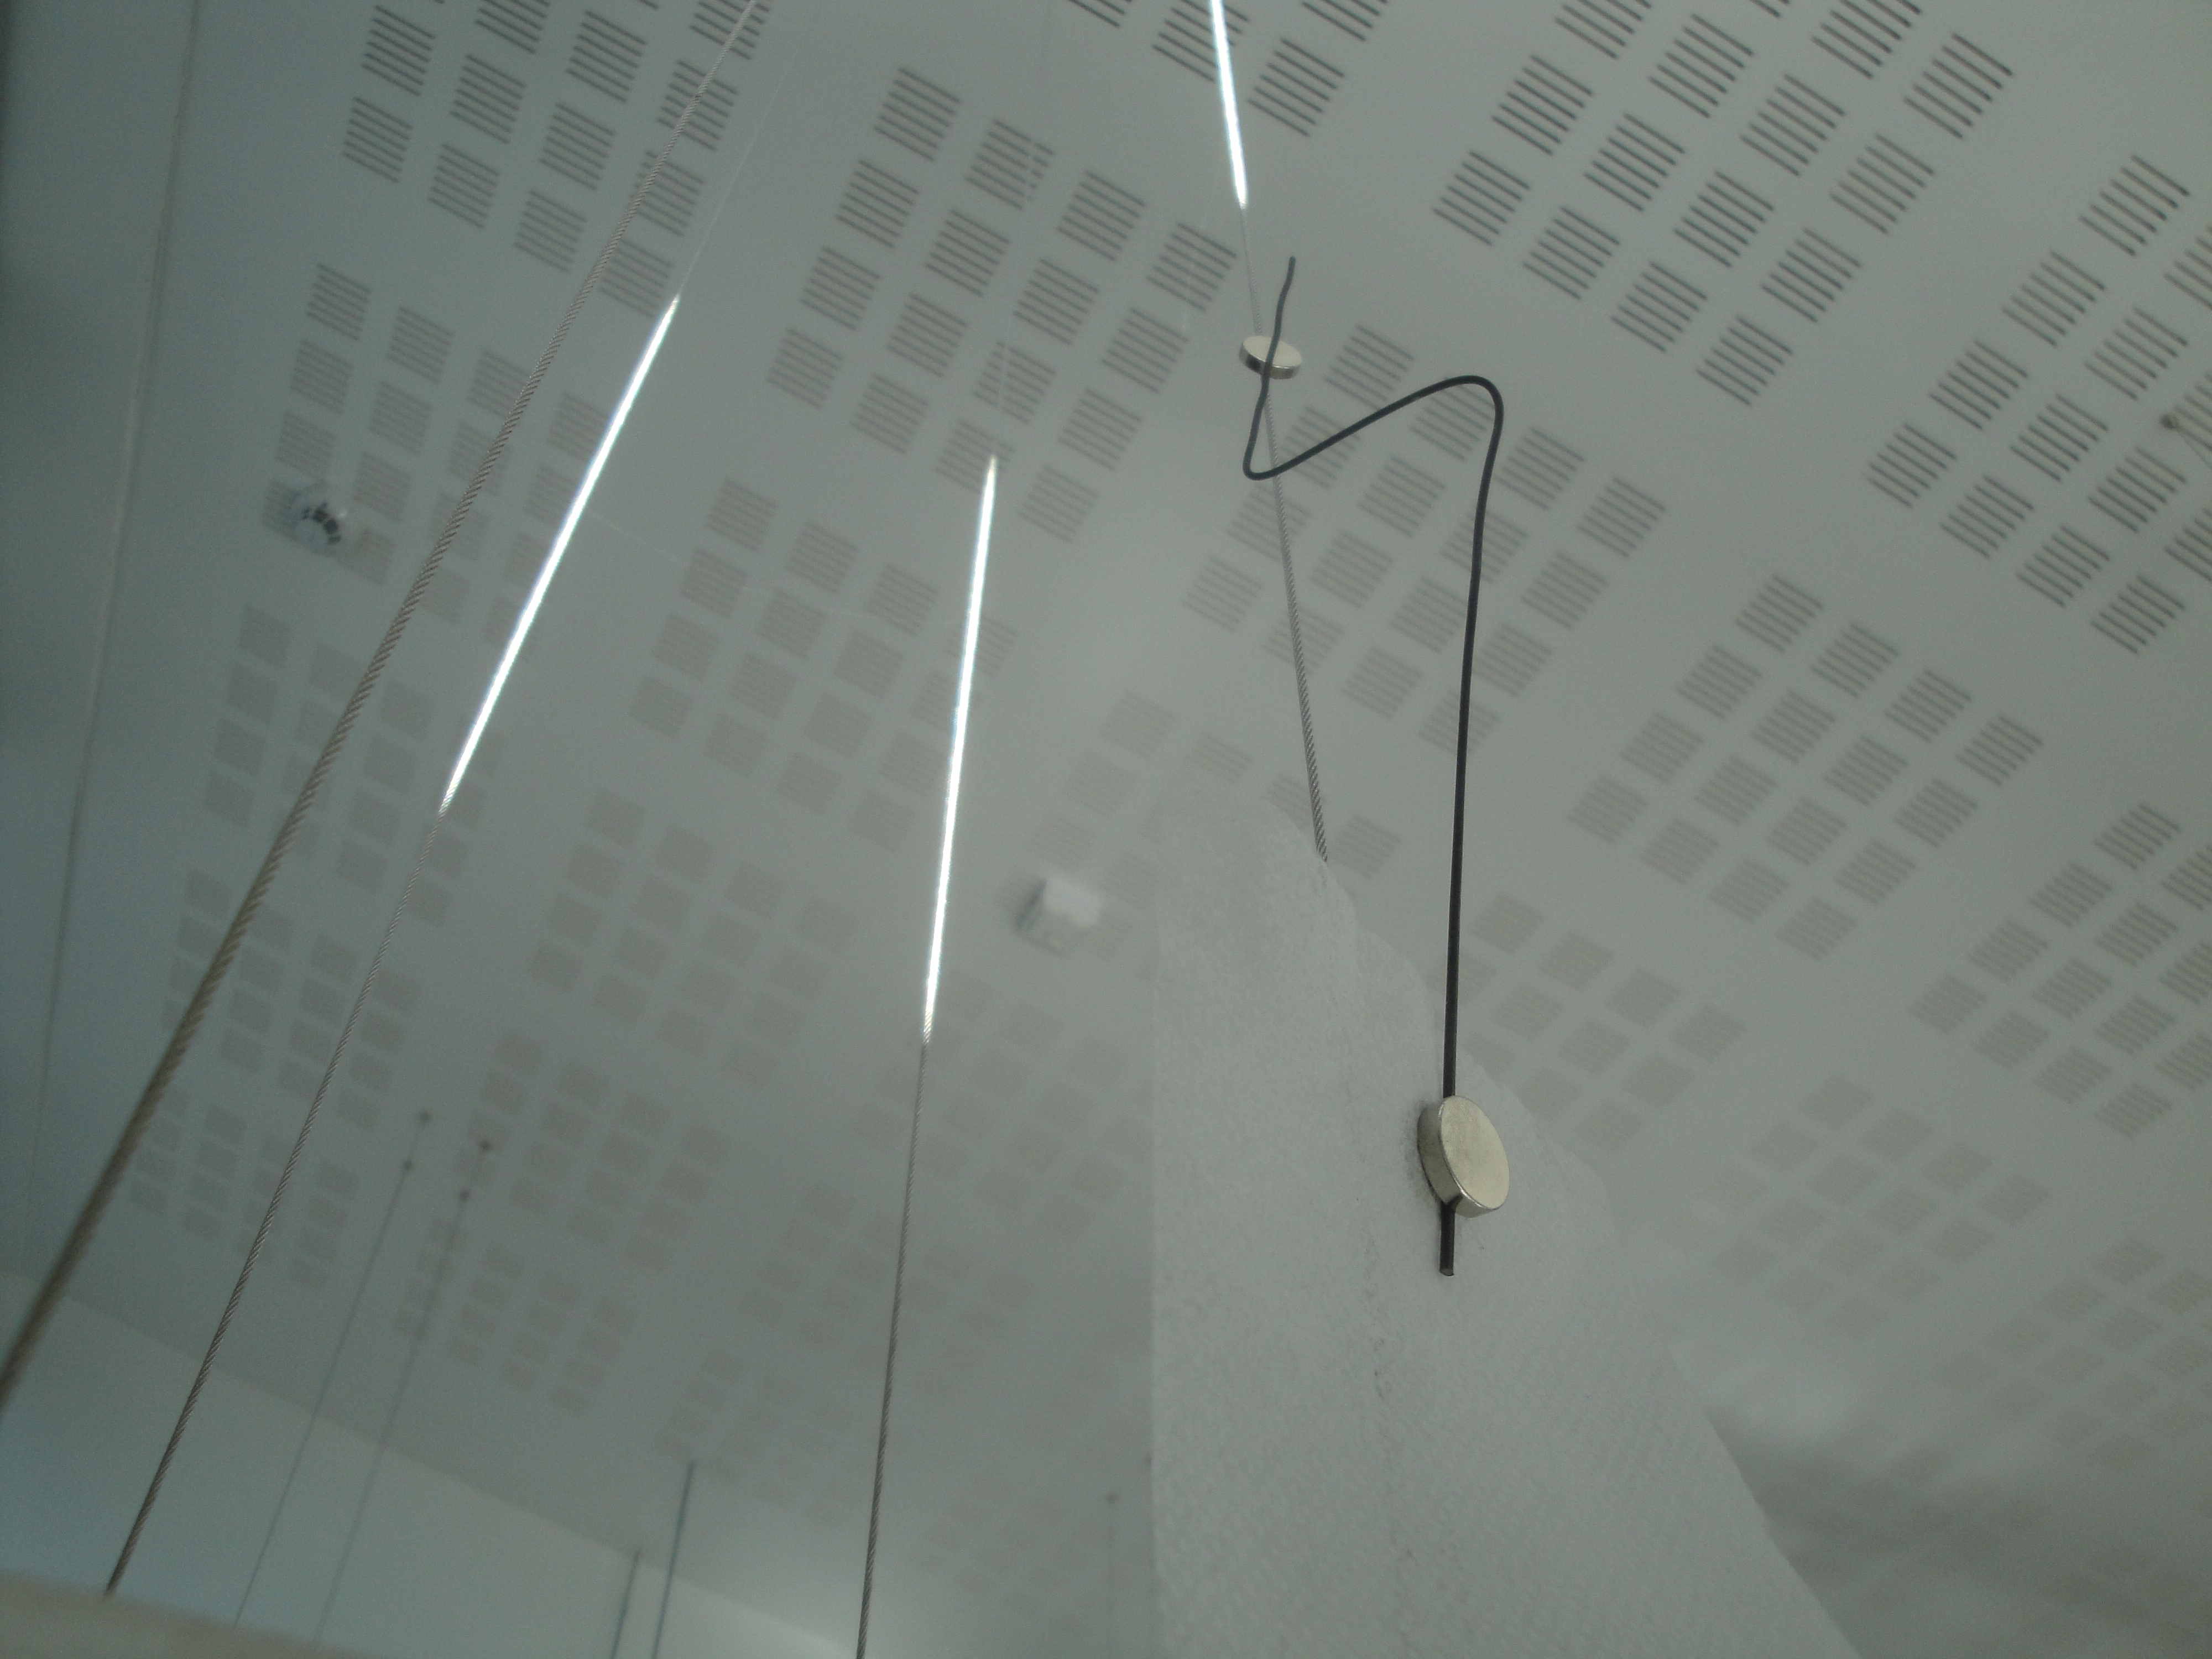
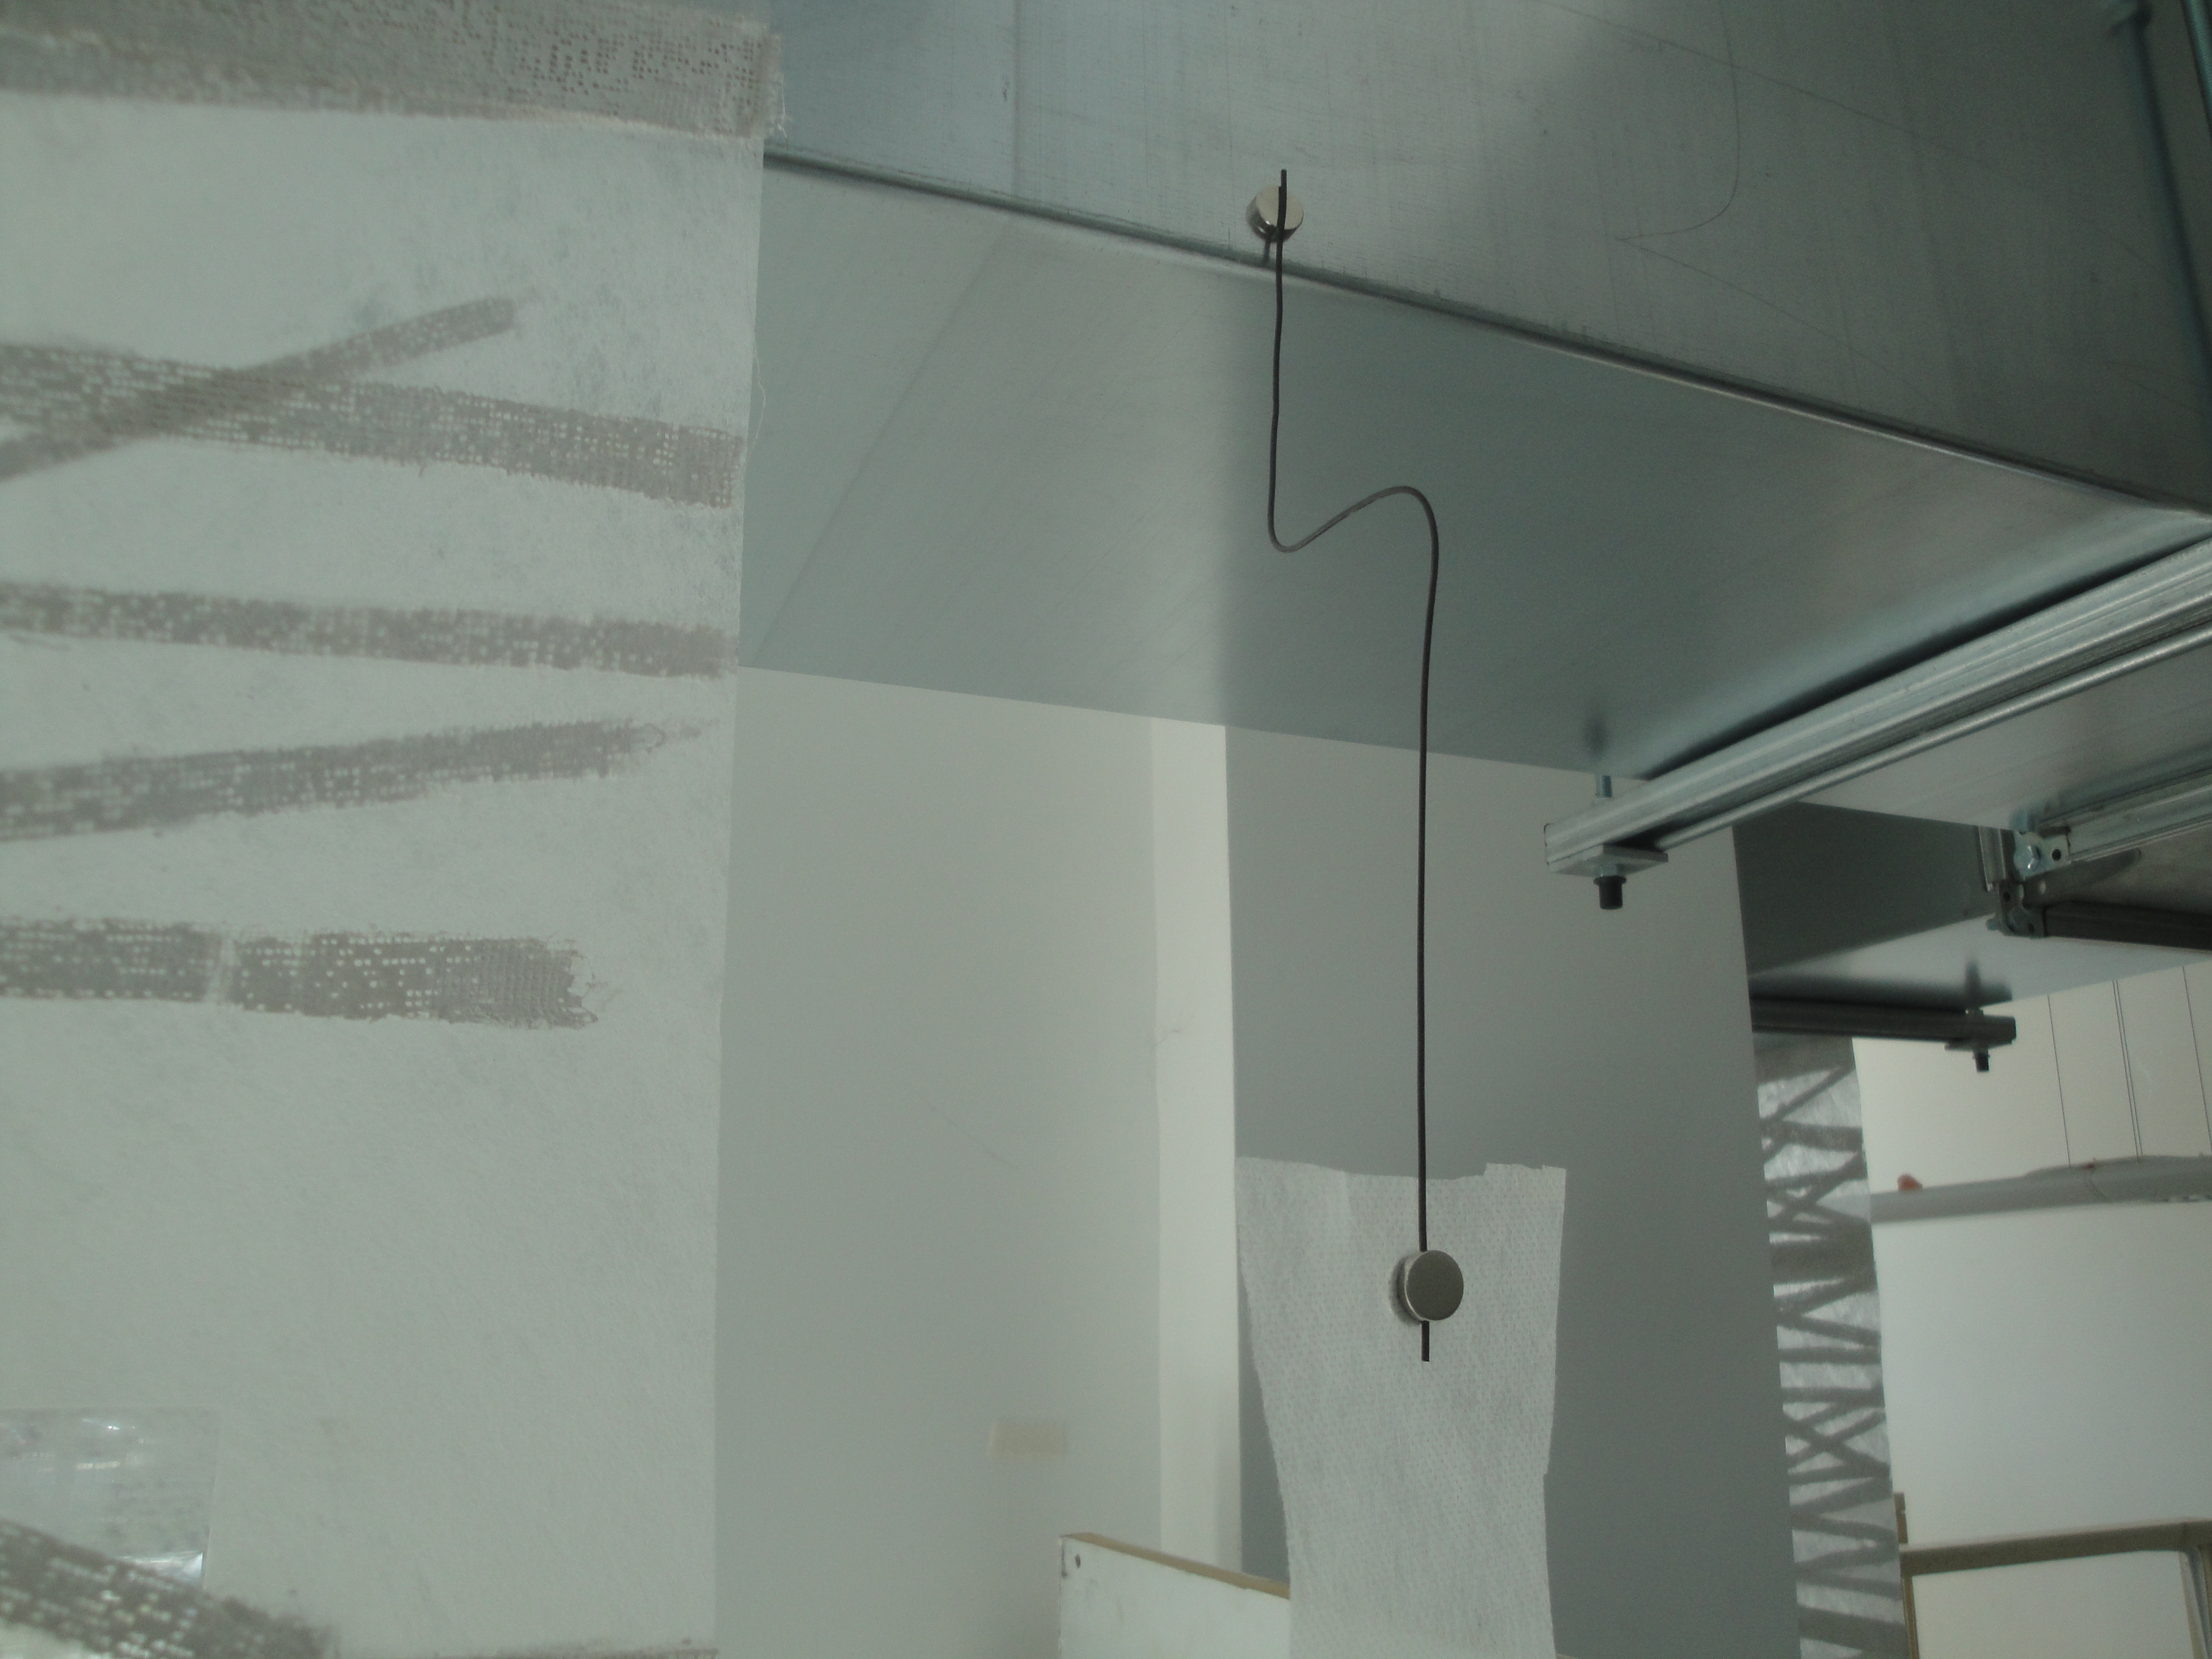
To fix the hanging elements, I have experimented with using corsage magnets. With wire to match the studio light fittings, they will create a contemporary, minimal, tidy fixing sympathetic to the exhibition space, which, I hope, will enhance the ambience of the installation.

Mindfulness & Serendipity

Yesterday, I finished the first layer of plaster on each of the standing elements. I have made 2 x w.90cm x h.60cm they represent the notion of a gate into the Shinrin Yoku space. 2 x w.60cm x h.90cm and 1 x w.60cm x h.120cm (will it stand? is still a question!) these are supposed to reference prospects and thresholds.

I originally imagined just one of each standing piece and two or three hanging ones but decided to make ‘spares’ in order to have enough to be able to up-scale the installation in a large space or leave bits out in a more intimate arrangement. (Atrium? /studio?display options in mind) Also of course, having spares is just a good insurance policy in the event of any forthcoming accidents or disasters! (ever the pragmatist I say to myself).

Today, I have worked on application to the other side of each piece and I am delighted with the contrasting textures visible on the front and back as you look through from different sides.

It is proving to be a difficult day. I just phoned Chris in hospital and found him barely lucid enough to speak – so much morphine – I felt quite tearful. I’m working hard to keep my anxiety at bay because of that AND – still no interim assessment!

The very act of applying the plaster strips to the fabric pieces is quite a calming, meditative, mindfulness sort of experience though – which helps – serendipitous. Being meticulous as I am, about applying the minimum amount of plaster to support each piece and using the minimum amount of water required to set it on the fabric is a way of actually engaging in the minimalist aesthetic kinaesthetically through my process as well as effecting it conceptually and visually in the product. I am pleased by the feeling of ‘integrity’ this invests in the outcome.

It is so important to keep the pieces safe and secure while they are so fragile, and also, to keep them clean. So, where meticulous process is a mantra for today, it is twinned with methodical working practice. I am hanging the elements to dry between each plaster application on the overhead ducting in the studio to keep them clean and safe. There’s a sort of rhythm developing around doing a bit of plaster application; climbing up to hang the piece; washing down the bench; doing a bit of this while it dries…. bringing down the next piece; laying out the strips on it; STEPPING BACK FROM THAT – doing a bit of this …. looking back at the strips to tweek the design and back to applying the plaster. Round and round. Erin thinks it must be really tedious. It is however, quite soothing I find.

Phone Chris again.

Developing Elements 13th -17th May #2

I am thrilled with the way this has turned out. How exciting! The exposed wire is a pleasing effect and the relationship between the raw surface and the flattened rim celebrated the different qualities the cement has .- (rather reminiscent of Takamatsu’s ‘Oneness’). The exposed wire squares, the cement/collagraph tiles (squares) …… a grammar seems to be emerging within the language of this Shinrin Yoku piece …. not just about ‘squares’ but also the way the ‘mesh’ of the materials is shining through. Thus a decision about how to handle the plaster bandage application to the fabric. It’s not just about a crisper finish (using the brush to ‘paint’ it on and the regularity of the way I have cut the strips but also to allow the mesh of the bandage to reveal itself. In the trial pieces, I smoothed the plaster out.

But, now, I am going to adapt the application to create a meshy effect (below) for the reasons stated above.